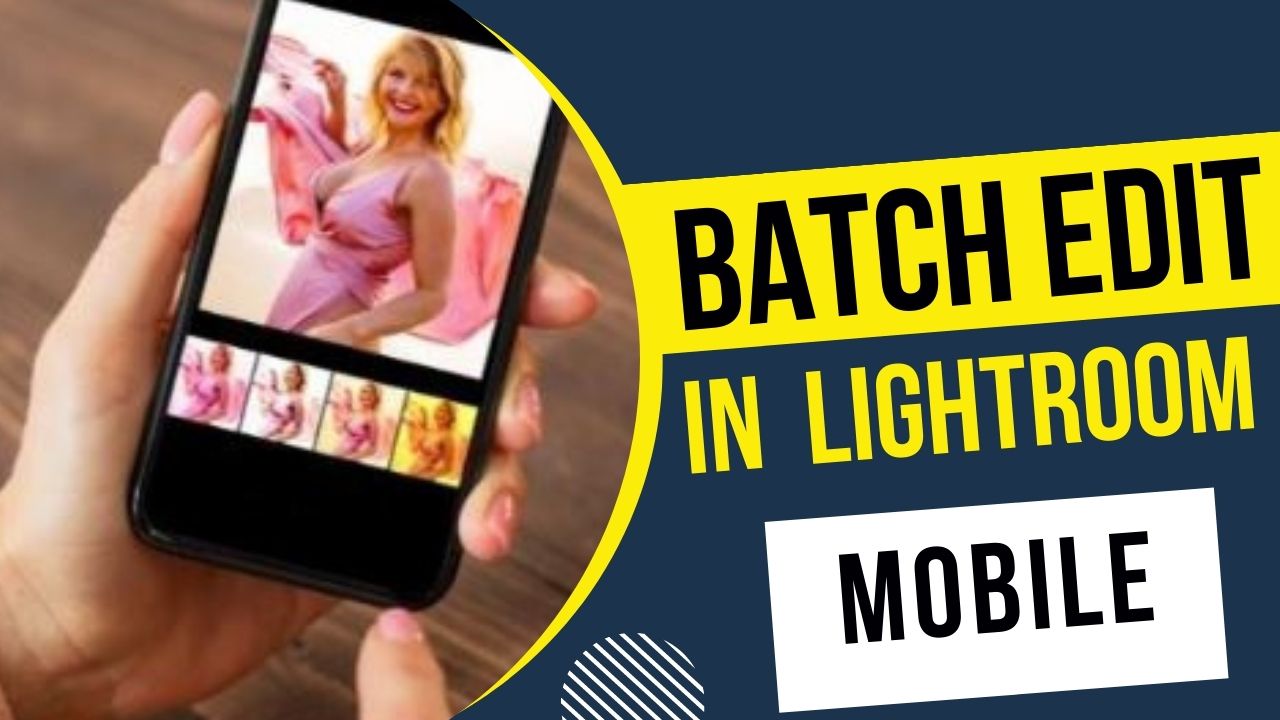
Batch Editing in Lightroom Mobile – Edit Multiple Photos (Video)
In this video we will be learning how to do batch editing in Lightroom Mobile, i.e, how to edit multiple photos by copying and applying the settings from one photo.
This video is from our Lightroom Mobile and Photoshop Express Course.
This course has 26 videos and 3 Hours of Video Content.
Use the link below to access the full course via Udemy.com:
Lightroom Mobile and Photoshop Express for Beginners
Video Summary
This tutorial from Creative Pad Media explains how to use Batch Editing (syncing settings) in Lightroom Mobile to quickly apply the same edits to multiple photos from a single session.
The Batch Editing Process
Batch editing allows you to edit one primary photo and then “sync” those exact settings to other similar images, saving significant time [00:47].
- Copy Settings: Open your fully edited photo, tap the three dots in the top right, and select “Copy Settings” [01:20].
- Select What to Sync: A menu will appear asking which adjustments to copy.
- Apply to Others: Go back to your library, tap “Select,” choose all the target images, tap the three dots again, and hit “Paste Settings” [03:03, 03:26].
Fine-Tuning After Syncing
Syncing gets you about 90% of the way there, but individual adjustments are often still needed [03:43]:
- Exposure: One image might be slightly brighter or darker than the original, requiring a quick tweak to the exposure slider [04:42].
- Composition: You will still need to manually crop, straighten, or apply geometry corrections (like “Auto Upright”) to ensure each photo is perfectly aligned [04:14, 05:06].
Key Efficiency Tip
If you have a large shoot (e.g., 20+ shots), batch editing is the most efficient way to maintain a consistent “look” across the entire gallery without editing every photo from scratch [05:34].