How to Use Layer Masks in GIMP – Beginners Tutorial
Discover how to use layer masks in GIMP with this easy-to-follow beginners tutorial. Layer masks are a powerful tool for non-destructive editing, allowing you to blend images, adjust transparency, and make precise edits with ease. Whether you’re working on photos, graphics, or creative projects, mastering layer masks will take your GIMP skills to the next level. Follow along and unlock the full potential of this essential feature in just a few simple steps!
These videos are from our GIMP Photo Editing Course.
Part 1
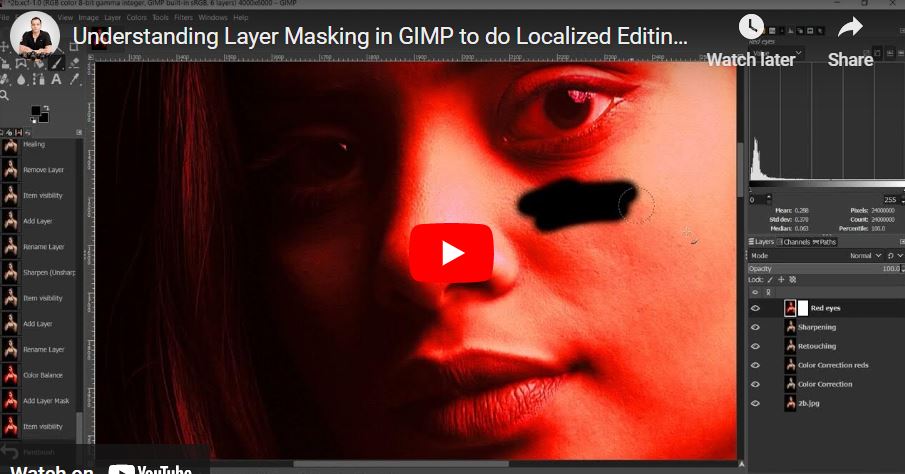
This video explains layer masking in GIMP through a simple, creative example. The goal is to change only the subject’s eye to red. After duplicating the background layer and applying a red color adjustment, the host adds a layer mask. The core principle is: White on a layer mask reveals that layer; black conceals it, showing the layer below. The video demonstrates two methods: starting with a white mask and painting black to reveal the original eye, or (more efficiently for this task) starting with a black mask and painting white to reveal the red eye only where needed. This non-destructive technique is essential for selective editing.
Part 2
This video demonstrates the practical application of layer masking for selective sharpening in portrait retouching. The host adds a black layer mask to the sharpened layer (since only small areas like lips, eyes, and hair need sharpening). Using a white brush on the mask, they then reveal the sharpening effect precisely on those desired features—avoiding the skin to keep it smooth. The technique is efficient, non-destructive, and helps emphasize key details without affecting the overall skin texture.