How Does the Clone Tool Work in GIMP? – Beginners Tutorial
Welcome to this beginner’s tutorial using the Clone Tool in GIMP. The Clone Tool is a powerful feature that lets you duplicate parts of an image to remove imperfections, retouch photos, or create seamless edits. In this video, we’ll walk you through the basics—how to select the tool, set a source point, and effectively clone areas in your image. Perfect for beginners, this tutorial will help you master the Clone Tool with ease!
This video is from our GIMP Photo Editing Course.
Video Summary
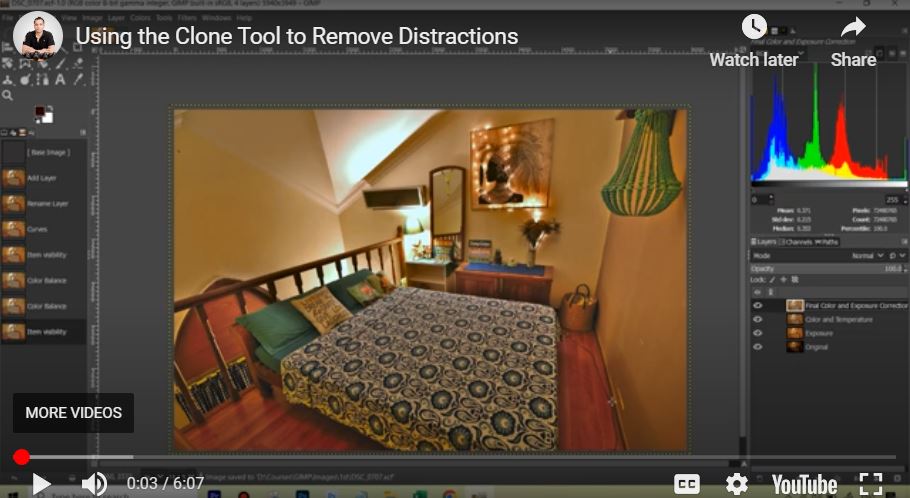
In this tutorial, the creator demonstrates how to use the Clone Tool in GIMP (an open-source alternative to Photoshop) to remove an unwanted wire from a photo. He explains the fundamental “copy and paste” nature of the tool—sampling a “good” area of the image to paint over a “bad” one. The video specifically addresses the common struggle of finding the Tool Options menu in GIMP’s interface and provides essential shortcuts for adjusting the brush to achieve a natural, retouched look.
Time Stamps
- 0:06 – Introduction to the Clone Tool: The GIMP equivalent of Photoshop’s Clone Stamp.
- 0:22 – Best Practice: Duplicating the original layer to perform “non-destructive” editing on a separate layer.
- 1:11 – Brush Customization: Identifying the need to change brush size for precise work.
- 1:54 – Interface Tip: Locating the “Tool Options” dock (Windows > Dockable Dialogs > Tool Options) to adjust settings.
- 2:40 – Shortcuts: Using the square bracket keys
[and]to quickly decrease or increase brush size. - 3:10 – Softness & Opacity: Adjusting “Hardness” to 50% and lowering “Opacity” for a subtle, blended effect.
- 3:47 – How to Clone: Holding Ctrl (or Command) to sample the source area before painting.
- 4:52 – Comparison with AI: Acknowledging that while GIMP requires manual effort, modern Photoshop AI can often do this in one click.
- 5:55 – Before & After: Reviewing the final result of the wire removal.