Balancing Ambient Light and Flash – Off-Camera Flash Tutorial
In this video we will be learning how to balance ambient light and flash exposure when you are shooting outdoors. We will be seeing how different settings like ISO, Aperture, Shutter Speed and Flash Output affect this balance. Here is the video:
This video is from our Off-Camera Flash for Beginners Course, which has 33 videos and 4 hours of video content. You can access the full course using the link below:
Off-Camera Flash for Beginners Course
Video Summary
This tutorial provides a detailed walkthrough on how to balance ambient light and off-camera flash for outdoor portraits, ensuring both the subject and the background are perfectly exposed.
The Two-Step Balancing Process
- Nail the Ambient Exposure (Flash OFF):
- Start by focusing only on the background and ignore the subject.
- Set your ISO to the lowest (ISO 100) and your shutter speed to the sync speed (e.g., 1/200s) [04:37, 05:09].
- Adjust the Aperture (f-stop) until the background colors and sky look dramatic. To get deep colors, you often need to underexpose the scene by at least one stop [06:04, 07:11].
- Foreground Check: At this stage, your subject should look dark/underexposed [07:34].
- Set the Flash Exposure (Flash ON):
Overcoming Common Challenges
- Wanting a Blurred Background (ND Filters): If you want a shallow depth of field (e.g., f/2.8) in bright light, you’ll likely overexpose the background because you are limited by the camera’s sync speed. Use an ND Filter (neutral density) to cut the light, allowing you to shoot wide open [13:55, 15:33].
- Controlling the Background Alone: Once the subject is lit correctly by the flash, you can fine-tune the background brightness using only the shutter speed. A slower shutter speed will brighten the background without changing the exposure on the subject [11:35, 12:03].
- Low Light/Camera Shake: If it’s too dark to get a good ambient exposure without using a dangerously slow shutter speed (which risks camera shake), increase the ISO to 200 or 400. This is better than a blurry photo and also reduces the power needed from your flash [22:40, 24:25].
Equipment Tips
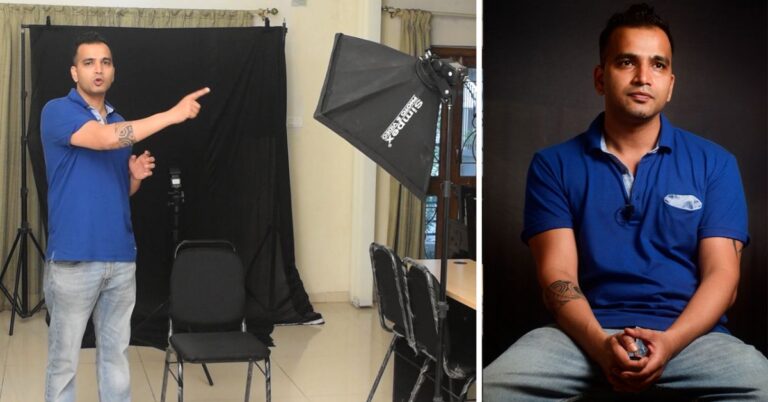
- Softbox vs. Umbrella: For outdoor work alone, a softbox is safer than a shoot-through umbrella because it is less likely to catch the wind and tip over your light stand [01:06].
- Manual Control: Shooting in manual flash mode gives you more consistent results when balancing with changing natural light than using TTL [08:29].