How to Use the Brush Tool in Snapseed? – Beginners Tutorial
Welcome to this beginner’s guide on how to use the Brush Tool in Snapseed! The Brush Tool gives you precise control to enhance specific areas of your photos, whether you want to adjust brightness, saturation, exposure, or warmth. In this tutorial, we’ll walk you through the step-by-step process of using the tool, share tips for making fine adjustments, and show you how to elevate your edits with ease. Let’s dive in and get creative!
This video is from our Snapseed Photo Editing Course.
Video Summary
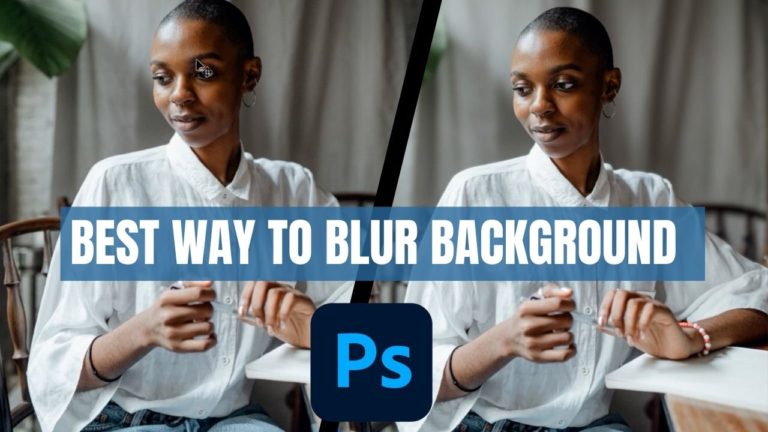
In this tutorial, the instructor introduces the Brush Tool in Snapseed, a powerful feature for manual, localized editing. Unlike the Selective tool, the Brush tool gives you complete control to “paint” adjustments onto specific areas of an image using your finger. The video focuses on a portrait edit, demonstrating how to enhance specific features like eyes, lips, and hair while managing the background.
Time Stamps
- 0:00 – Introduction to the Brush Tool and its localized editing capabilities.
- 0:49 – Overview of the four brush types: Dodge & Burn, Exposure, Temperature, and Saturation.
- 1:28 – Understanding the Exposure Brush: Adjusting brightness (0.7 to 1.0 stops) and using the Eraser function.
- 4:10 – Using the Eye Icon (Mask Overlay) to visualize exactly where you have painted.
- 5:03 – Explaining the Temperature Brush: Adding warmth (positive values) or cooling (negative values) to specific areas.
- 6:37 – Defining Dodge & Burn: “Dodging” to brighten and “Burning” to darken (remember: burning something makes it dark/black).
- 8:50 – Practical Portrait Edit:
- 9:21 – Darkening the background to create focus on the model.
- 11:03 – Zooming in to shrink the brush size for detail work.
- 11:40 – Enhancing the blue eyes and jewelry with the Saturation Brush.
- 13:13 – Adding warmth to the hair using the Temperature Brush.
- 14:08 – Final before-and-after comparison.