When Should You Shoot in RAW format?
Well, to cut things short, the real answer to this question is – ALWAYS. But let’s also take a deeper look.
A lot of people, especially beginner photographers don’t pay attention to the format that is set on their cameras. But it can be an important issue as you get more into photography.
There are two main formats: RAW and JPEG.
What is RAW?
When you take a shot, the light passing through the lens gets absorbed by the image sensor in your camera.
RAW format would save this image absolutely unadulterated, which means no data is lost.
If you’re shooting JPEG, then the camera takes an additional step – which is to convert this RAW image into JPEG by compressing it. This results in a smaller sized image (in terms of space), but some amount of data is lost and hence the image quality is slightly inferior due to the compression.
So the first reason you should shoot in RAW is because the image quality is better than that of a JPEG.
But to be very frank, for most photographers this improvement in image quality is not really noticeable. So what’s the real reason many photographers shoot in RAW?
The real reason why many photographers will tell you to always shoot in RAW is mainly because of one reason – it’s much easier to edit RAW images in an editing software like Photoshop or Lightroom because you are working with more data and detail as the image is uncompressed.
This means that the editing software has more amount of light data to work with. So let’s say you took a shot and it comes out over-exposed. If you’ve shot in RAW, you can easily correct the exposure while editing without hampering the image quality of the shot. So this makes you more relaxed as you know that even if you make a mistake, it can be easily corrected in post-processing. Heavy editing on a JPEG image deteriorate the quality of the picture.
For example, let’s look at the picture below of a light trails shot that I’ve taken:
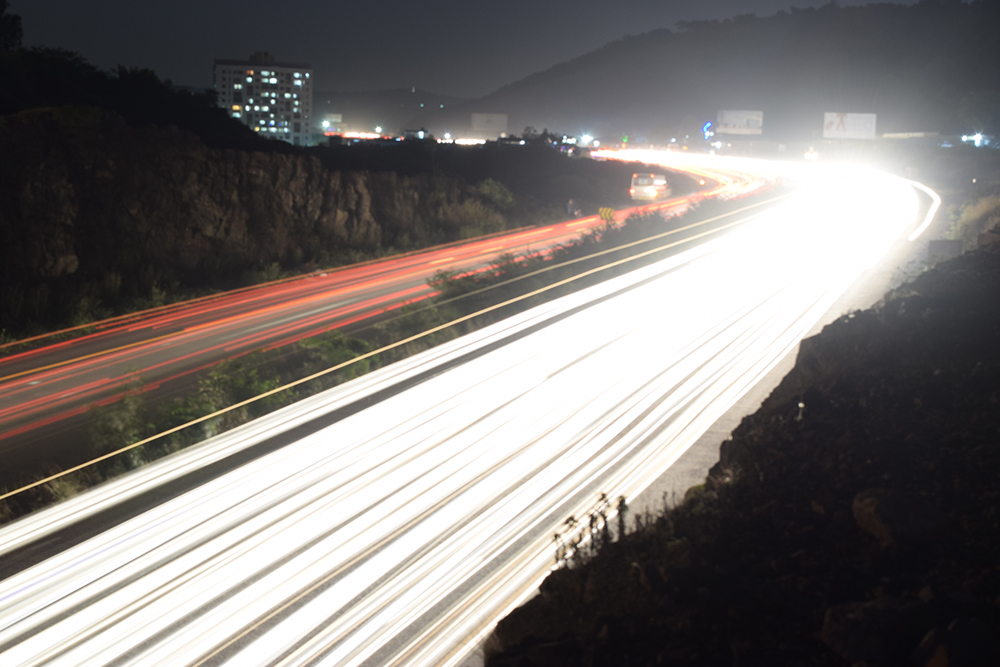
You can see here that in the part where the road curves, the congested light trails have ended up overexposing that part of the image.
But since I shot this in RAW format, I just opened the image in Camera Raw Filter in Photoshop and made slight changes to exposure, highlights, shadows and clarity to get the following image:
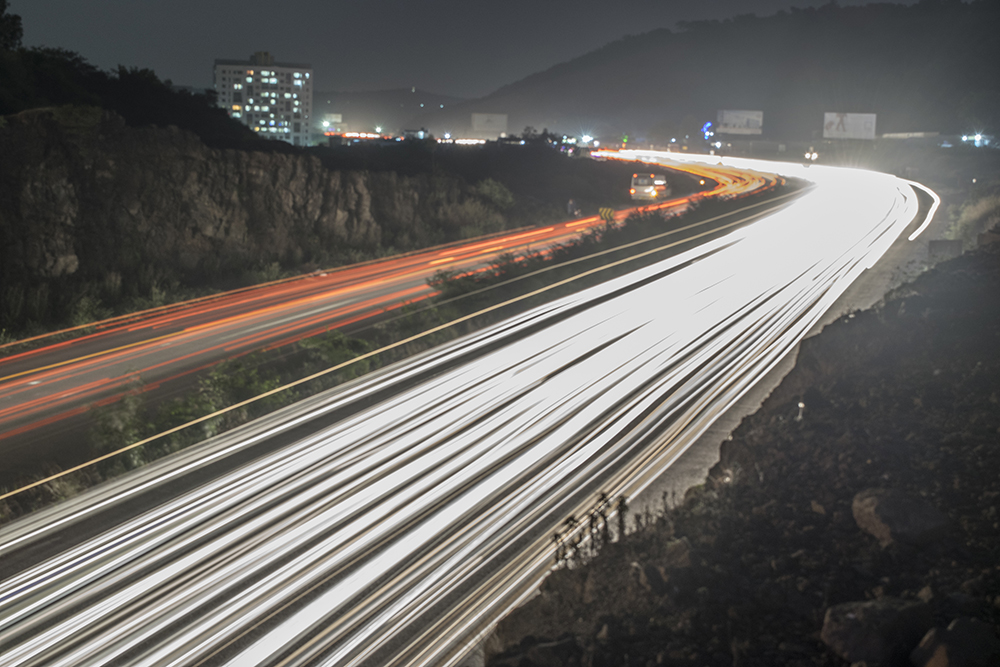
This helped me recover the definition in the trails and saved this image.
However, shooting in JPEG is not bad either, especially if you’re not going to edit those shots too much. Or if you just need it for casual purpose like sharing on social media. Because one issue with RAW images (apart from the huge file size) is that you need a kind of editing software that accepts RAW files and then you have to convert the RAW file into JPEG for you to share it anywhere since most social media sites don’t accept RAW files. So there is an additional step involved which is not the case when you shoot in JPEG.
So in case you’re not sure, you can opt for the RAW + JPEG option that your camera offers. This will allow you to store the image in both formats, giving you the freedom to choose which ever you want to later on. The only downside would be the space consumed, which is not much of an issue nowadays when you can easily delete something with a click of the mouse.
Shooting in RAW + JPEG can lead to one problem which is that if you’re using an entry level camera/card or both, then it can lead to longer processing times. While this is not an issue when you are clicking single shots, it can be a problem when you are shooting something on burst mode. Asking the camera to save in both formats multiple times in a few seconds can mean your burst mode speed suffering a bit. So if you’re facing that issue, you can choose just one format for that time.
So there you have it. The next time you’re shooting, you can be more mindful about the format and choose the correct one according to your need.


amazing!
Nicely explained..