How to Use Remix Mode in Midjourney? What Does it Do?
Curious about Remix Mode in MidJourney? In this video, I’ll show you how to activate and use Remix Mode to take your AI-generated images to the next level. Learn how it lets you tweak prompts, adjust compositions, and experiment with variations while keeping your creative flow intact. I’ll also explain what Remix Mode does, with examples to help you master this powerful feature. Let’s explore how Remix Mode can transform your AI art experience!
This video is from our Midjoureny AI for Beginners Course.
Video Summary
In this lesson, you will learn how to use Remix Mode in Midjourney to gain more control over your image variations. Normally, hitting a variation button (V1–V4) or the “Refresh” button automatically generates new images based on the exact same prompt. However, with Remix Mode enabled, Midjourney pauses and allows you to edit the prompt before it generates the next set of images.
This is particularly useful for photographers and creators who want to keep the overall composition of a specific image but change details like lighting, subject count, or depth of field.
Time Stamps
- 0:04 – Enabling Remix Mode: Locating and selecting “Remix Mode” within the
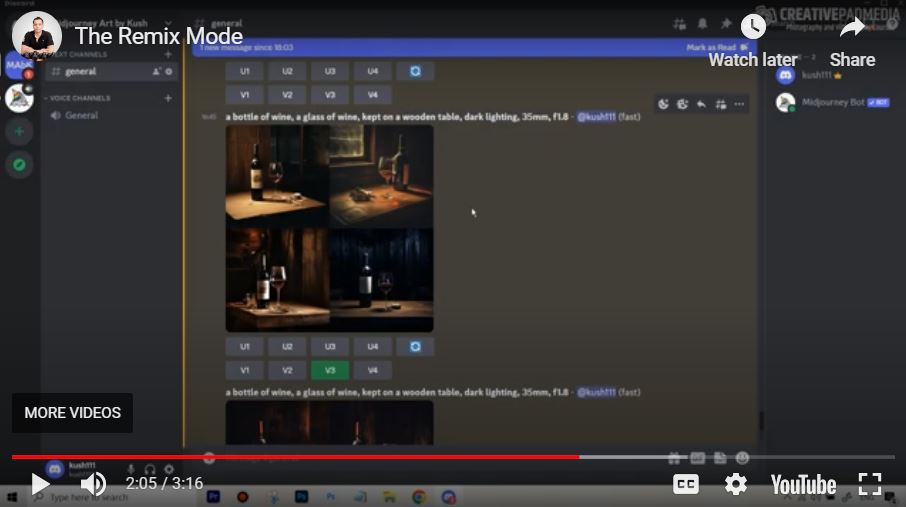
/settingsmenu. - 0:15 – The Practical Example: Starting with a 1-star variation of a wine bottle and glass prompt.
- 1:00 – Triggering the Remix: Demonstrating how hitting a variation button now opens a pop-up window instead of starting an instant generation.
- 1:32 – Editing the Prompt: Changing the prompt from “one glass” to “two glasses” and adjusting the aperture from
f1.8(blurred background) toF16(everything in focus). - 2:15 – Reviewing Results: Analyzing how the AI maintained the original style while successfully adding a second glass and sharpening the background.
- 2:32 – Remixing with Refresh: Using the “Refresh” (loop) icon with Remix Mode to essentially start a fresh generation with a modified prompt.