How to Use Audacity to Record and Edit Audio? – Complete Process
Welcome to this tutorial on how to use Audacity to record and edit audio! In this video, you’ll learn the complete process, from setting up your microphone and recording clear audio to editing like a pro. We’ll cover essential tools like noise reduction, cutting, and adding effects to enhance your sound. Whether you’re creating a podcast, voiceover, or music, this guide will help you get started with Audacity. Let’s jump in!
This video is from our Audio Editing Using Audacity Course.
Video Summary
In this tutorial, the instructor demonstrates an optimized audio editing workflow using Audacity and the Blue Yeti microphone. He highlights how a high-quality mic simplifies the editing process by producing a more “compressed” and even waveform right from the start. The video guides you through setting optimal recording levels, applying a standard chain of effects (Compressor, Limiter, Normalization), and using a High Pass Filter to refine vocal clarity. The goal is to create a “Blue Yeti Preset” (Macro) to automate future recordings.
Time Stamps
- 0:00 – Setting Recording Levels: Finding the “sweet spot” (96% volume in Audacity) to avoid clipping while maintaining a strong signal.
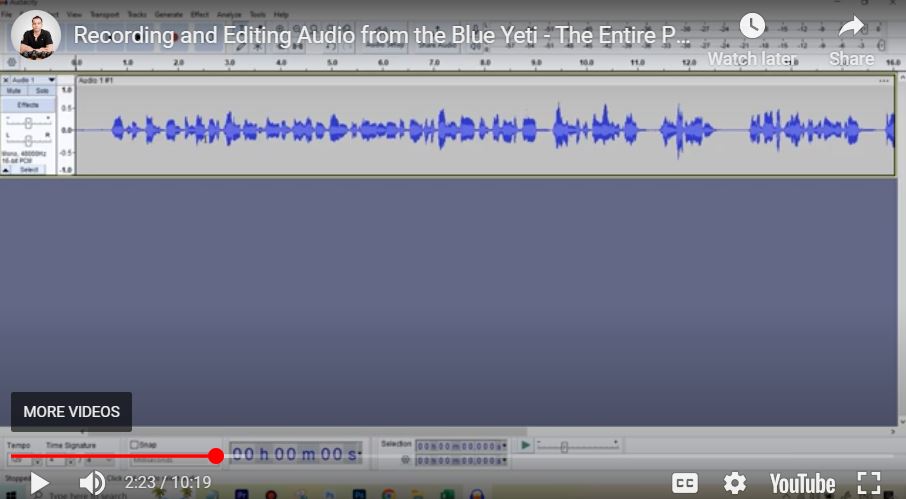
- 1:28 – Sample Recording: Demonstrating how a good mic keeps audio levels consistently between $-6$ and $-12$ dB.
- 2:31 – The Hardware Advantage: Observing how the Blue Yeti naturally reduces the need for heavy compression compared to cheaper microphones.
- 3:47 – Compressor Effect: Applying default compression to subtly even out the volume of smaller waveforms.
- 4:35 – Limiter Effect: “Giving the audio a haircut” by capping peaks at $-3$ dB to ensure no distortion.
- 5:32 – Normalization: Adjusting the final Peak Amplitude to $-5$ dB for a professional listening volume.
- 7:17 – Noise Reduction: Selecting a silent profile to remove any minor background static or fan noise.
- 8:04 – High Pass Filter: Cutting frequencies below 130 Hz to remove low-end “rumble” and improve vocal crispness.
- 9:12 – Final Enhancements: Adding $3$ to $4$ dB of Base Boost for a richer, more authoritative voice.
- 10:05 – Macro Creation: Suggesting the creation of a dedicated “Blue Yeti Preset” to save time on future projects.