How to Edit Black and White Photos in Snapseed? – Beginners Tutorial
Welcome to this beginners’ tutorial on editing black and white photos in Snapseed! In this video, we’ll guide you step-by-step through the process of transforming your color images into stunning monochrome masterpieces. Whether you’re new to Snapseed or just want to enhance your black and white editing skills, we’ve got you covered. By the end, you’ll know how to adjust contrast, shadows, highlights, and more to achieve the perfect black and white look. Let’s dive in!
This video is from our Snapseed Photo Editing Course.
Video Summary
In this tutorial, the instructor moves beyond simply applying filters and dives into the core photography principles of black and white (B&W) editing. The lesson focuses on contrast and the historical technique of Tonal Rendition—using color filters to manipulate how different colors are translated into shades of gray.
Time Stamps
- 0:00 – Introduction: Why understanding photography principles is key to better B&W edits.
- 1:00 – The High Contrast Principle: How to identify which images are “meant” to be black and white.
- 2:14 – Overview of basic B&W presets (Neutral, Contrast, Bright, etc.).
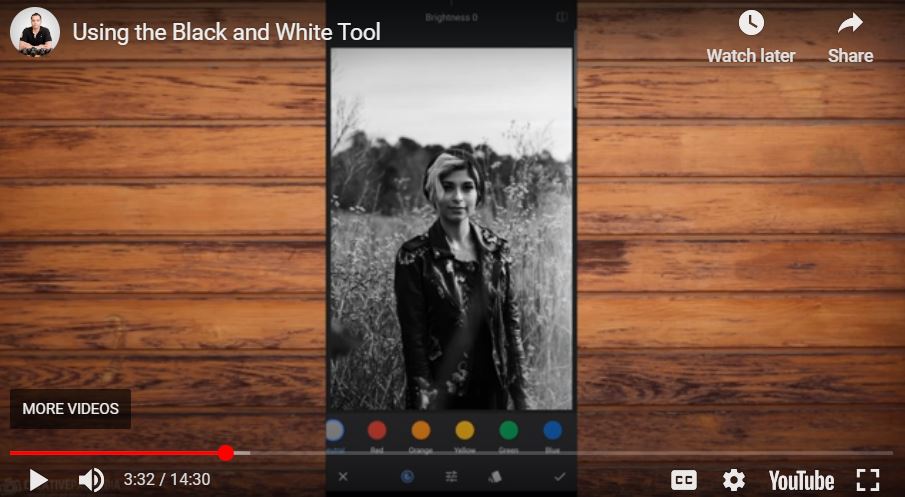
- 3:03 – Introducing the Color Filter Icon: Red, Orange, Yellow, Green, and Blue.
- 4:12 – Historical Context: Explaining how film photographers used physical glass filters to create contrast in-camera.
- 5:29 – The Logic of Filters: Why a filter makes its own color brighter and opposite colors darker.
- 6:46 – Visualizing the effect on a color palette: Seeing red turn white and blue turn black under a Red filter.
- 9:00 – Landscape Application: Using the Red Filter to darken a blue sky and make white clouds “pop.”
- 11:51 – Defining Tonal Rendition: Selectively allowing or disallowing light tones.
- 13:12 – Portrait Quiz: Choosing the right filter (Orange/Yellow) to brighten skin tones effectively.