Basics of Landscape Photography: A Guide for Beginners
Landscape photography is one of the most popular forms of photography.
Here’s what you need to know about it:
Settings to use
For landscape shots, we generally use a deep depth of field since we want everything in focus.
So we use a larger f-stop number, like f11, f16, f22, etc.
There is no fixed f-stop number that you have to use. You can experiment with anything but you should avoid using small f-stop numbers like f2.8, f3.5, f5.6 etc.
It’s also important that you shoot on ISO 100 to get the cleanest looking image.
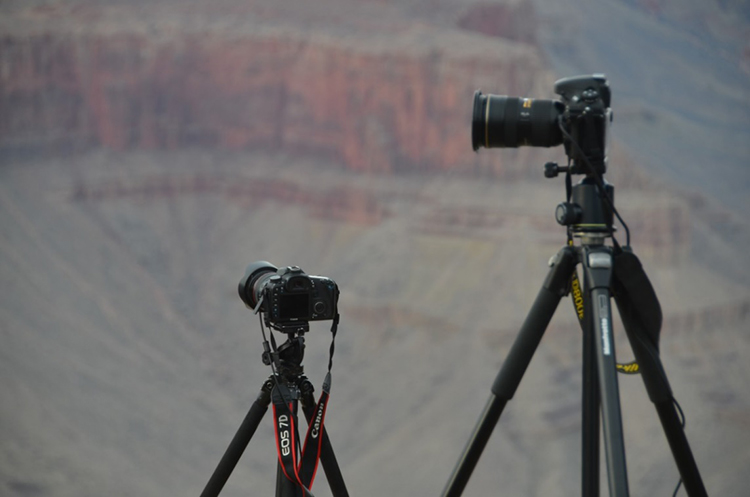
This may mean that you have to use a tripod because if you are shooting at ISO 100, you need to make up for lost light and hence you’ll have to reduce the shutter speed. If you are shooting handheld, you cannot reduce the shutter speed all the way down as that will make your shot vulnerable to a camera shake. So a tripod is a must.
Getting the Foreground in the Shot
One of the most common mistakes made by beginner photographers is that they don’t get the foreground in the frame of their landscape shots.
Foreground refers to the part which is the nearest to the photographer.
It can also be the part where the photographer is standing while taking the shot.
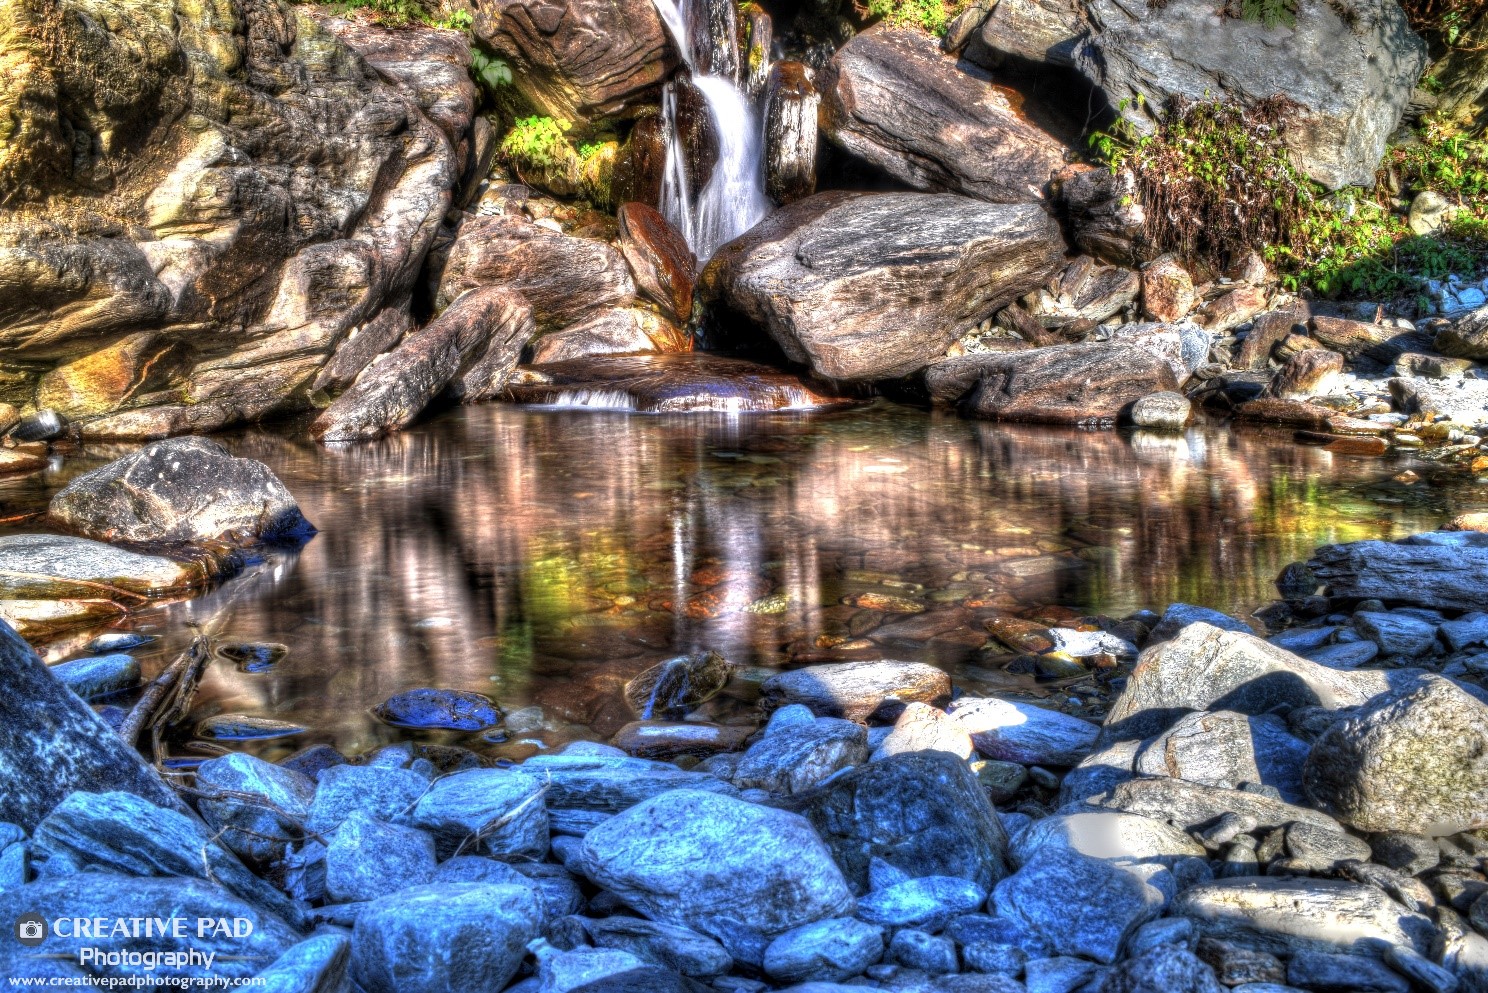
To understand this, let’s look at the shot below:
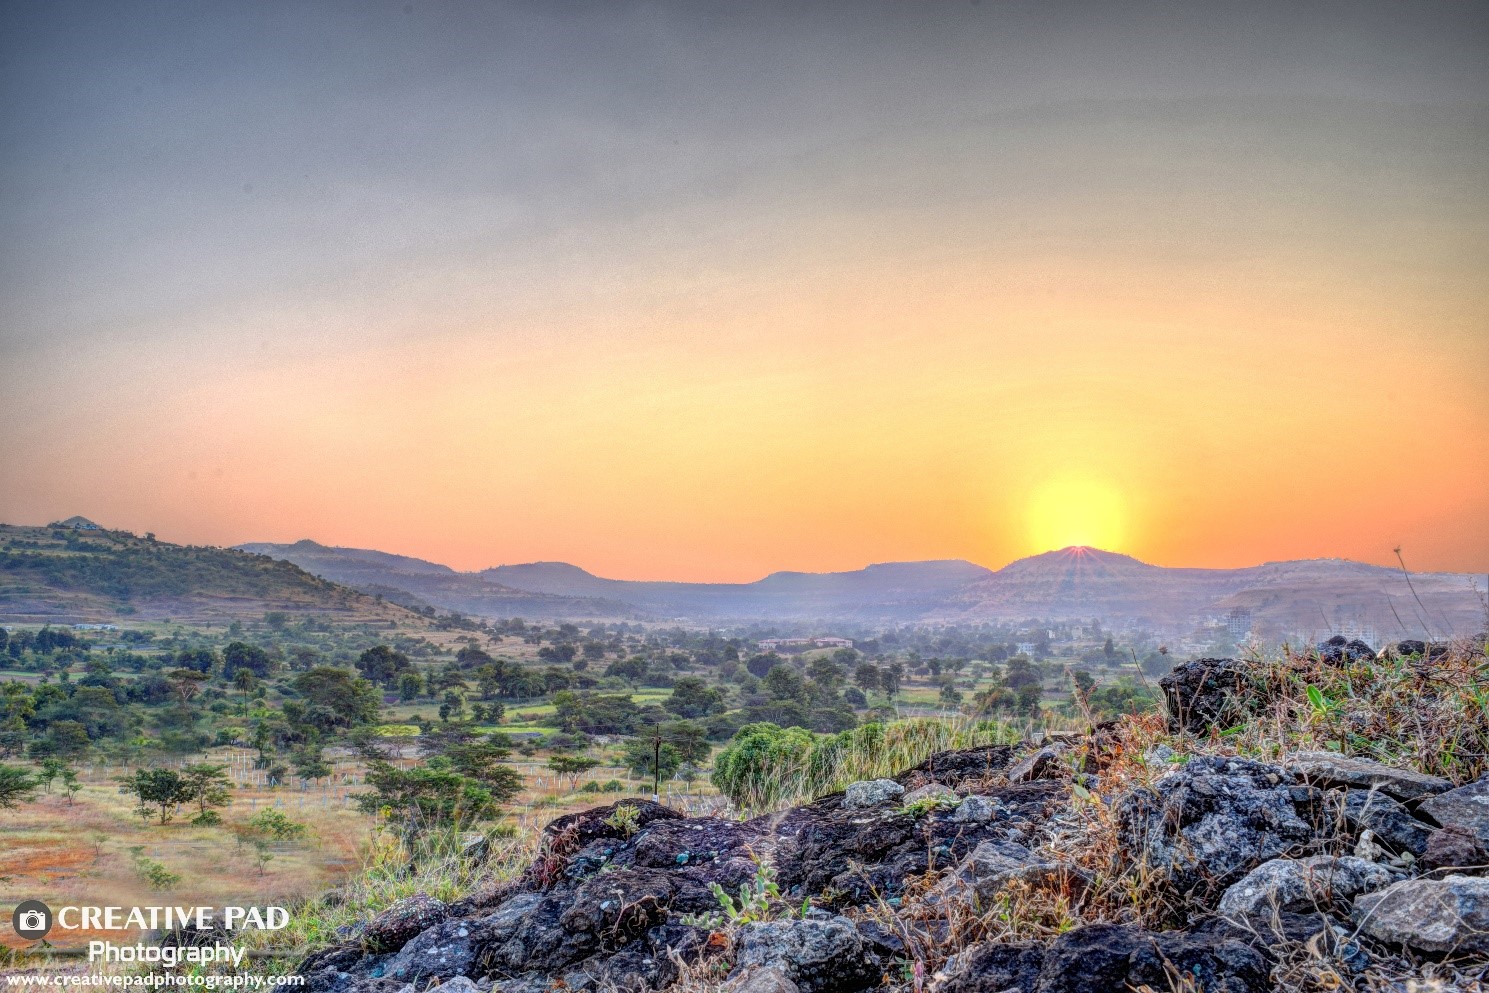
In this shot, I wanted to capture the sunset that was taking place on the opposite hill.
You can see that I’ve managed to do that. But what I’ve also done is that I’ve got the foreground in the frame.
Here the foreground is the rocks that I was standing on. You can see these rocks on the bottom part of the shot.
Getting these rocks has added depth to these pictures.
Getting the foreground makes the viewer feel that the shot is very close to them and that they can “step” into the picture using the foreground.
A shot without the foreground looks flat.
Most photographers miss the foreground because they take their shots standing upright. Again, that’s comfortable but will not give you the best looking shot.
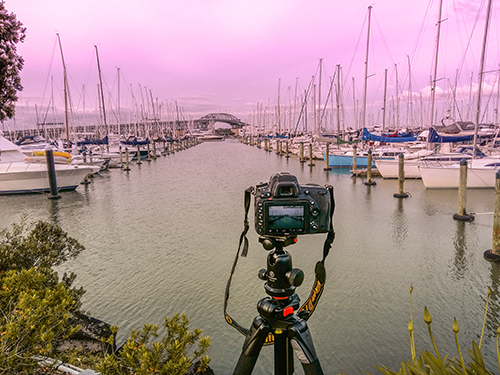
To get the foreground like in the shot above, you have to place your camera low on the foreground, preferably on a tripod. For example, look at the shot below:

Here I’ve lowered the tripod all the way down, like shown in the image below:
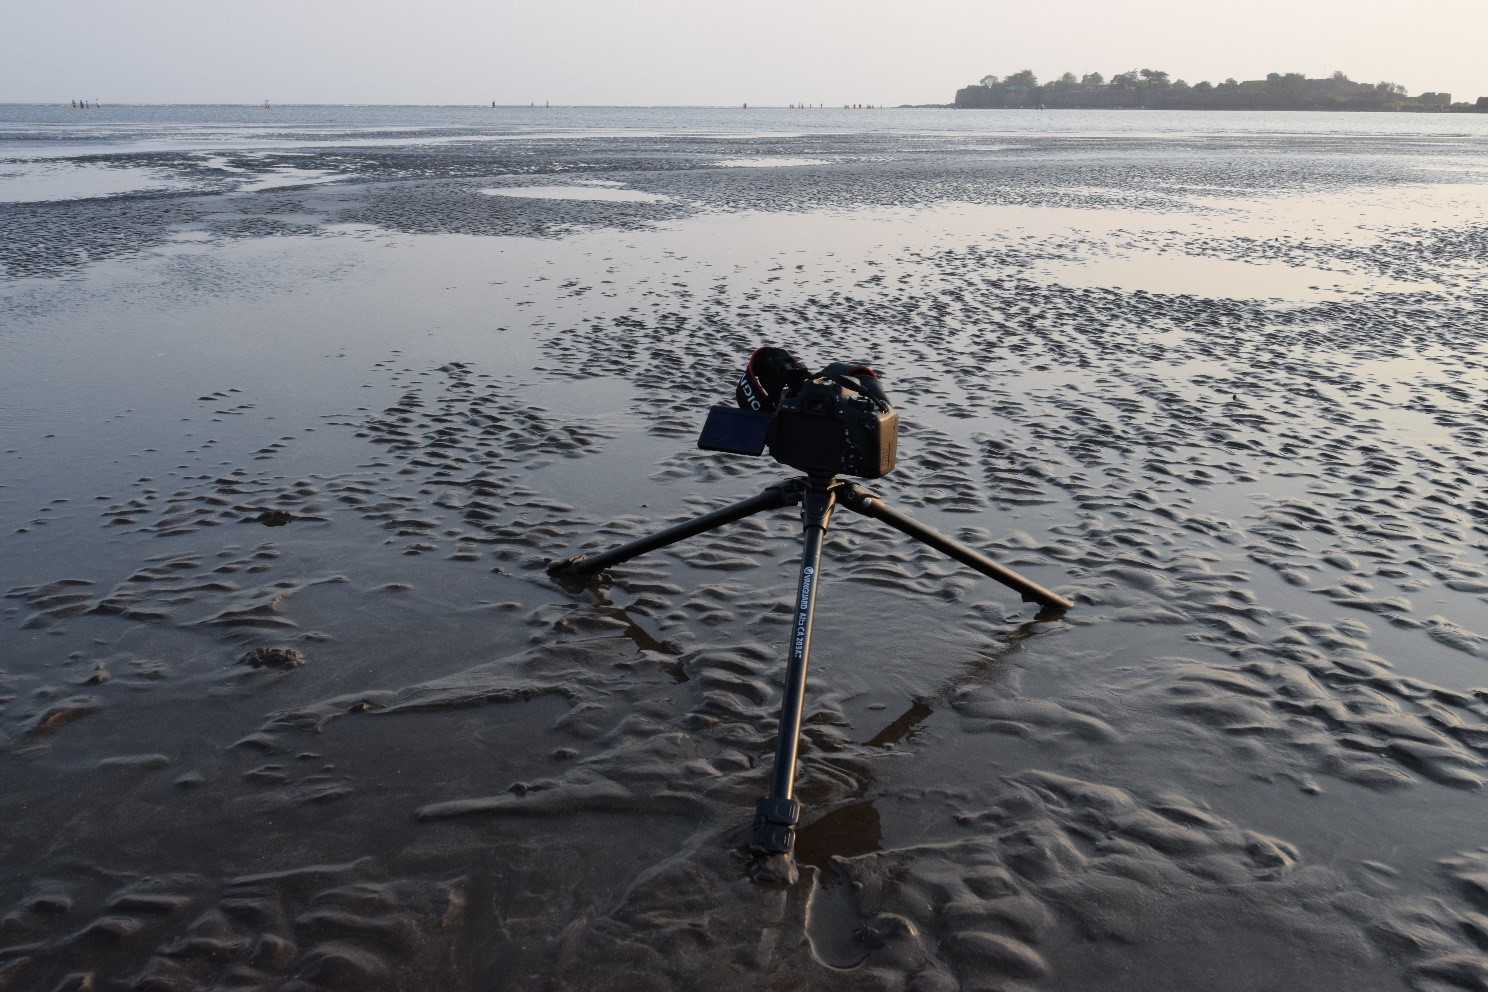
This the reason why it’s important to buy a tripod that extends sideways too.
Almost all tripods extent downwards but only good tripods allow you to extend them sideways, thereby making it possible for the photographer to really get the tripod to almost ground level. See the recommended equipments and accessories section at the end to see which tripod to buy.
Let’s see a few more shots where the foreground really enhances the shot:

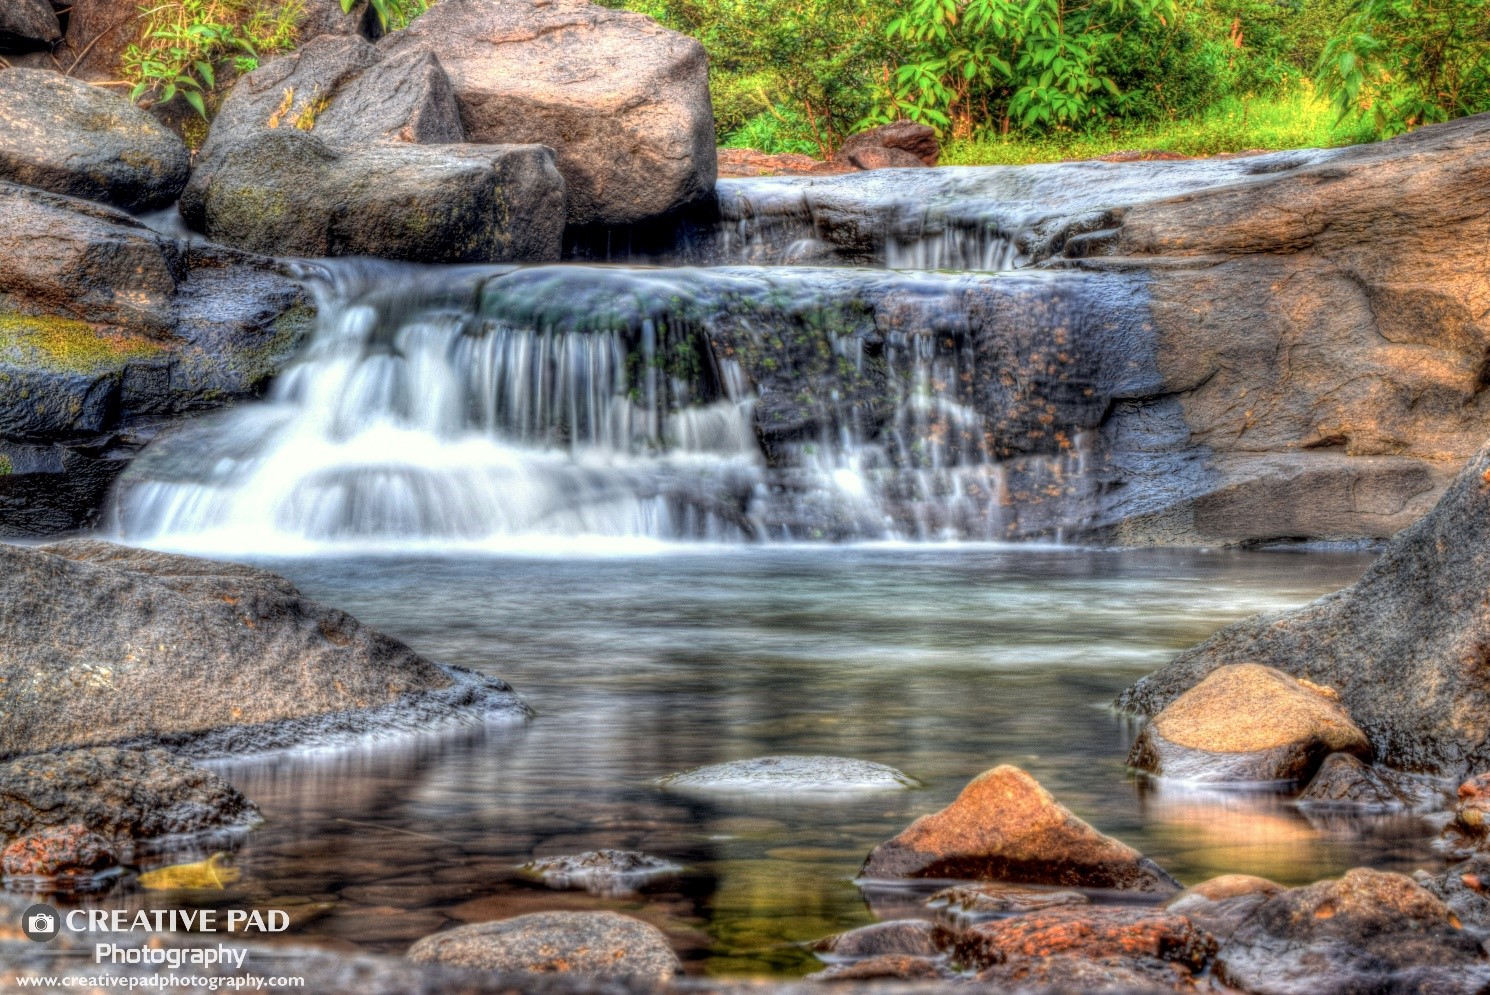
It’s not 100% necessary to get the foreground every time but in case you are not getting the foreground in the shot, make sure there is something really special in the shot that has the ability to impress the viewer.
Adding a Focal Point to the Shot
You can spice up a landscape shot by adding a focal point.
By focal point, it refers to an object that is added in such a way that it contributes to the overall shot.
It’s best to understand this by looking at some shots take make use of a focal point. Look at the shot below:
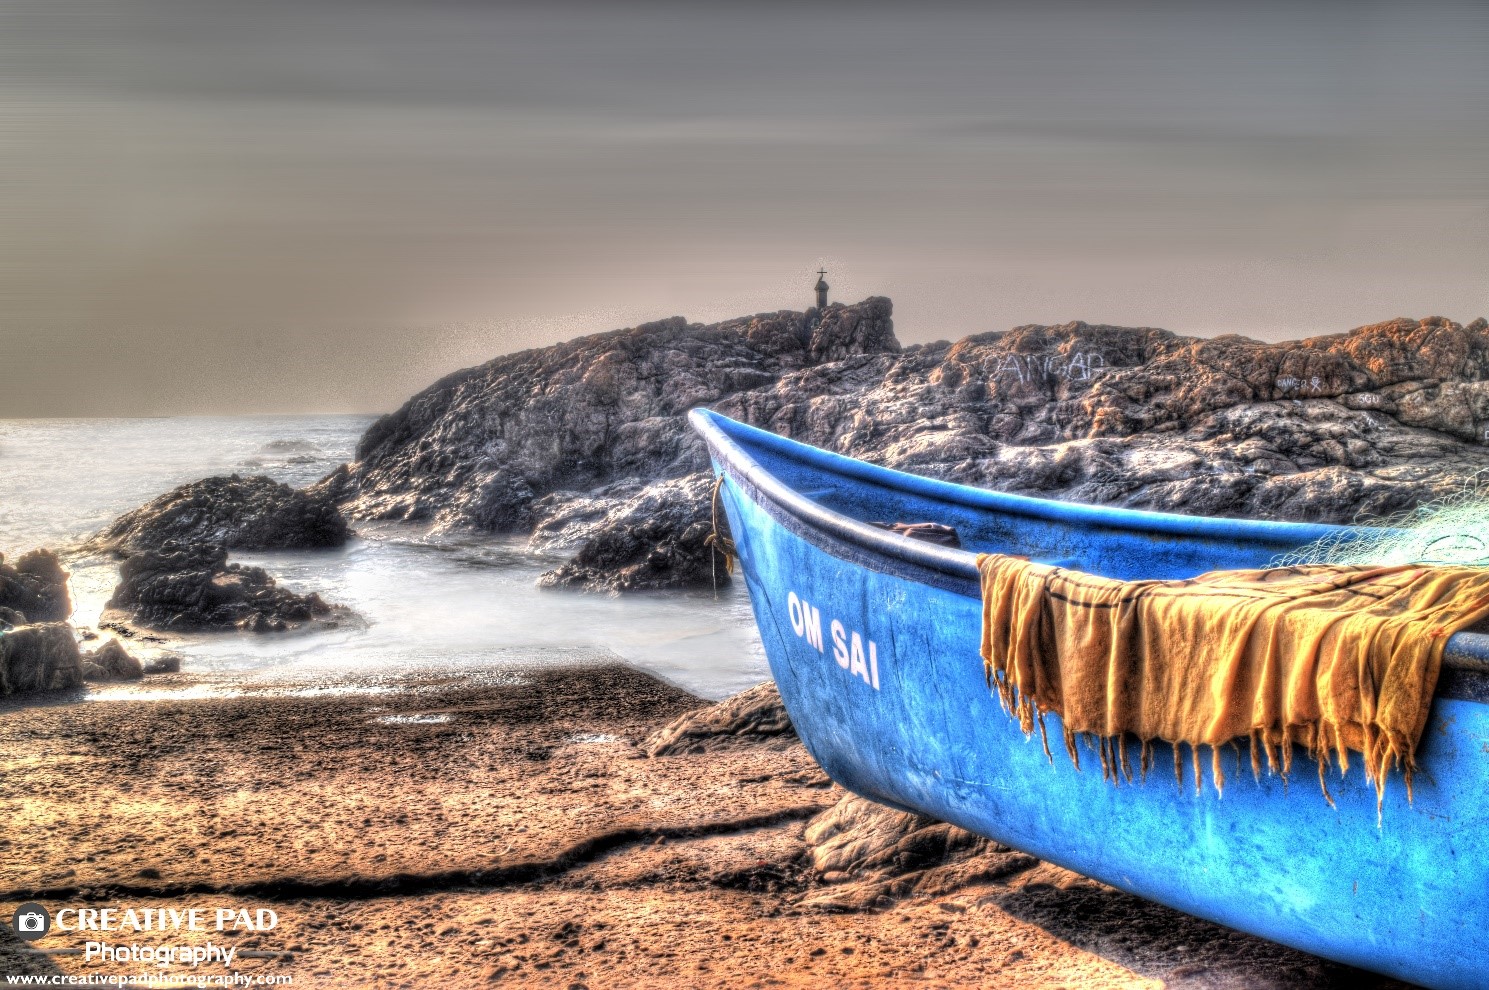
In the shot above, I’ve deliberately moved the fisherman’s boat into the frame because it serves as a good focal point and contributes to the overall picture.
Whenever you add a focal point in a landscape shot, it’s usually a good idea to put it using the rule of thirds.
Also remember that the choice of focal point is important. Choose something that goes well with the scene.
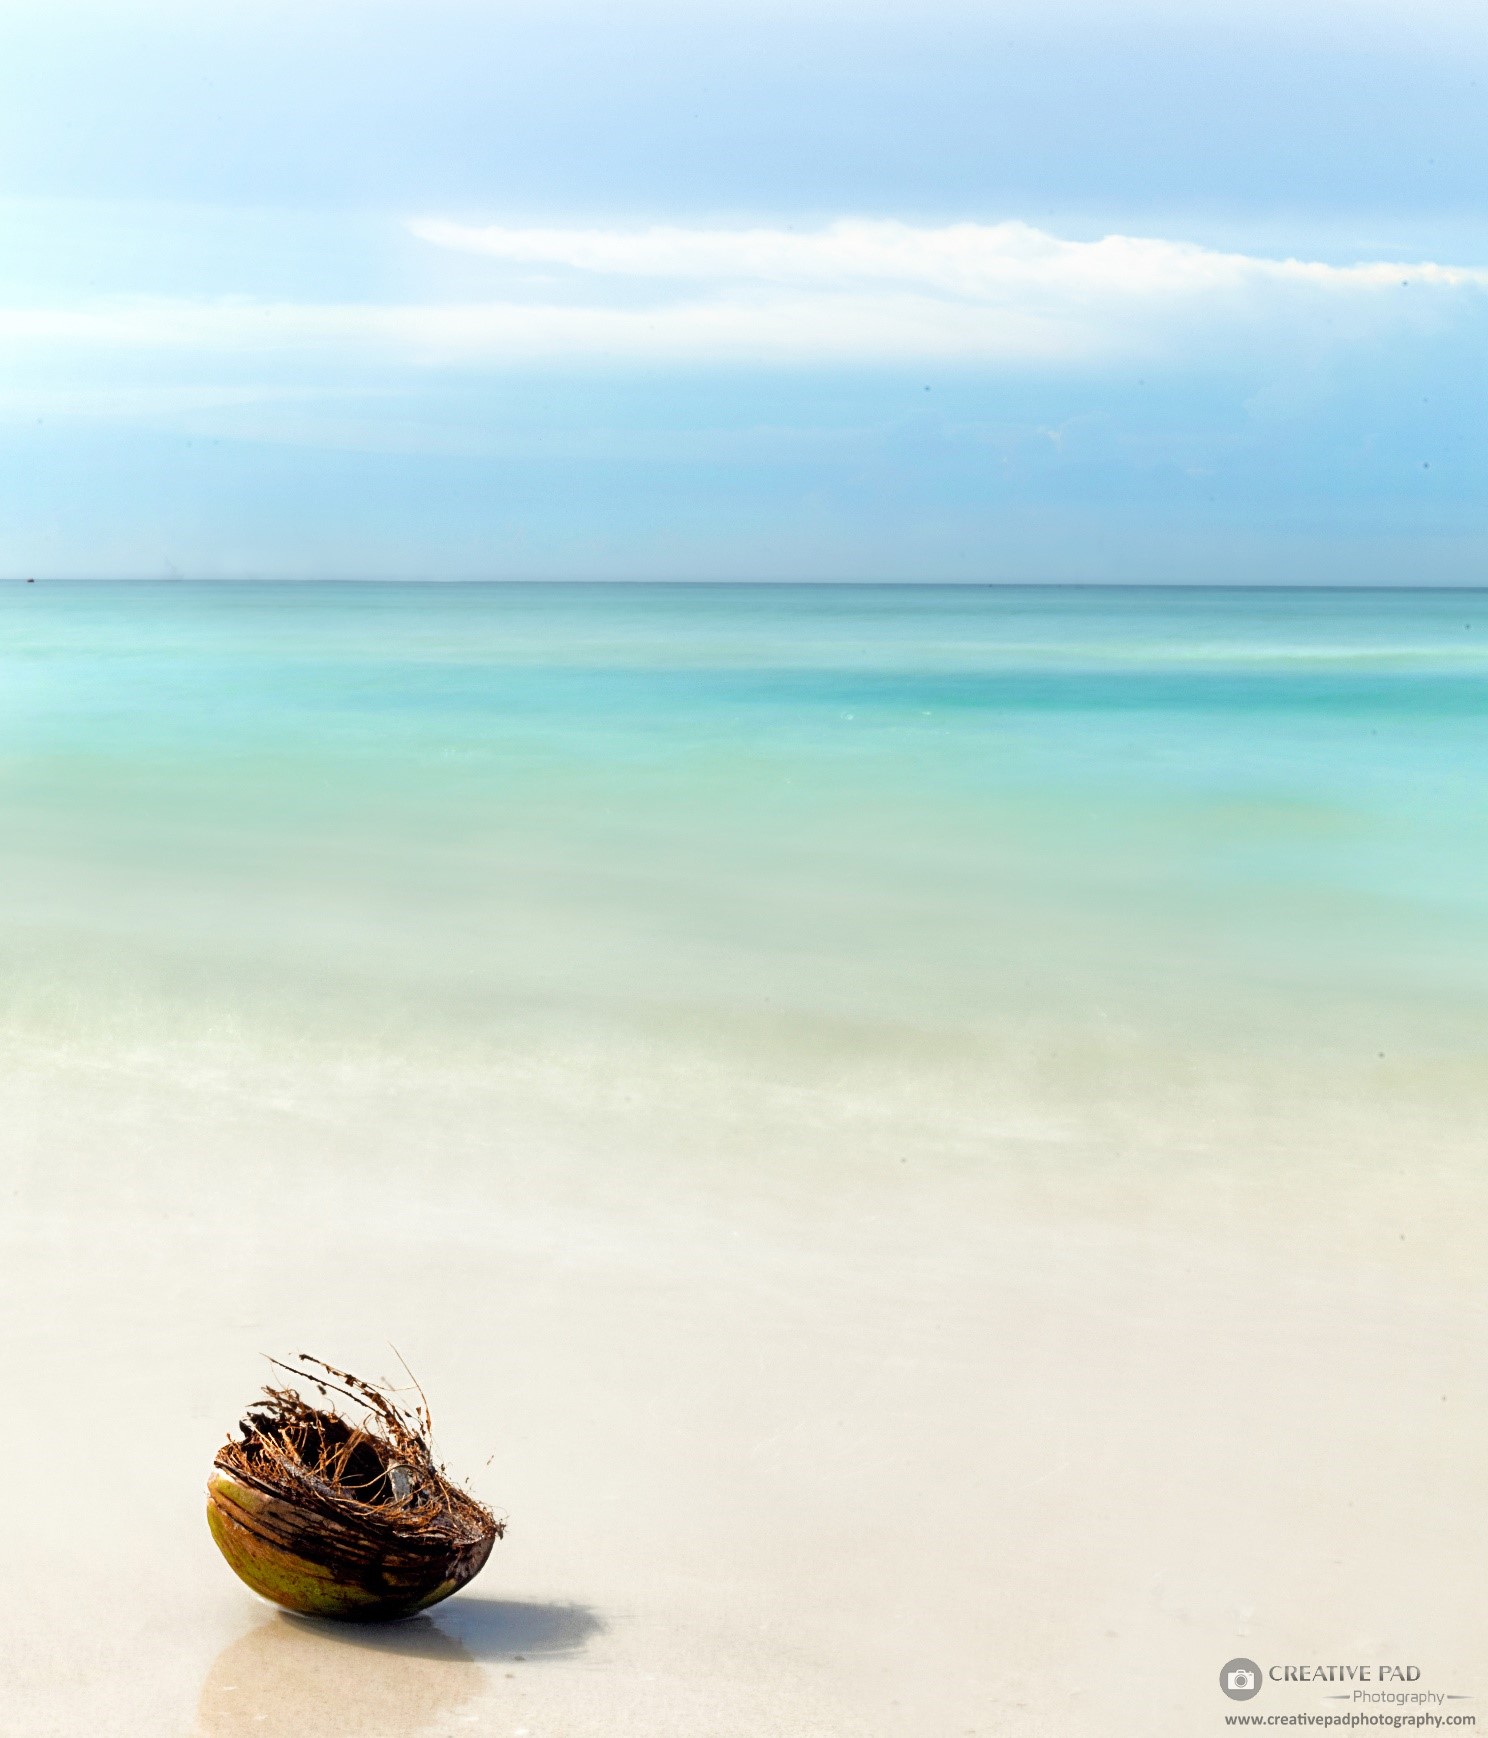
Let’s look at a few landscape shots that make use of focal points:
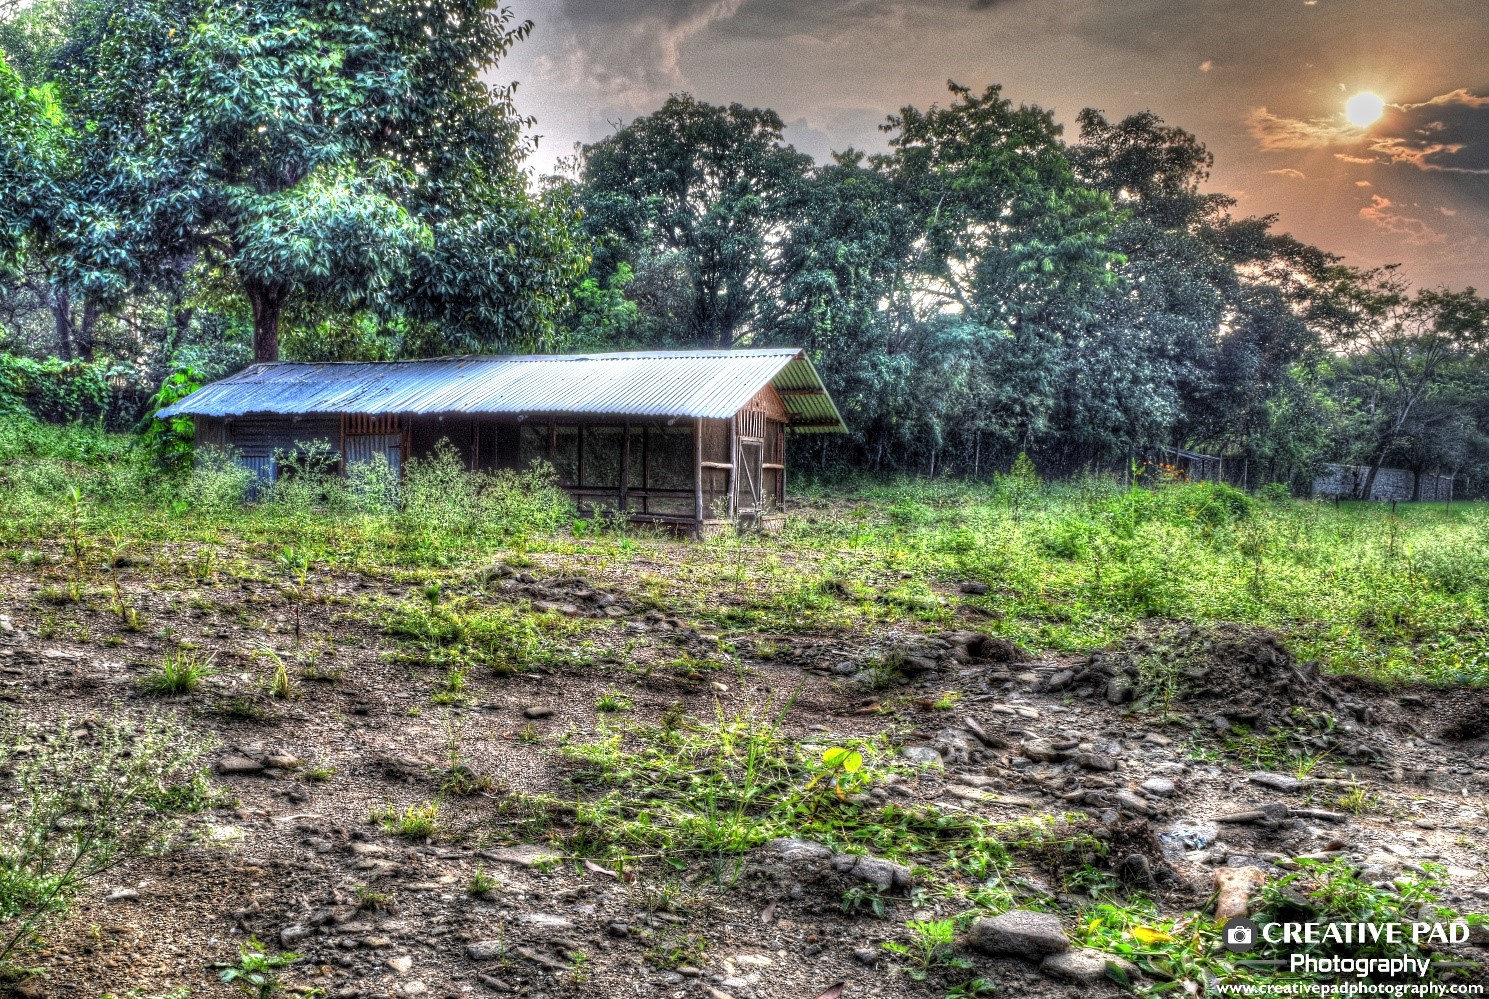
You can imagine how dry this shot will look without the hut.
The coconut shell is the focal point here.
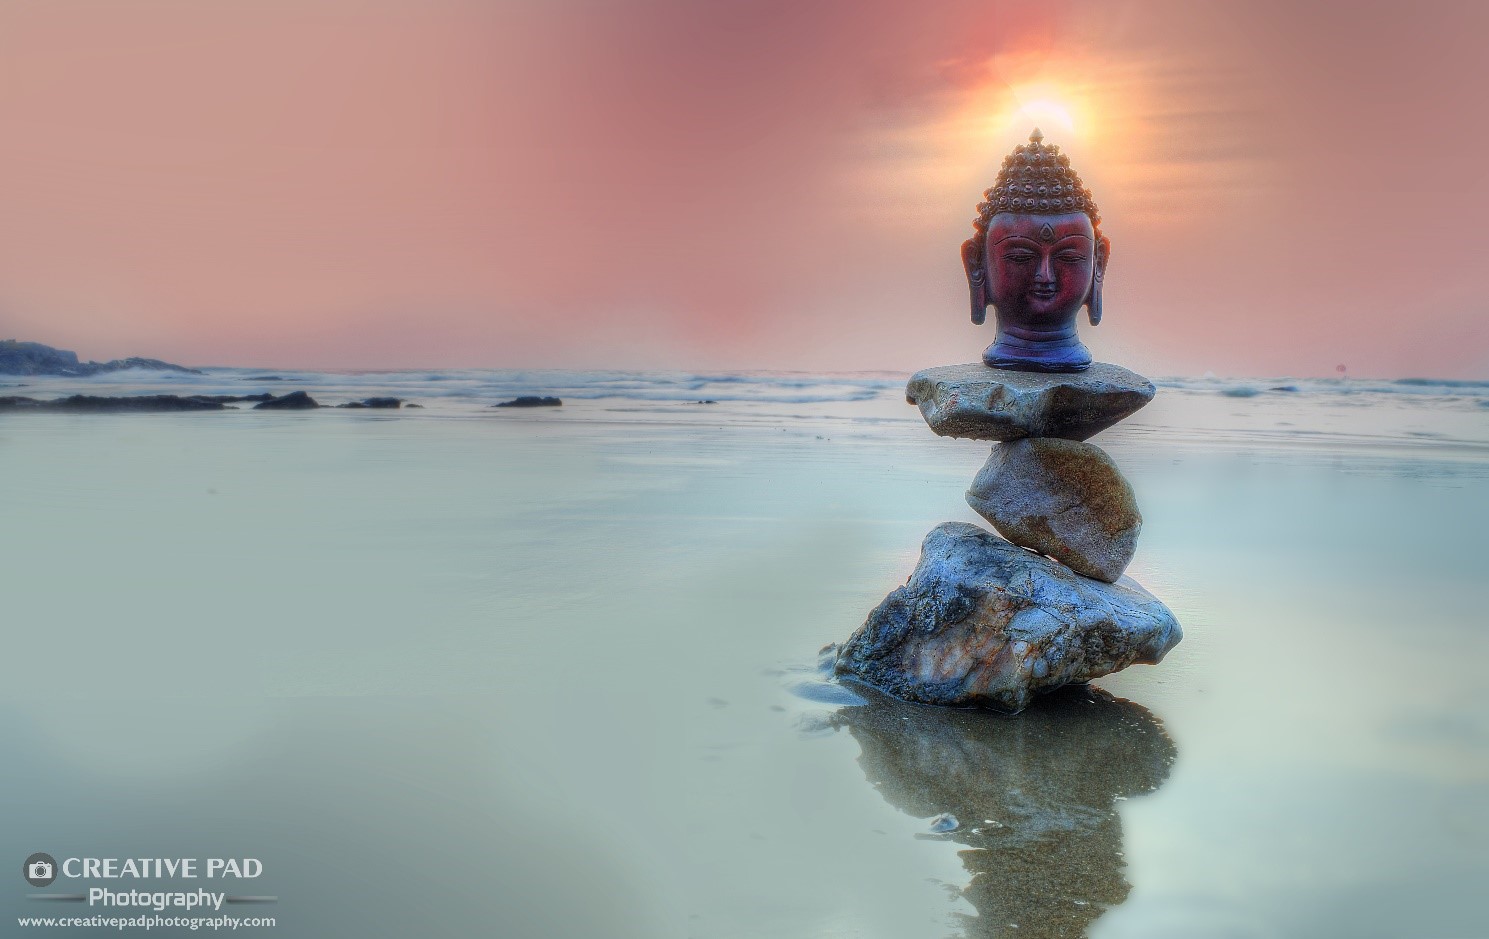
The Buddha idol is the focal point here.
Shooting During the Golden Hours
Golden hours is a term that you’ll be getting very used to in photography as it’s used all the time.
Golden hours refers to two hours – one hour after the sunrise and one hour before the sunset.
During these two hours, the sun is nearer to the horizon so sunlight has to travel through a greater depth of the atmosphere as opposed to during the time around noon.
This means that the light during the golden hours has lesser intensity than the light at noon.
Now how is this beneficial to photographers?
Whenever light falls onto something, it brightens the part that it’s falling on and the other side comes into shadows.
For photographers, this low intensity light is very beneficial because it doesn’t make the subject that it’s falling upon too contrasty. What does this mean? It means that since the light is of a lesser intensity, the bright part is not too bright and the dark part is not too dark. So when it falls on a subject, there is less contrast between the bright and the dark parts and that makes the subject look much more pleasing to the eye.
During noon, the light intensity is high and it produces a high contrast on the subjects that it falls upon.
To understand this, look at the following images:


You can see that the first image that has been shot around noon doesn’t look too pleasing. You can notice the prominent shadows that are cast by the bench and the plants. The contrast between the shadows cast by various objects that the light is falling on and the bright areas is very high, which doesn’t look good.
The second image is of the same scene, the only difference is that it’s been shot during the golden hour. You can see that this image is devoid of any bad looking shadows. This gives the whole picture a much more eye-pleasing and warm look.
In photography, brighter areas are referred to as highlights and darker areas are referred to as shadows.
So during the golden hours, the contrast between the highlights and shadows is less as compared to during the middle of the day.
This type of light that produces a low contrast between highlights and shadows is referred to as soft light.
And the type of light produces a high contrast between highlights and shadows is referred to as hard light.
In most situations, soft light is always preferred over hard light.
Shooting during the golden hours means that you restrict yourself to shooting during these two hours.
But in actual practice, restricting yourself to two hours can become quite challenging.
So what you should remember is that you should just avoid shooting at times when the light is too harsh, like at 12 P.M.
Try to shoot around the golden hours, even if it’s not precisely during the golden hours.
For instance, if I’m about to go out for landscape shooting, I’ll make sure that I’m not shooting before 4 to 5 P.M for sure.
The closer you are to the golden hours, the better.
Another advantage of shooting during the golden hours is that you’ll usually get a very beautiful looking red sky as you would have seen in some of the earlier landscape shots.
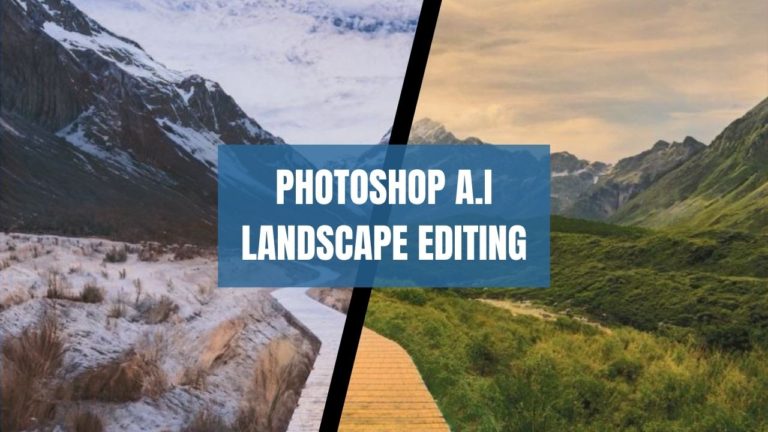
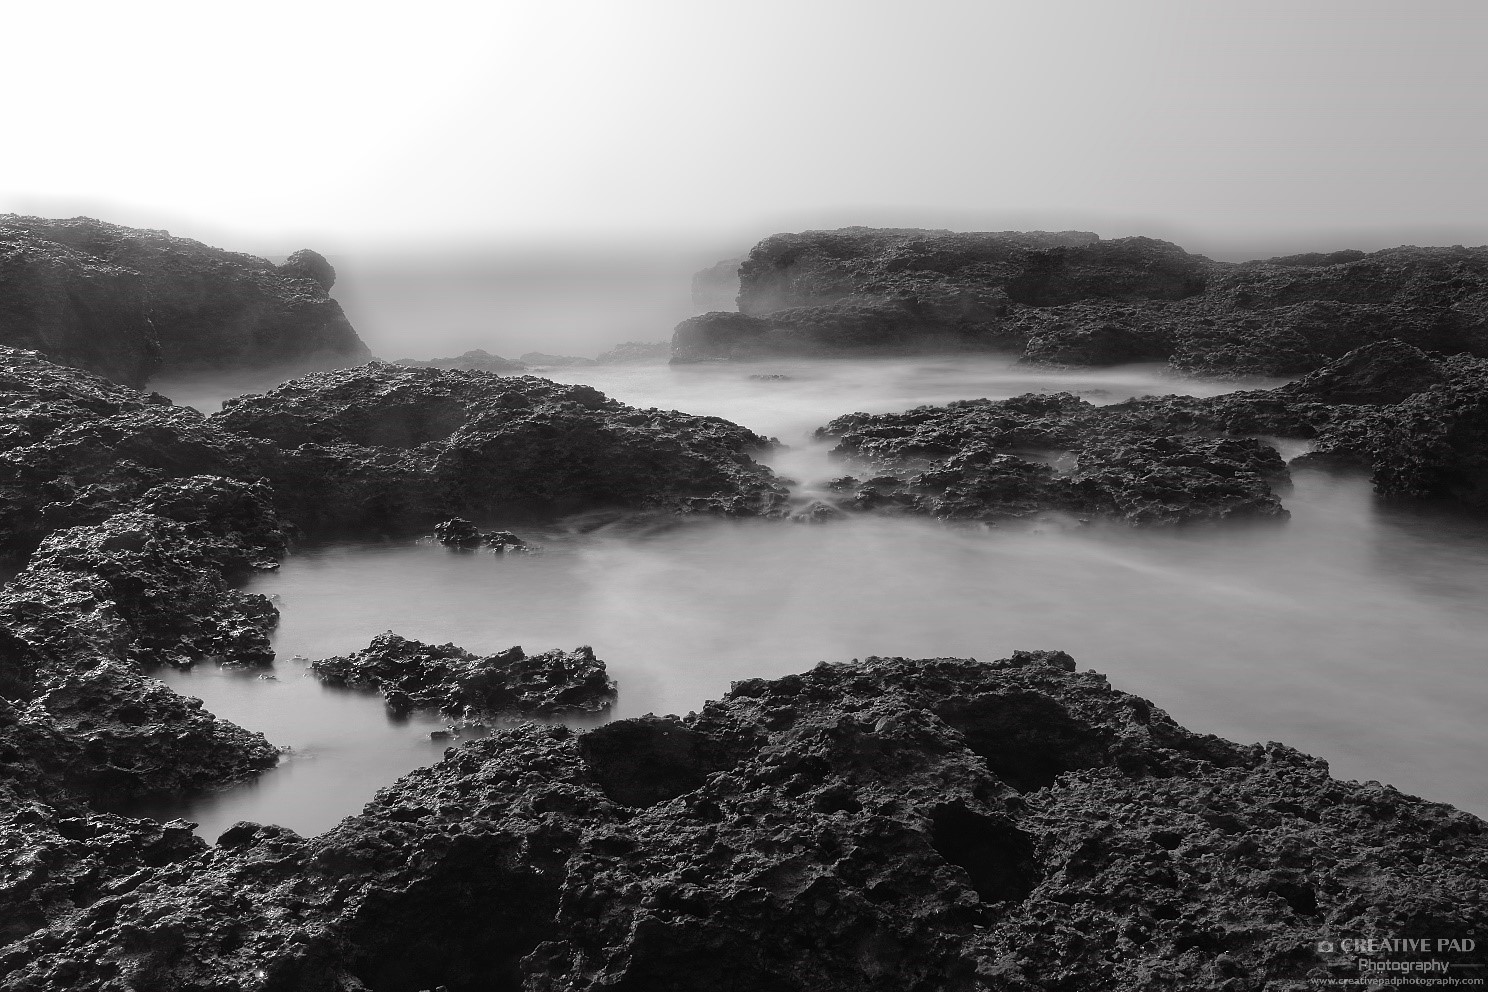
Shoot HDR Images
HDR refers to as High Dynamic Range.
Have you been wondering how I get those surreal looking effects in my landscape shots, like the one below?
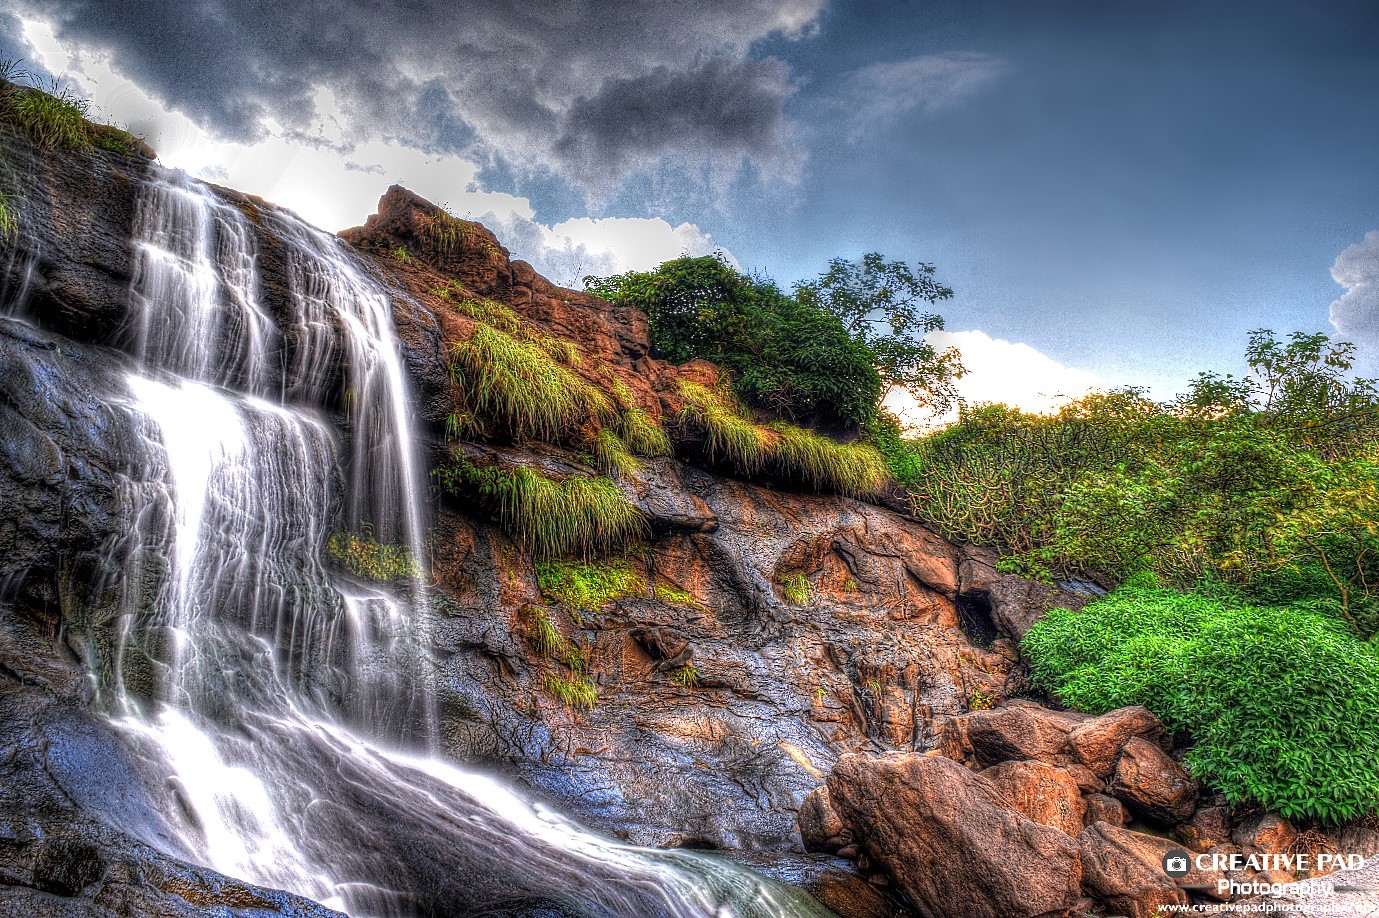
It’s because I’m using the technique of HDR shooting.
To learn about HDR photography, read this article.