A Beginner’s Guide to HDR (High Dynamic Range) Photography
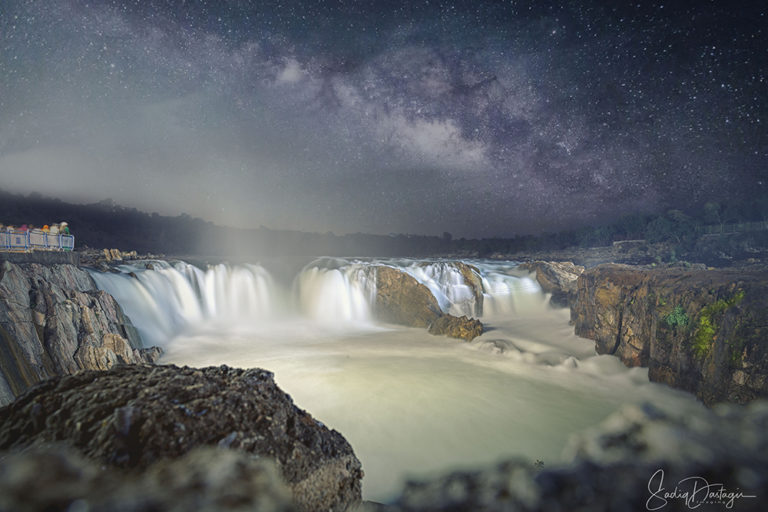
Ever wondered how photographers get those surreal looking landscape images, like the one below?
The answer lies in HDR photography.
HDR photography refers to High Dynamic Range photography.
What this means is that usually, it’s very difficult to shoot scenes in which there is a high contrast. For instance, when we take a shot of a room, we often find that the we can see everything in the room but the windows look overexposed making it difficult for us to see what is outdoors. That’s because the inside of the room is dark and in order to get a proper exposure, we have to either let in more light in the camera or increase the ISO. But the problem is that this makes the windows even more brighter and hence they look overexposed.
The same thing can happen when you’re shooting landscapes. The bright sky and the dark foreground results in a scene of high contrast and it can be tough to expose the whole scene properly in one shot. This is where the technique of HDR comes in. It refers to taking multiple shots at different exposures and them blending them.
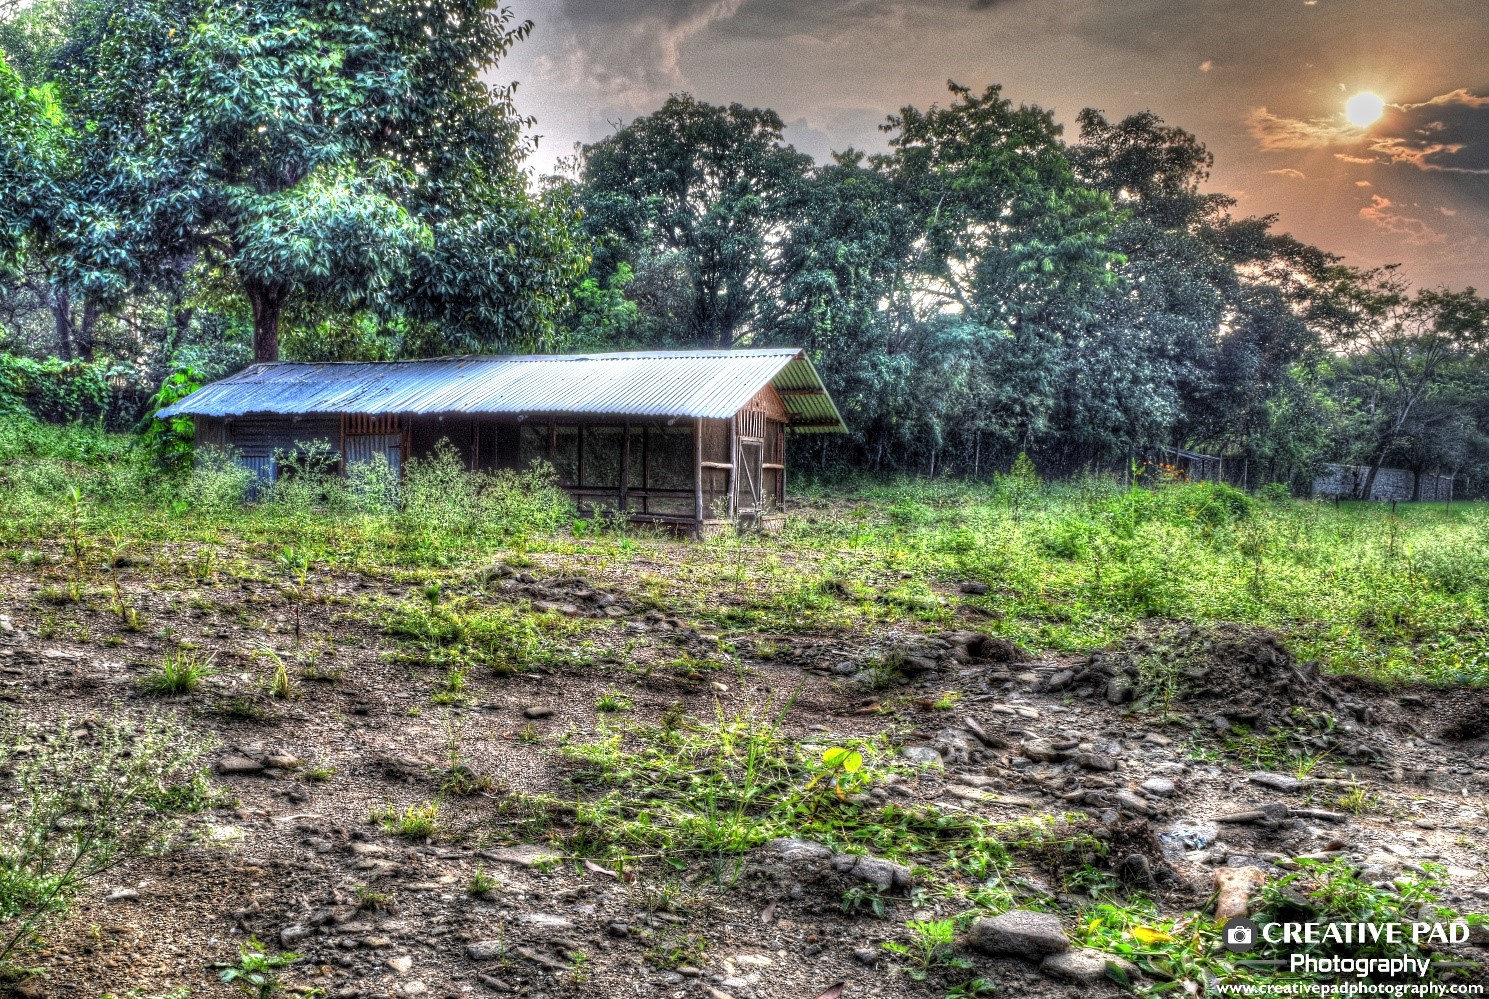
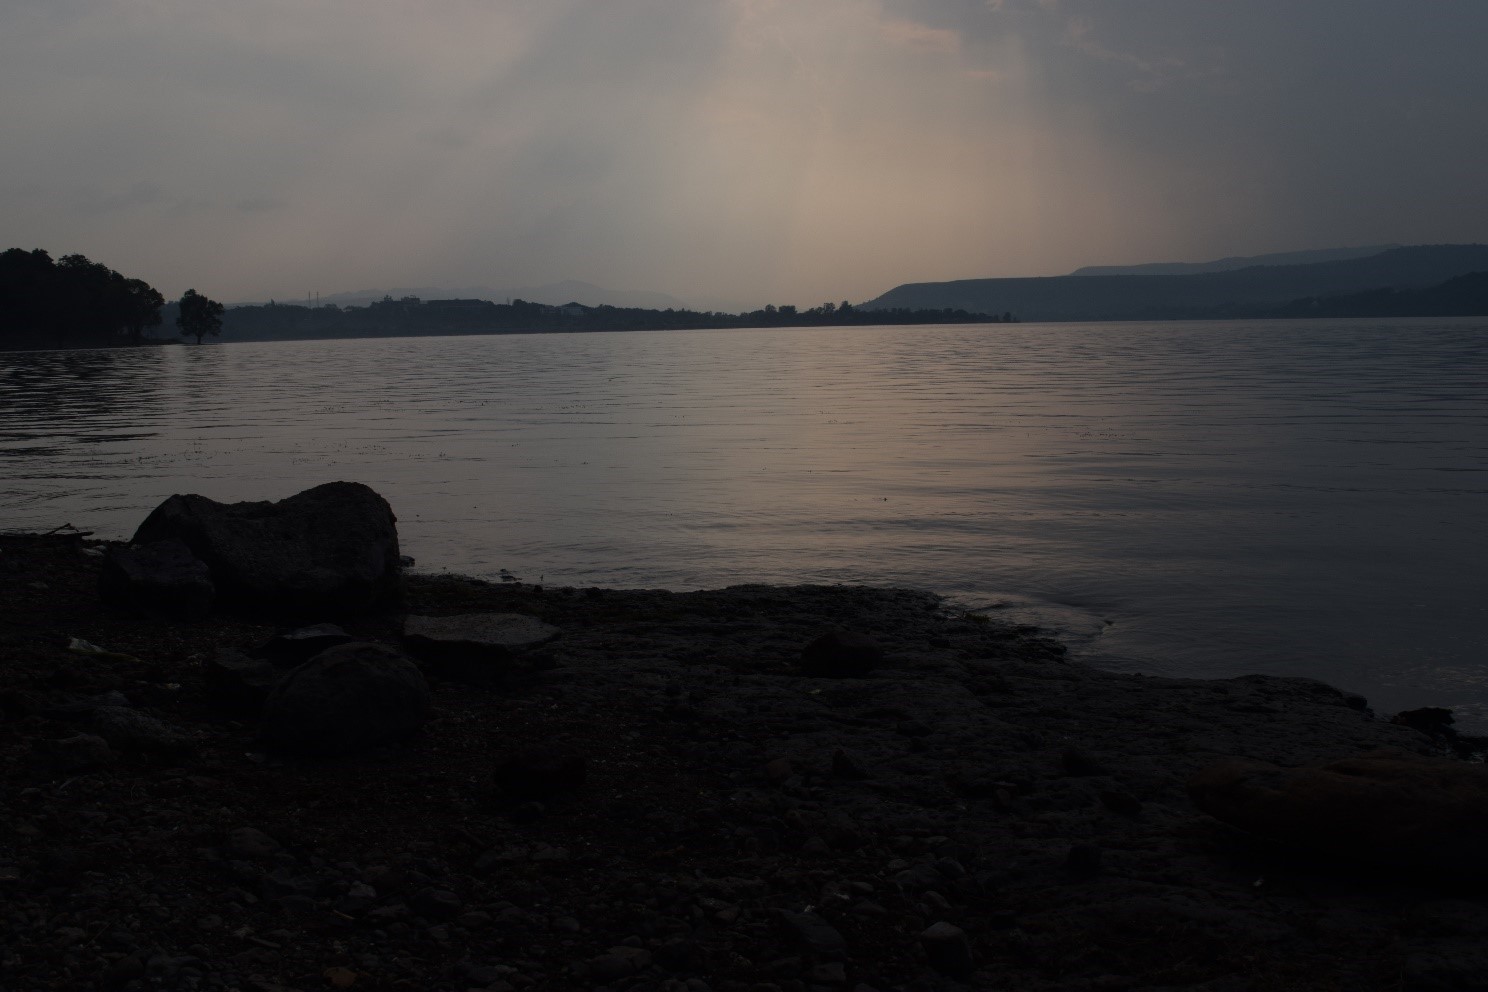
For example, look at the shot below:

Here you can see that one portion of the shot (the sky) is very bright and the foreground is slightly darker.
If you want all the details of the sky, you have to underexpose the shot deliberately so that its brightness will reduce and the hidden details will be revealed, like shot below:
You can see here that the redness of the sunset starts to get revealed as underexpose the shot because the bright sky gets underexposed. You can even start to see the rays of the sun.
Now this shot is good for the sky but because we underexposed the shot, the darker parts of the shot, like the foreground, have become very dark now.
To get the best out of the foreground, we have to do the opposite, i.e. overexpose the shot slightly, like the shot below:

In this case, the shot is good for the foreground as it has increased its exposure, but the sky has ended up becoming very bright.
So what you are seeing is that we cannot rely on one image to get the best results.
The best shot will result if we could combine the sky from the underexposed image and the foreground from the overexposed image and turn them into a single image.
This is what HDR photography does.
You take multiple images of the same scene at different exposures to get the best out of each element in the scene, and then combine them together in editing to get one shot, like the one below:

In HDR photography, we basically take multiple shots, usually 3 or 5 or even 7, and then combine them together.
Let’s see how the process works by seeing another example:
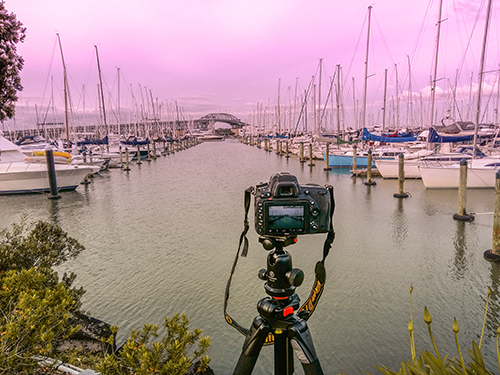
Below is a shot I have taken in the photowalks that we conduct here in Pune where I teach this HDR technique:
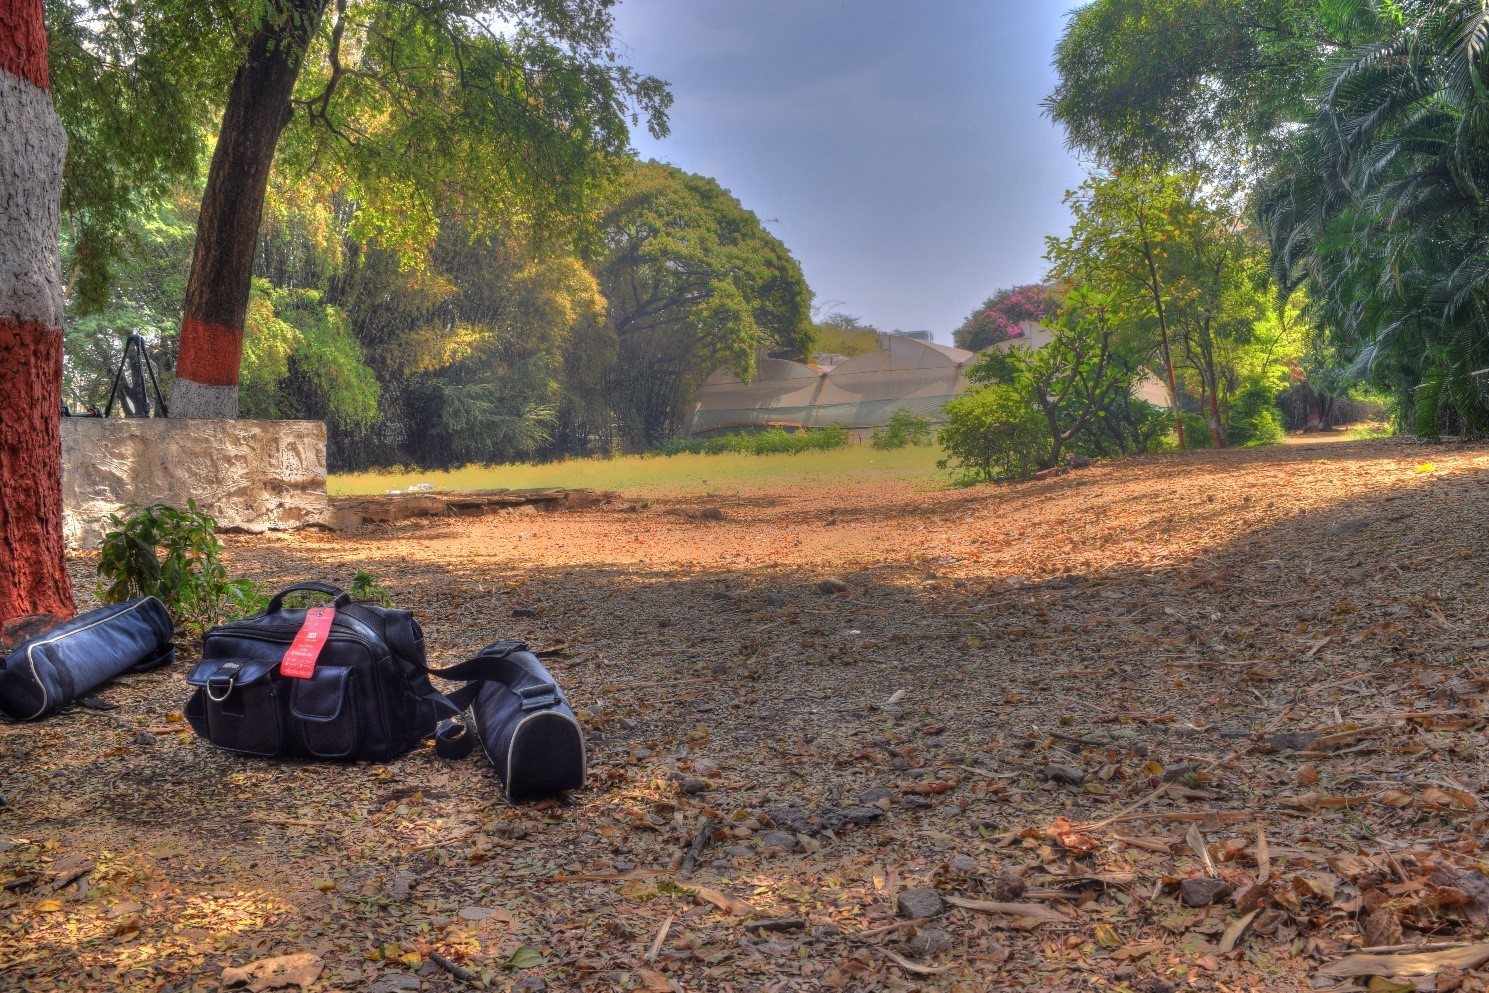
To get such a shot, here are the steps you have to take:
Shoot the first shot with the required settings and the meter in the centre. Let’s say I’m using the following settings for this shot:
F13
ISO 100
Shutter speed 1/10
This will give me a shot which will be averagely exposed for the whole scene, like the one below:

Next, to get the best out of the sky, we’ll take another shot by deliberately underexposing the shot and shooting with the meter towards the negative side, like shown below:
Now when you have underexpose such a shot, you cannot change the aperture and ISO because that would change the depth of field and noise respectively. So what we do is that we change the shutter speed. We increase the shutter speed so the meter goes to the negative side. So let’s say I take the second shot at a shutter speed of 1/30. This will make the shot underexposed and get the details out of the sky, like the shot below:

Of course, you have to use the tripod since the composition cannot change between any of the shots.
Next, to get the best out of the foreground, we’ll take another shot by deliberately overexposing the shot and shooting with the meter towards the positive side, like shown below:
This time you decrease the shutter speed. So let’s say I take the third shot at a shutter speed of 1/5. This will make the shot overexposed and get the details out of the foreground, like the shot below:

If you wish, you can even take five shots further overexposing and underexposing.
Next, it’s time to combine the shots together. First of all, make sure you download the three images that you just saw so that you can do this exercise along with me:
Though it’s possible to combine these shots using Photoshop, it can be a bit tricky for beginners to learn. So we’ll be using a HDR software called Photomatix for this purpose. Photomatix is a paid software which only costs $39 (at the time of writing this lesson). You can download it for free using the link below. In the free version, Photomatix will attach an annoying watermark to your shots, but it’s good for testing out things.
Once you click on the link above, go to Photomatix Essentials and download it.
Now let’s start the process of combining the shots.
Watch the video below to see what to do. Alternatively, you can read the description too.
Video 20: Blending Multiple Exposures to Create HDR Images

- Open Photomatix and then click on Browse. From the folder you download using the link above, choose images 1, 2 and 3.

- Click on ‘Next: Adjust & Preview’ button. You’ll see a window come up:

- Here, click on Ok. Check Remove ghosts only in case something moved between any of your photographs, like a person or some object. Photomatix will remove it in the final shot.
- Next, you’ll see one single image come up like shown below:

- You’ll see a lot of tone-mapping effects on the right that you can apply to it.
- Try a few of them and choose the one which you like. You can even play around with settings on the left for each effect. For example, if you like an effect but you feel it’s too strong, then you can reduce its intensity by moving the Strength slider.
- Once you’re done, click on Finish & Save. It will ask you whether you want to reduce noise in your image. Click on yes and BAM! You’re done. You’ll get the final output like shown below: