
Why a Tripod is Essential in Taking a Landscape Shot?
Let’s say you are trying to take the shot below:
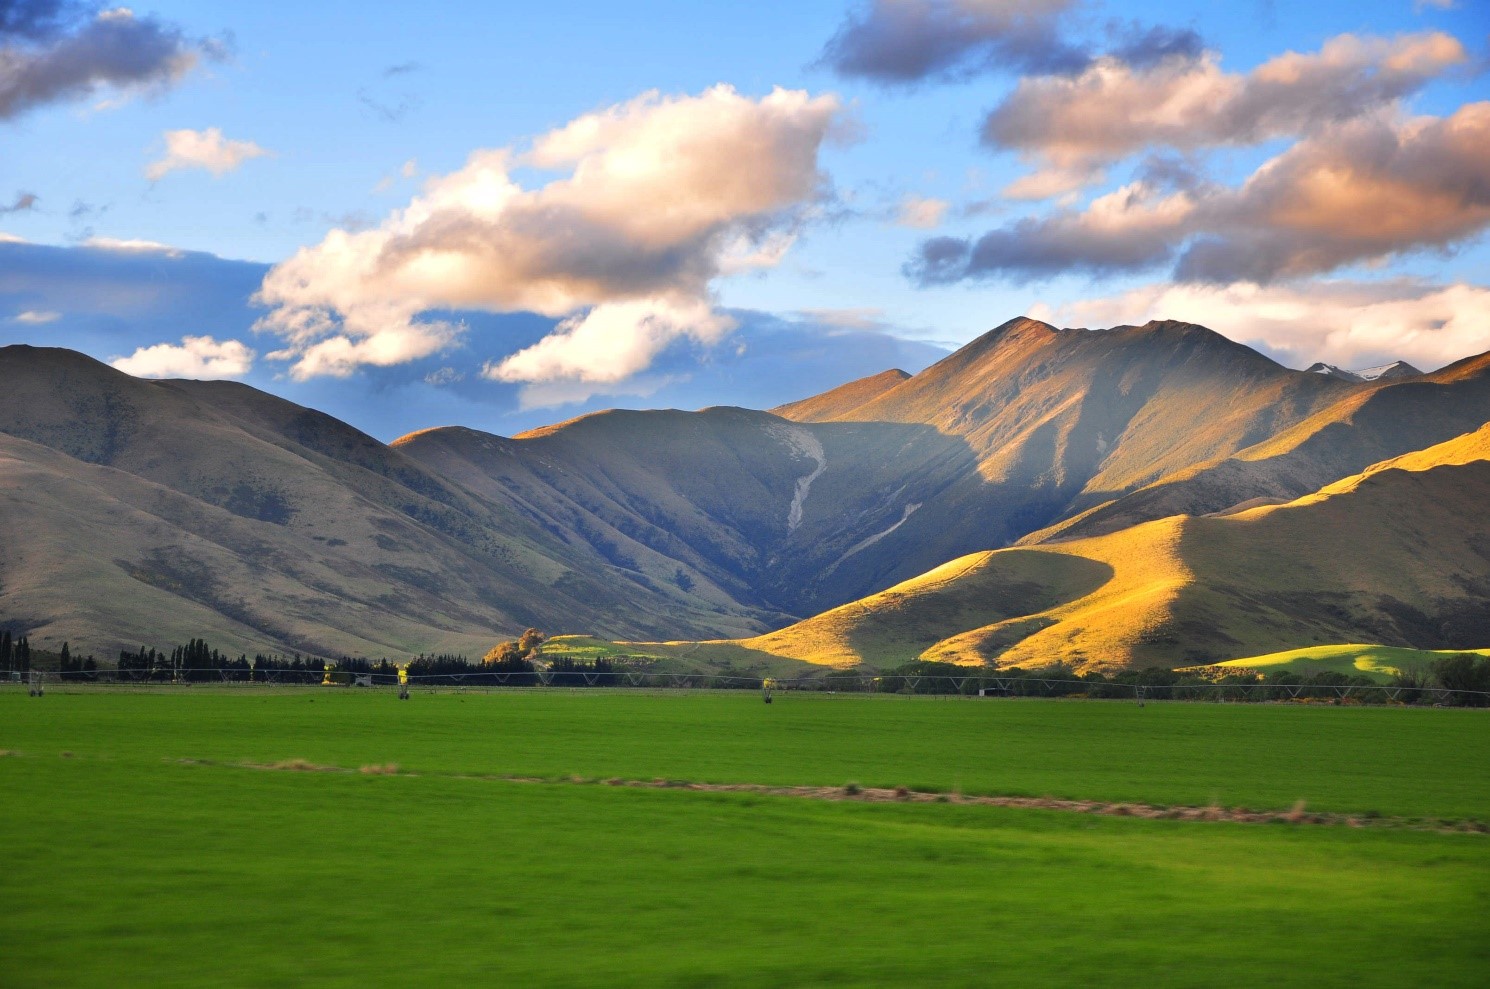
Can you guess what’ll be most important setting for this shot?
If you guessed Aperture, you are correct!
In a landscape shot, it’s important to get all the focal planes in focus right from front to back. Hence, we need a deep depth of field.
A large f-stop number enables us to do that.
So let’s say our settings are the following:
Aperture: f3.5
Shutter Speed: 1/500
ISO: 400
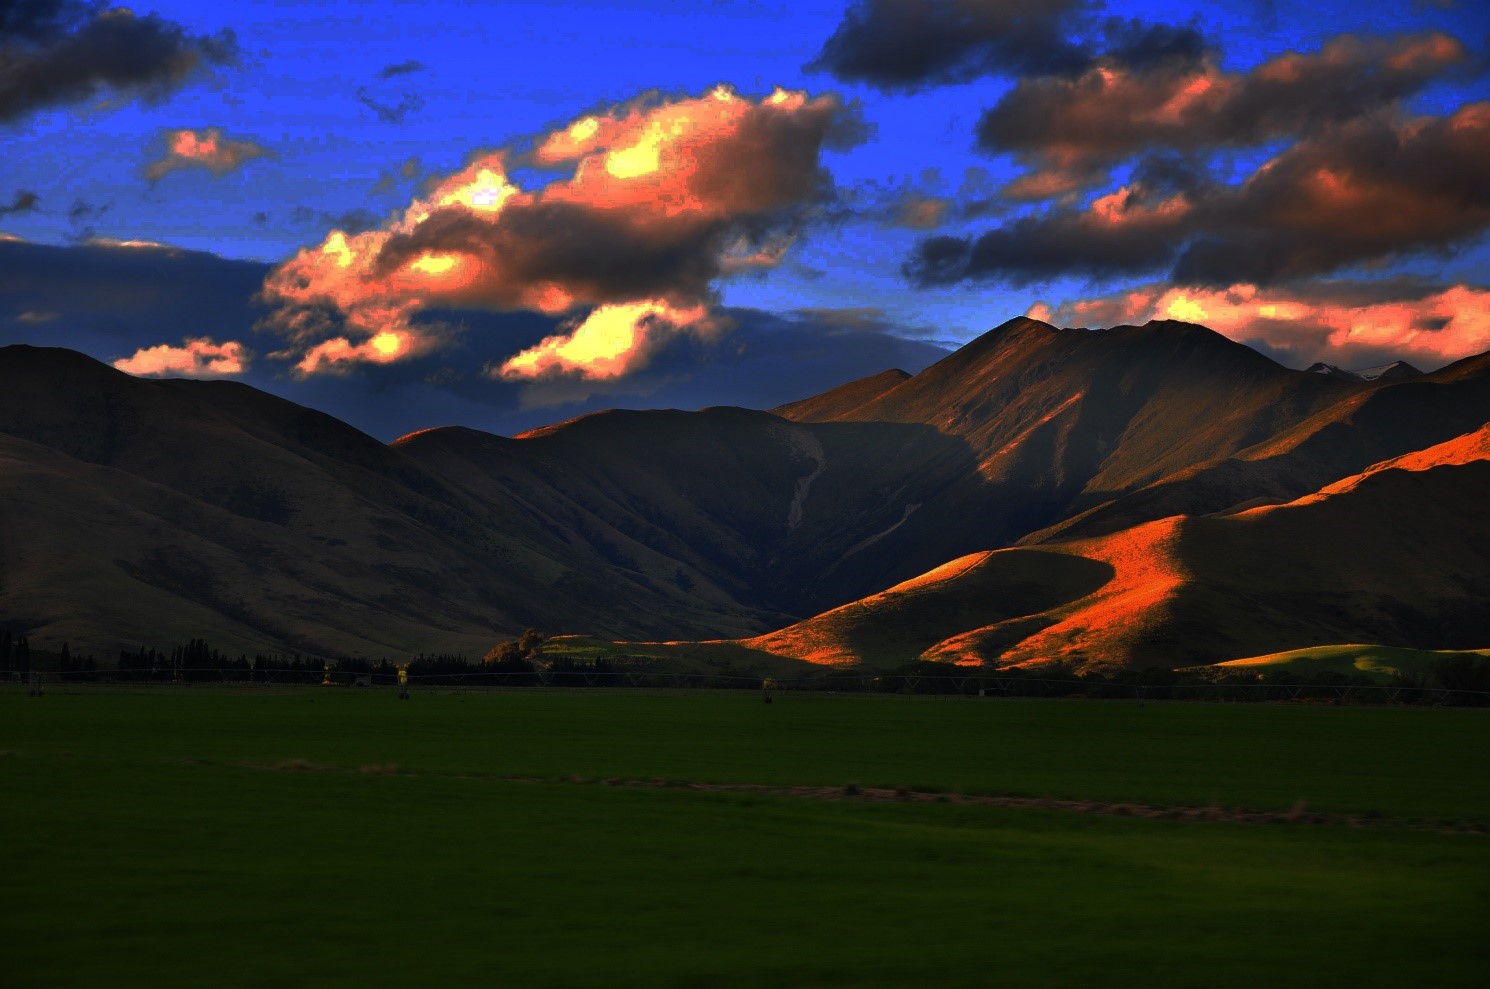
The first thing you would do is to increase the f-stop number. Let’s say you push it up to f16.
This would move the light meter towards the negative side. If you were to take the shot now, it would come out underexposed like this:
So how can you get the meter in the middle?
Again, amateur photographers will simply resort to increasing the ISO.
But a smarter photographer knows that ISO should be the last resort as it results in noise.
So a smarter thing would be to ask yourself – Is anything moving in the scene?
The answer is no.
If nothing is moving, then can you use a slower shutter speed?
Yes, you can.
So the right thing to do here would be to lower the shutter speed.
But before we do that, first reduce the ISO all the way to 100. This is because we’ll be able to save all the light by using a very slow shutter speed, so there’s no need for even an ISO of 400.
Once ISO is set to 100, you’ll see that the meter has further moved towards the negative side.
But now it’s not a problem?
Because all we have to do is to keep reducing the shutter speed till the meter comes in the centre.
So let’s say we keep reducing from 1/500 and find that the meter came in the middle at 1/5.
Now we’re ready to take the shot.
Or are we?
What if I tell you at this moment that you have forgotten about one very important movement?
Think about it.
Can it be the clouds? The answer is No. In fact just like water, clouds actually look very nice and artistic when their movement is blurred. So a slower shutter speed would be great for clouds to produce a nice blurry effect.
Can it be the grass? The answer is No. We’re assuming that the grass here is so short that it’s not really moving by the wind.
Then what is it?
I’ll give you a hint.
The hint is that this movement that I’m talking about cannot be seen by you when you look at the shot.
Have you guessed it?
Here is the answer.
The movement that we completely forgot about here is OUR OWN MOVEMENT WHILE TAKING THE SHOT!!
You see when we shoot the camera handheld, it is impossible to stay absolutely still. There is bound to be some movement of the camera due to the movement of our hands.
This is referred to as a camera shake.
A camera shake is not a big problem when you are using faster shutter speeds because the shot is taken so fast that the minor camera shake due to the movement of the hands becomes irrelevant.
The problem comes when we are using slower shutter speeds.
This is where a camera shake can cause a shot to look blurry not because the subject was moving, but because the camera itself moved.
When shooting handheld, any time you go below a shutter speed of 1/40, you’re always taking a risk.
1/40 is not a universal rule. It’s just an average. Some people don’t even go below 1/50 or 1/60 when shooting handheld. While others who have a more stable technique and like to take risks can shoot handheld even at 1/10. You can read about the reciprocal rule to know exactly what shutter speed you should be using to avoid camera shake.
But for the purpose of this book, we’ll stick to 1/40. So if you’re shooting handheld, you should not be going below a shutter speed of 1/40.
So coming back to our original shot, let’s have a look at what we should be doing with our newly gained knowledge.
Previously, we just kept on decreasing the shutter speed till the meter came in the centre and took the shot.
But now we know that even though there is no movement in the scene, we cannot decrease the shutter speed all the way down as we are shooting handheld.
So we can only go down till 1/40.
Once we reach 1/40, we’ll find that the meter is till pointing towards the negative side.
So we’ll have to increase the ISO till the meter comes in the centre. Then we can take the shot.
But it will contain some noise.
So how can we get rid of the noise?
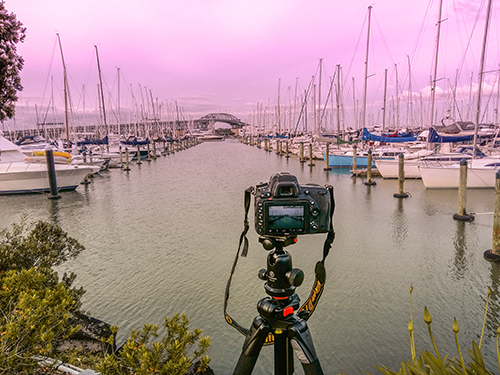
The answer lies in using one of the most popular accessories in photography – THE TRIPOD.
When you are using a tripod, you can keep on making the shutter speed slower till the time the light meter is in the center.
Since nothing moves in landscape shots (usually), using a slower shutter speed is not a problem.
But that extra light falling on the sensor allows us to shoot our shots at the least ISO possible, thereby giving us clean looking pictures.
So now you know that a tripod is not just important for composition, but also to get clean noise-free images.


Very informative and good post
Thank you
Very informative post.Thanks Kush for sharing
Thanks Amit