
How to do Studio Photography Without Flash
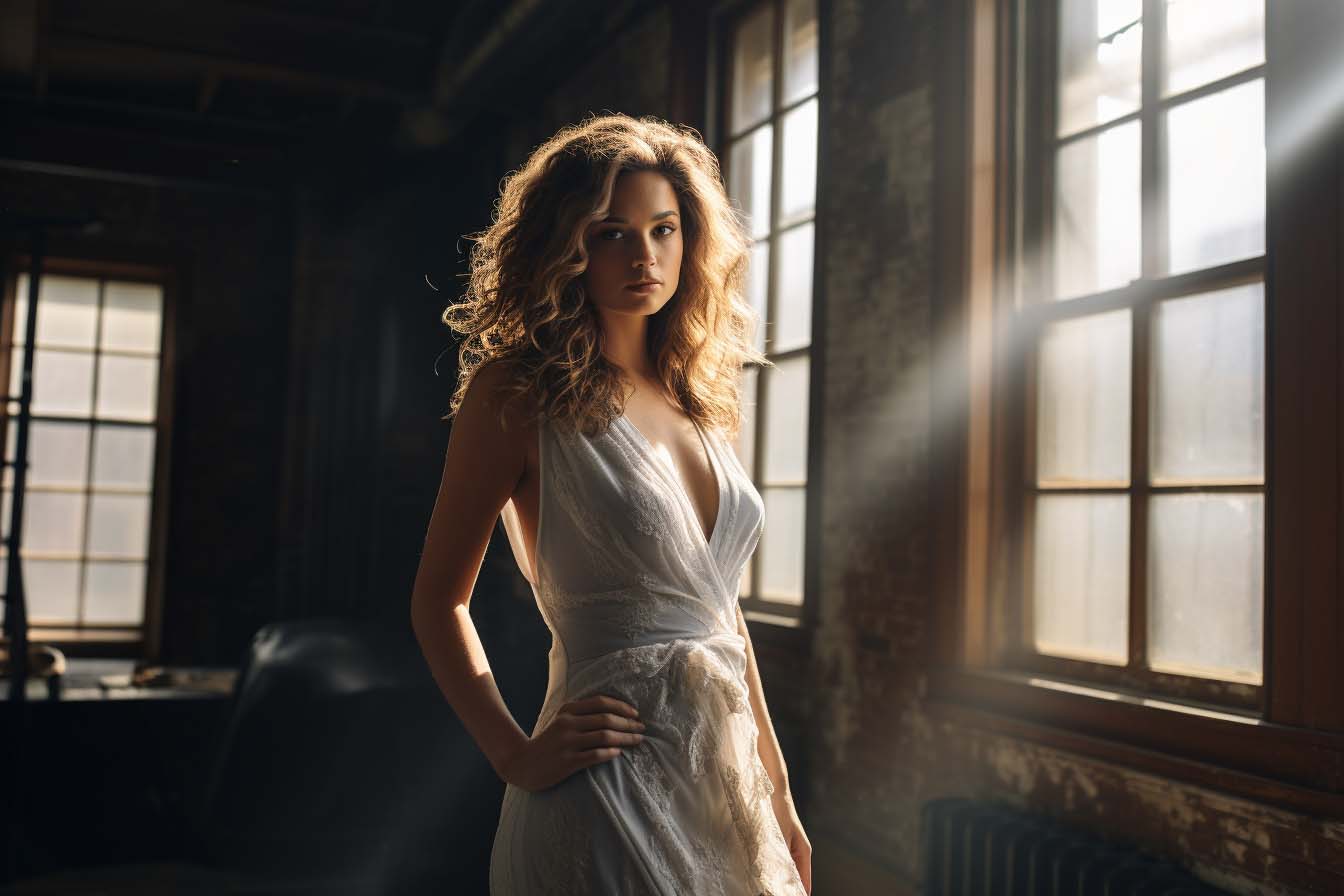
When one thinks of studio photography, the image that usually comes to mind is that of large strobe flash lights with large modifiers mounted on them, like the image below:

And this can be scary for a lot of beginners, not only because of the cost involved in a flash oriented set-up, but also because of the complexity involved in operating flashes.
Flashes work very differently than ambient light and require extensive knowledge of how light works, to be able to dial in the correct settings in the camera.
But what a lot of beginners don’t know is that you actually don’t need a flash for studio photography.
Studio photography can also be done by using the following two things:
- Ambient light (Natural light)
- Continuous light source (like a bulb or video light)
But before you can understand how these can be used for studio photography, you have to know why pro photographers prefer flashes.
The reason is that flashes are able to provide a very strong burst of light which cannot be matched by natural light or even a continuous source of light.
This strong burst of light allows the photographer to only use one source of light and avoid mixing it with the natural light. This is important because if you mix two sources of light, the colors produced in your final shot will be inaccurate and will be very tough to correct even while editing.
So the important lesson is – Use one source of light.
If you are using flash, then use flash. If you want to use natural or continuous source of light, then use that only.
The only exception to this rule is that you can use a continuous source of light with a flash, provided the color temperature of both the lights is the same. For instance, you don’t want to mix a lower color temperature (yellow light) with a higher color temperature (white light).
Now that you know this principle, let’s come back to the main question – How to do studio photography without flash?
Two Methods of Doing Studio Photography Without Flash
Remember, I just mentioned that flash is a strong source of light and that’s why photographers prefer it.
Going by that logic, if you can find a strong source of natural light or a continuous source of light, then you can use that too for studio photography.
So how can you find a strong source of natural or continuous light?
1. Large Window or Opening (Natural Light)
For natural light, this can be achieved by finding a large opening like a large window or door, preferably in the direction of sunlight. You can then use a see-through curtain or a modifier cloth (called a scrim) to modify this light so it spreads out. This will be like using a softbox on a flash.
2. Video Light (Continuous Light)

For a continuous source of light, this can be achieved by buying a powerful video light, like a LED video light.
It’s important that you buy a powerful light because if the light isn’t bright enough, then you will have to increase the ISO value in your camera to compensate and that can lead to an image with a lot of noise. This is actually another reason why flashes are preferred by pros, since they allow the use of the lowest ISO value and hence a clean looking image.
But these days the modern cameras have good ISO capabilities. So even if you have raise the ISO value a bit, it’s ok. Just don’t do it too much.
Which option is better between the two?
In my experience, a video light is a better option simply because it’s not easy to find large openings like windows. In addition to that, relying on natural light would mean you are restricted to shooting only during the day time.
Video lights also allow for the use of different modifiers like softboxes, snoots, umbrellas, etc. Therefore, you can modify light in the same way as you would do with a normal flash.
But do note that some video lights are designed in such a way that they may not accommodate modifiers.
For instance, the type of halogen light below will not allow for the use of a softbox simply because there is no way to fit it:

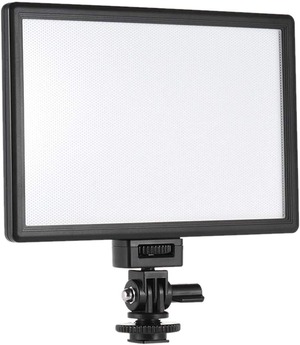
Also, large LED panel lights (like the one below) will not accommodate all types of modifiers:
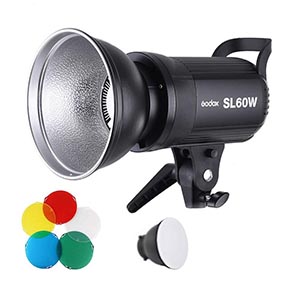
So it’s better to go for video lights that look like strobes, like the ones below. Some of the best video lights are made by Godox. If you are a beginner, I recommend you go for the Godox SL60W. It’s cheap and has a decent amount of power at 60 Watts. But do note that using a modifier on it, like a softbox, does cut down some light. So if you have more budget, go for a more powerful one, like more than 100 Watts.
My Own Embarrassing Story When I Was a Beginner
I have something embarrassing to share with you. When I started out doing photography, I purchased a couple of strobe lights but had no clue how they worked.
In fact I did not even know that strobe lights are actually flashes. I simply used to use the modelling lamp on the strobe (it’s a 10 watt bulb to give a preview before the actual flash unit fires).
That basically means I was using a continuous source of light even though I had a flash. And I did this even for paid shoots LOL!
I wrote a whole article about it where I even show you the shots I took for my clients. You can read this article by clicking here.
Only later did I learn how a strobe light (flash) actually works.
If I can get away with shooting using a modelling lamp, you can definitely use natural light or continuous light to do studio photography.
Conclusion
Don’t be afraid to experiment in photography. Not all of us have the budget to buy expensive strobe lights. Photography is art and art is subjective. If you are able to deliver the final result, then it doesn’t matter what means you used to achieve it.
But at the same time, it’s important to know what different lights can achieve, so you can always up your level when the time is right.
Studio Photography Course
If you are interested in learning the art of studio photography, then do check out my course called Studio Photography for Beginners, where I show you the entire process of setting up a budget studio inside your house and using cost-efficient strobes to get professional looking studio shots. It has 31 videos and is available via Udemy.com. You can watch the promo video below to see what all this course contains:


