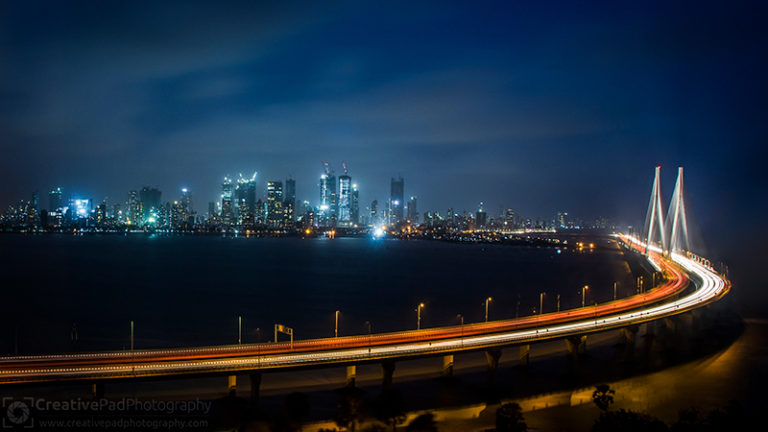
How to Shoot Light Trails on Android – Pro Mode
In this video we will be seeing how to shoot light trails using the Pro Mode in an Android phone. I am using a Samsung M31 Smartphone here.
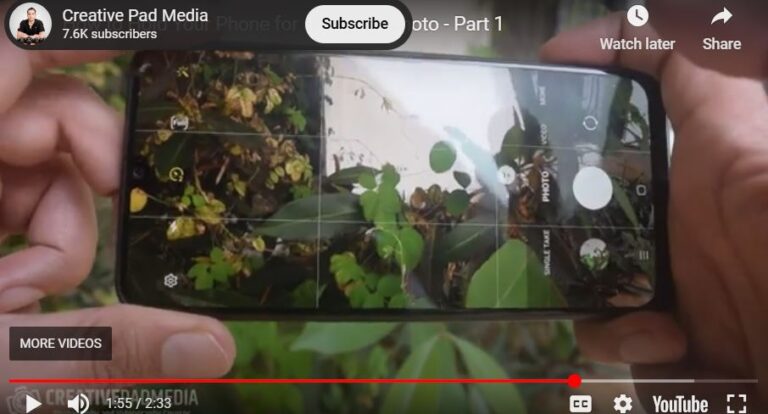
Here is the video:
This video is from our Mobile Photography Course, which has 40 videos and 6 hours of content. Use the link below to access the full course on Udemy:
Video Summary
This video provides a tutorial on how to capture long-exposure light trails on an Android smartphone using Pro Mode.
Setup and Shooting Process
- Stability: Since this is a long exposure, the phone must be completely still. Use a tripod or a selfie stick tripod placed on a steady surface [00:20].
- Pro Mode Settings:
- Focus: You can use Auto Focus or switch to Manual Focus. A tip is to focus in “Photo Mode” first and then switch back to Pro Mode [01:00, 01:11].
- ISO: Set to the lowest possible value (e.g., ISO 50) to reduce image noise and prevent overexposure [01:30, 05:05].
- Shutter Speed: Experiment with different speeds depending on the traffic. The video shows tests at 4, 8, and 10 seconds [01:25, 03:35].
- Preventing Shake: Use a remote shutter or the phone’s built-in timer (set to 10 seconds) so that the vibration from your hand touching the screen doesn’t blur the photo [01:46, 02:14].
Challenges with Smartphone Sensors
- Highlight Clipping: Smartphone sensors are small and can struggle with very bright light. Too many cars passing at once can create a “cluster of highlights” where detail is lost (blown-out whites) [06:26, 06:51].
- Timing: The creator purposefully shot after the “blue hour” (peak twilight) to avoid the heavy rush-hour traffic, which would have caused too much highlight clipping on a phone [07:35, 07:54].
- Pro Tip: For the best results on a phone, choose a darker area with a moderate, steady flow of traffic rather than a crowded highway [08:46].