How to Shoot Reflective Products on a Budget
In this video we will be learning how to shoot products with a highly reflective surface. We will achieve this by diffusing the reflection by adding an extra layer of diffusion in front of the softbox.
We will also be seeing how to edit the shot in Photoshop to get the final result with a RGB white background, which is perfect for e-commerce platforms like Amazon.
Here is the video:
To see the gear mentioned in the video, use the link below:
This video is from our Product Photography Course, which has 28 videos and 4 hours of content. Use the link below to access the full course on Udemy:
Video Summary
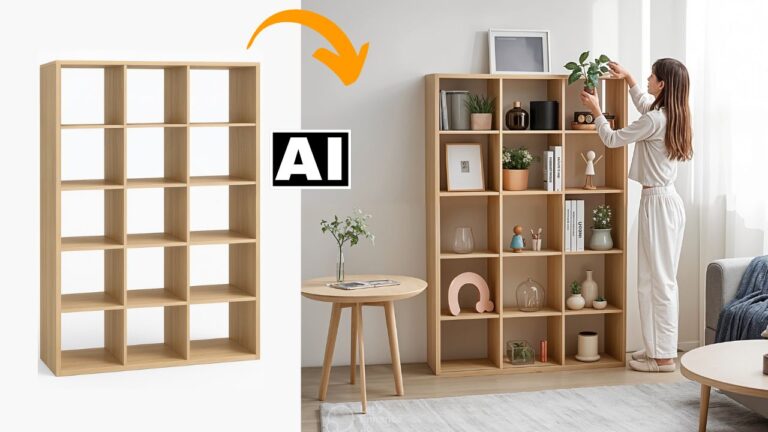
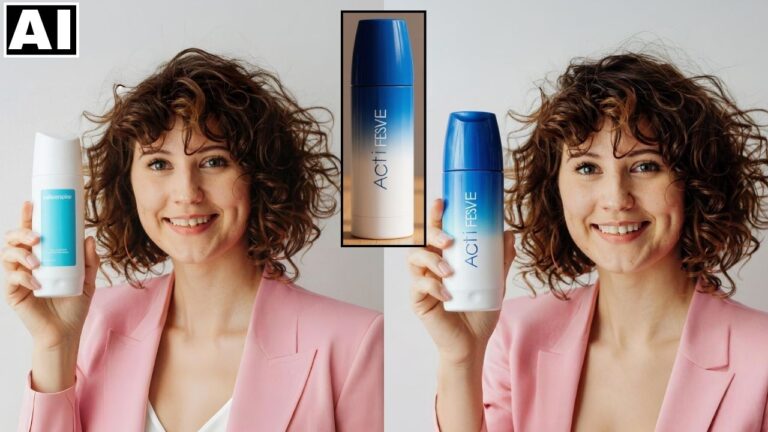
This tutorial from Creative Pad Media demonstrates how to photograph highly reflective products, such as a plastic cologne bottle, using an open-room setup and budget-friendly tools.
Shooting Setup and Techniques
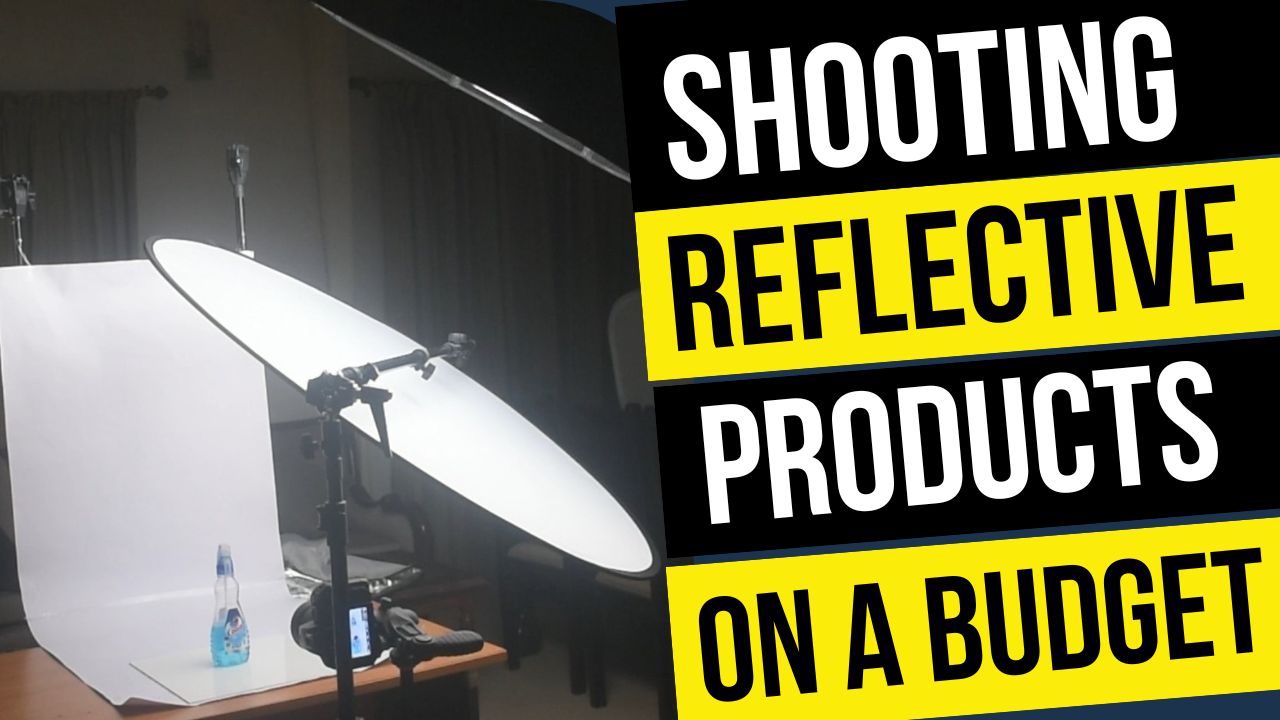
- Managing Reflections: Direct lighting at a 45° angle causes harsh, distracting reflections [01:03]. To minimize this, raise the light stand and point the light downward as much as possible [01:42].
- Diffusion: Using a 42-inch diffusion panel in front of the light source turns harsh reflections into smooth, “butter-soft” diffused reflections [03:32].
- Camera Settings: Use a tripod to allow for a slow shutter speed (e.g., 1.6 seconds) and low ISO (ISO 100) for the cleanest image quality [05:15]. Shoot in RAW format to ensure maximum data for post-processing [04:47].
Photoshop Editing
- Creating a White Background: Use the Replace Color adjustment to turn the background white [09:25].
- Advanced Masking: To prevent the product (especially transparent parts) from becoming overexposed, create a selection of the subject first using the Select Subject tool [11:43]. Then, use a layer mask to paint back the original detail of the bottle while keeping the background white [12:12].
- Refining Edges: Use the Shift-click trick with the Brush tool to create perfectly straight lines when cleaning up the edges of the product mask [13:51].
Final Color Grading
- Camera Raw Filter: Apply final touches like increasing Vibrance and Texture to make the product details and colors pop [15:41].
- Color Mixer: Target specific colors (like a red logo) to adjust their Hue, Saturation, and Luminance individually to make them stand out [16:44].