How to Shoot Starry Nights With a DSLR From the Comfort of Your Home
Capturing starry nights on your DSLR is always an idea that is bound to fascinate and arise curiosity in every photographer, at some point of time.
But even with the right knowledge of the settings and techniques required, doing so can be a challenge, since ideally speaking, you would require a place that is not affected much by city light pollution.
So what do you do if you can’t find such a place or don’t have the time to travel to one?
You find a hack.
The hack we’re talking about here will enable you to capture starry nights right from the comfort of your home. Well to be frank, not in the literal sense, since you will have to go to the roof top. But that’s still better than having to endlessly wait for your uninhabited star-lit dreamland vacation.
So here’s what you will need:
- A DSLR Camera
- A tripod
- A shutter release remote (optional)
- A roof
- Clear night
- Photoshop (A must)
Here are the steps:
- Go to the rooftop
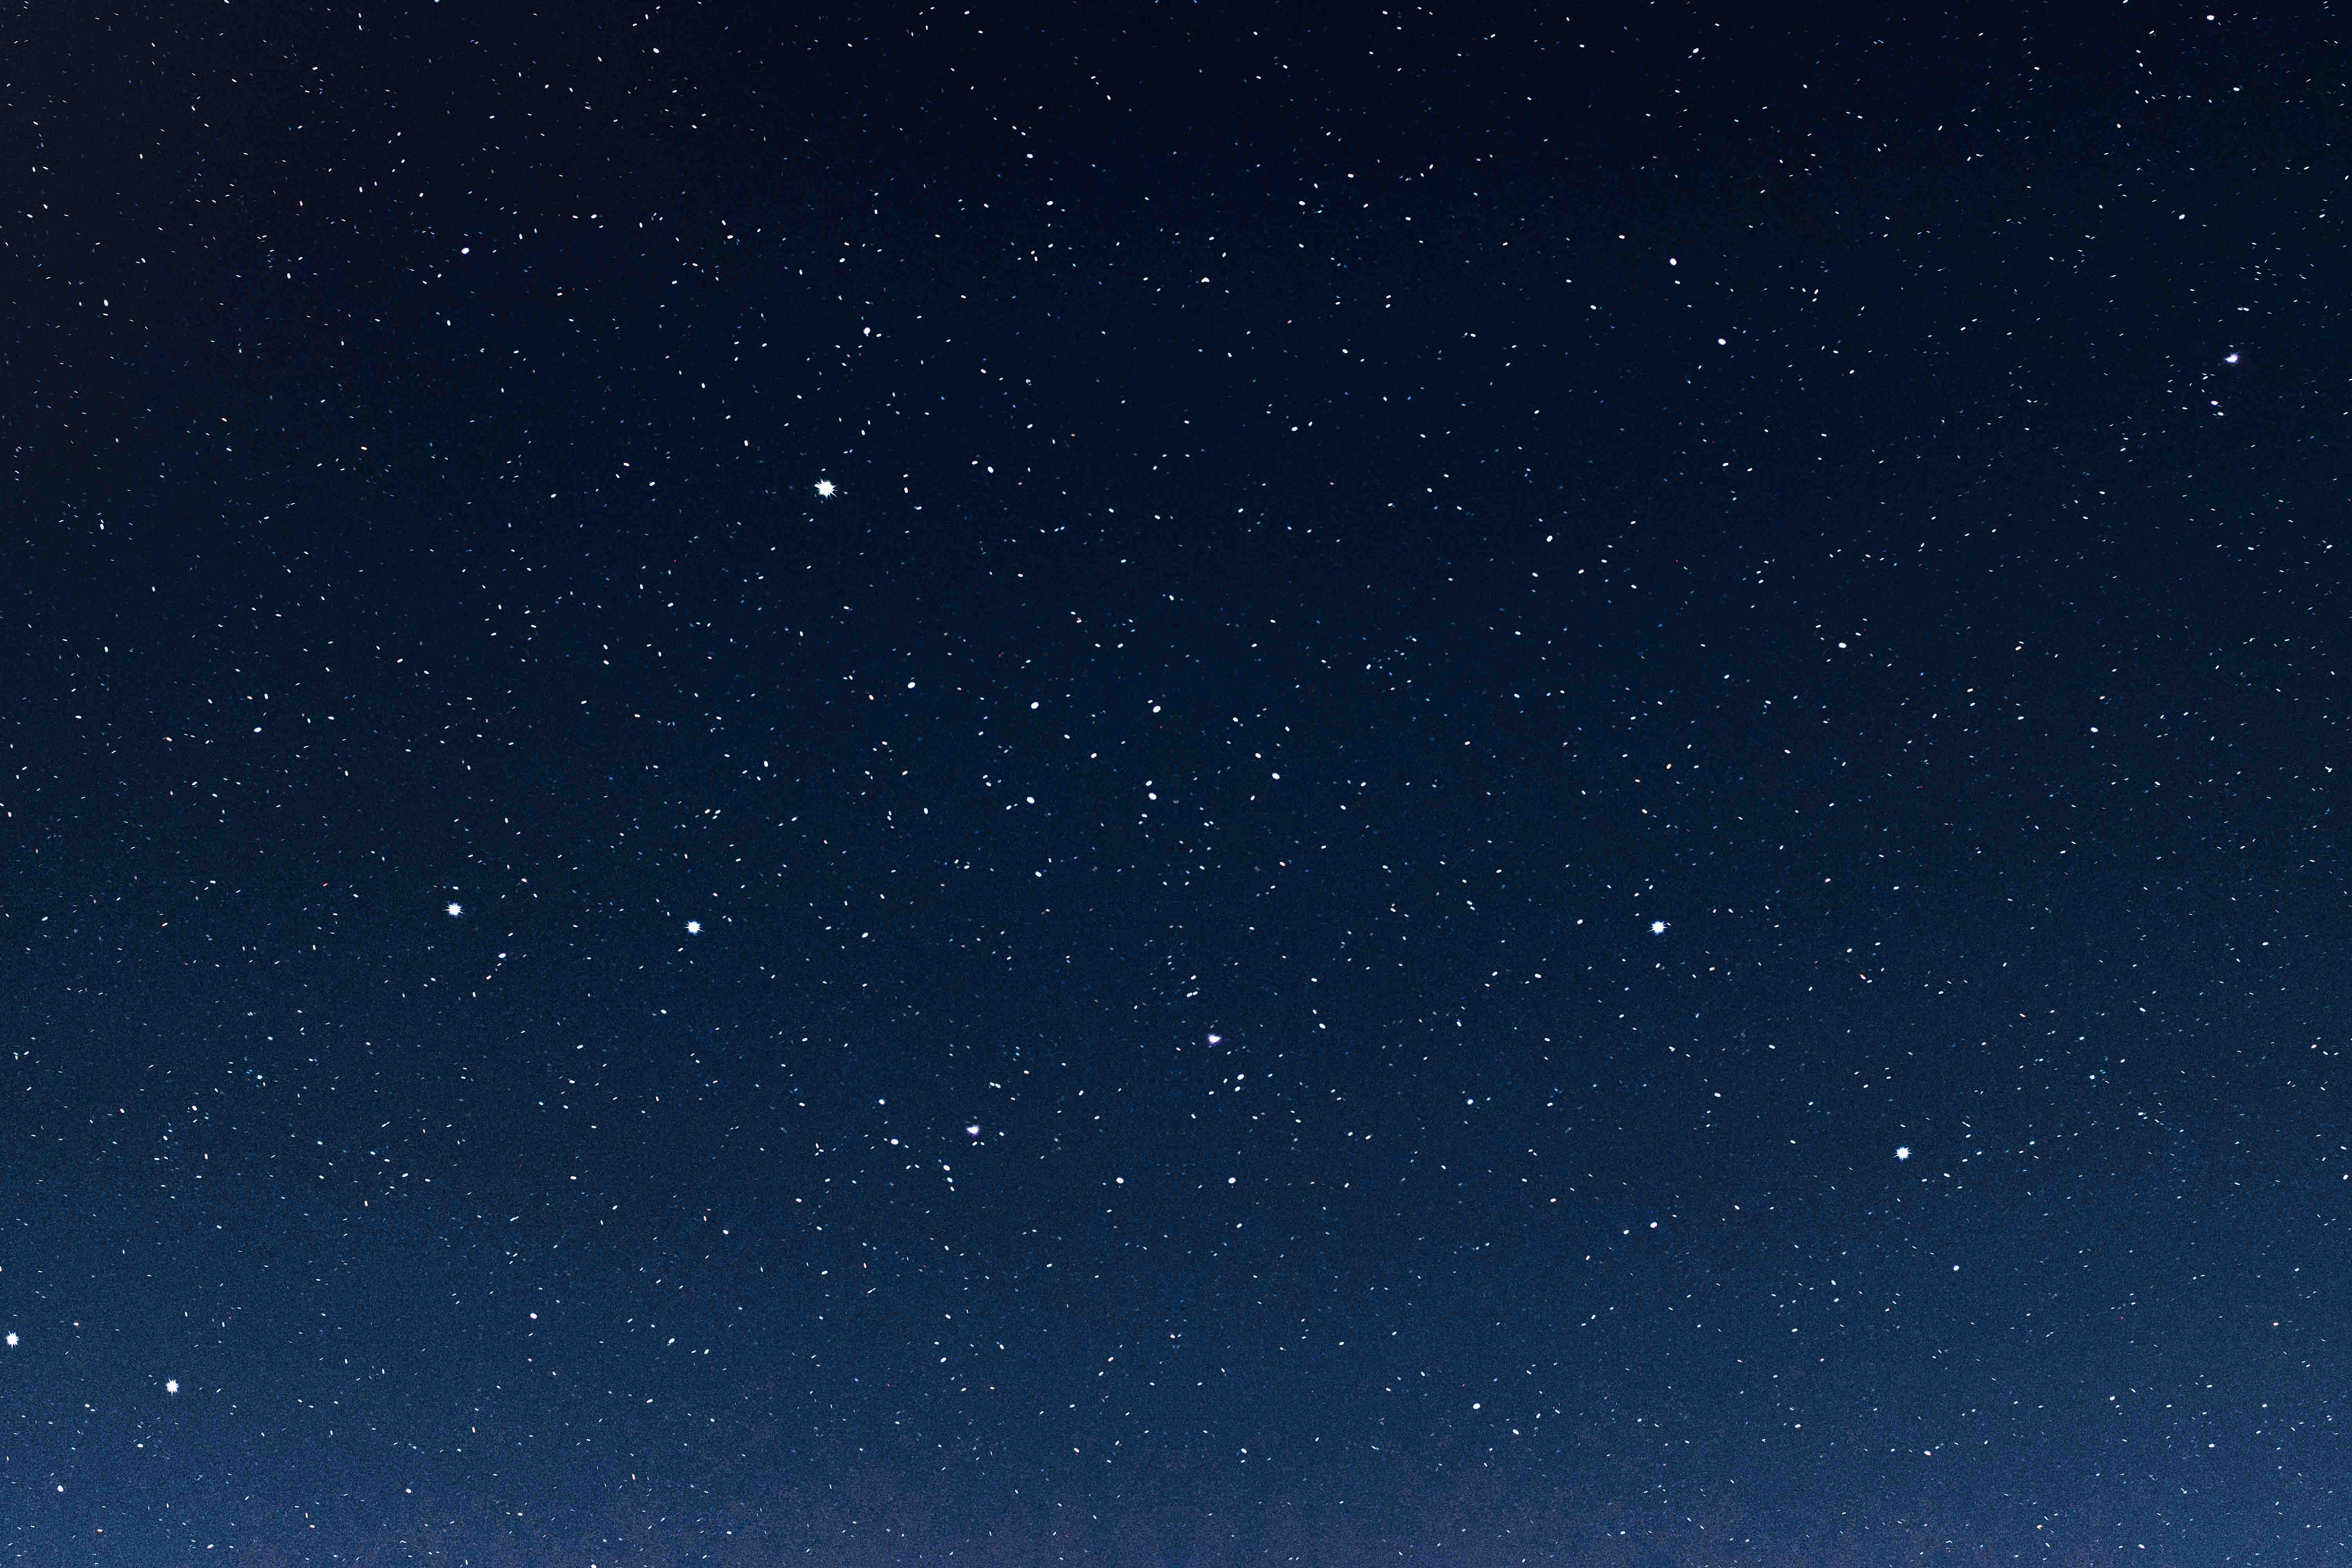
- Mount the camera on the tripod and make it face the stars. Make sure the area of the sky you point it towards has a heavier density of stars.
- Now usually if you’re in an uninhabited area, you’d be using a wide focal length like 18mm on the kit lens. But since you’re doing this from home, there are likely to be distractions around like other buildings, electric wires, etc. So zoom into the scene and use a focal length of 55mm. This will make sure you only have the sky in your frame.
- Now use the following settings:Shutter Speed – 10 seconds
Aperture: F6.3
ISO – 800
- Take a shot. Ideally, you should use a shutter release remote to take the shot since you’re dealing with a very low shutter speed.
- How’s the exposure? Does the shot seem too dark or too bright. In case it’s too dark, widen the aperture all the down, decrease the shutter speed by one stop and then check again. If it’s still dark, keep increasing the ISO till you find the exposure of the image is fine. If it was too bright to start with, then keep reducing the ISO till it’s fine. Below are two shots. The first is overexposed and the second one is of the correct exposure.

- Once you’re getting a good exposure, it’s time to set the focus on the stars.
- To do this, find the brightest star and try to auto focus on it. Mostly, you’ll find that the camera is unable to autofocus. Now you have two ways of focusing:Using manual focus: Shift the focus mode of the lens to manual focus and rotate the focus ring all the way in a clockwise direction. This is called focusing to infinity. Check in the screen if the stars look sharp. If not, then adjust the focus ring very very slightly till you find the stars are appearing sharp. When you find the spot where the stars appear sharp, take a shot and then zoom into it to see if the stars are sharp. If not, play around with the focus a bit more. Usually, you’ll immediately find the focus when you focus to infinity.Using autofocus: There’s another way. Find some far-away light that you can see, like a street lamp or a light source on a building that is slightly far away. Autofocus on it and when the focus locks, shift the focus mode on the lens to manual focus. Now point at the stars and take the shot. You should see that the focus is sharp.
- Now you’re all set as far as the exposure and focus in concerned. Take the shot of the stars from one position. Check the shot. If it’s all good, then take different shots from different positions. The reason we are doing this is because we’ll have to combine all these shots in into a single image so that it gives the illusion of a lot of stars together. So you have to fill gaps between the stars in each image. That’s why we need around 10 images of different parts of the sky so that these images don’t contain stars in the same position. Otherwise they will just overlap when we combine the images.
- Once you’ve taken at least 10 different shots of the sky, it’s time to head back home and execute some clever editing in Photoshop. To see the editing process, check out the video below.


