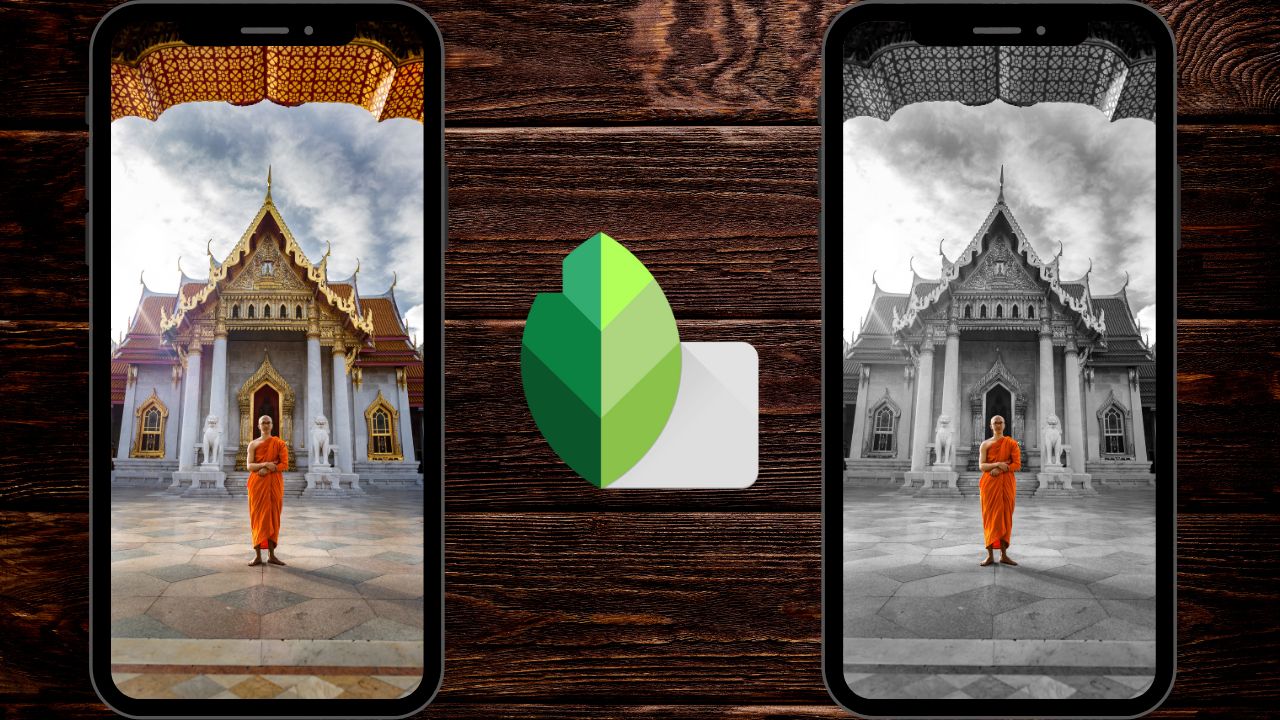
Snapseed Selective Color Tutorial (Color Splash)
In this video we will be learning how use the Selective Color or the Color Splash technique, i.e, How to make one object color and the rest black and white in Snapseed (available for both Android and iOS).
Here is the video:
Link to download the image used in the video:
https://www.pexels.com/photo/man-standing-outside-a-prayer-temple-3393546/
Link to our Snapseed for Beginners course (Available via Udemy.com):
Snapseed Photo Editing for Beginners
Video Summary
This tutorial from Creative Pad Media teaches how to achieve the “Color Splash” or Selective Color effect in Snapseed, focusing on a method that works even for complex images with a lot of texture.
Why the “Selective Tool” Often Fails
The standard Selective Tool in Snapseed uses “U Point” technology to identify similar pixels. While it works well on smooth surfaces like a floor, it struggles with highly textured backgrounds (like stone architecture), often missing details and requiring too many manual points [01:45, 02:04].
The “Edit Stack” Professional Method
A more precise way to selectively color is to work with masks in the Edit Stack [02:37].
- Full Desaturation: Go to Tools > Black & White and apply the filter to the entire image [02:43].
- Access the Mask: Tap the Edit Stack icon (top right), then select “View Edits”. Tap the Black & White layer and select the Brush icon (center) to open the masking panel [03:05, 03:34].
- Invert the Mask: Tap the Invert icon (bottom left) so the whole image remains black and white. Now, you will paint the color back into your subject [04:53].
- Paint the Subject:
- Correct Mistakes: If you accidentally color outside the lines, set the Black & White value to 100 and paint over the mistake to re-apply the black and white effect [07:51, 08:05].
Key Takeaway
While this manual method takes more time than AI-based tools, it offers complete control and ensures that even complex textures don’t interfere with the quality of your “Color Splash” effect [06:41, 08:40].