What is PIP (Picture in Picture) in InShot App? What Does it Do?
Want to take your video editing to the next level? In this video, we’ll explore the PIP (Picture-in-Picture) feature in the InShot app and understand its meaning. PIP allows you to overlay videos, photos, or graphics onto your main footage, opening up endless creative possibilities like adding reactions, tutorials, or fun effects. Whether you’re a beginner or a pro, understanding how to use PIP can elevate your content. Let’s dive in and see what PIP can do!
This video is from our Inshot Video Editing Course.
Video Summary
By using the PIP feature over a Blank background, you can play three or more videos simultaneously. The tutorial covers how to stack these layers, synchronize their durations, and use creative tools like Masking (for shapes) and Borders to give the collage a professional, polished look.
Key Tips & Hacks
- B-Roll Definition: In mobile editing, any footage placed on top of a main timeline clip is considered a “b-roll” or overlay layer.
- The Blank Canvas Trick: To create a collage from scratch, first add a “Blank” footage piece from the “Material” or “Plus” menu. This acts as the floor for your PIP layers.
- Magnetic Trimming: When dragging the ends of PIP clips, the app will “snap” to the edges of the main timeline clip, making it easy to align multiple layers perfectly.
- Audience-Specific Styling: Adding a thin White Border to overlapping clips helps separate the visuals, preventing the collage from looking cluttered.
Time Stamps
- 0:00 – Adding and trimming the “Fire” and “Beer Bottle” clips.
- 1:54 – The Timeline Challenge: Why sequential editing won’t work for 20+ clips.
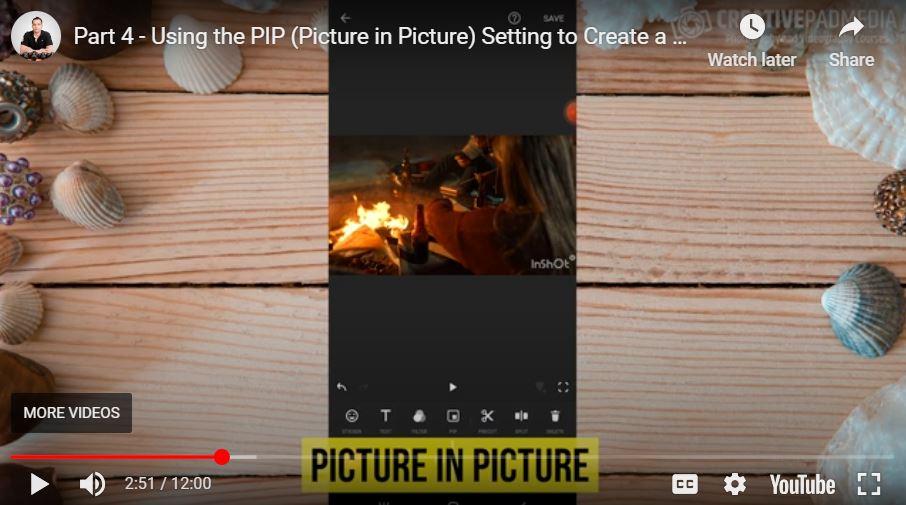
- 2:41 – Introduction to the PIP (Picture-in-Picture) function.
- 3:11 – The Hack: Creating a “Blank” background to host a video collage.
- 3:50 – Adding the first PIP layer and understanding the secondary timeline layer.
- 5:33 – Adding a vertical orientation video as the third PIP layer.
- 6:50 – Synchronization: Trimming PIP layers to match the duration of the background.
- 8:07 – Audio Management: Muting individual PIP clips to avoid sound clutter.
- 9:03 – The Mask Tool: Changing video shapes into circles, hearts, or squares.
- 9:44 – Adding Borders: Using the “Pen” icon to add professional separation between clips.
- 11:10 – Alignment: Using the pink “smart guides” to center and snap videos in place.
- 11:45 – Final preview of the 3-video collage.