What is the Purpose of Smart Object in Photoshop? – Beginners Tutorial
Smart Objects in Photoshop let you edit images non-destructively, preserving quality and flexibility. They allow you to scale, transform, and apply filters without permanently changing the original image. In this beginner-friendly tutorial, we’ll break down what Smart Objects are, why they’re useful, and how to use them in your projects. Whether you’re editing photos or creating designs, mastering Smart Objects will improve your workflow. Let’s dive in and explore their power!
This video is from our Adobe Photoshop for Beginners Course.
Video Summary
In this tutorial, the instructor introduces Smart Objects, a powerful feature in Photoshop that enables a truly non-destructive workflow. By converting a standard layer into a Smart Object, you can apply filters (like Smart Sharpen or Gaussian Blur) as “Smart Filters.” This allows you to go back and re-adjust the settings of those filters at any time, even after they’ve been applied, without having to undo your work or start over.
Important Timestamps
- 0:17 – Why Use Smart Objects: An explanation of how Smart Objects improve your “non-destructive” editing flow.
- 0:49 – The “Permanent” Problem: Demonstrating how standard filters become “baked into” a layer, making them difficult to change later.
- 2:52 – The Masking Workaround: A brief look at how some photographers use layer masks to fix over-sharpening (and why it’s inconvenient).
- 4:25 – Converting to Smart Object: How to right-click a layer and select “Convert to Smart Object.”
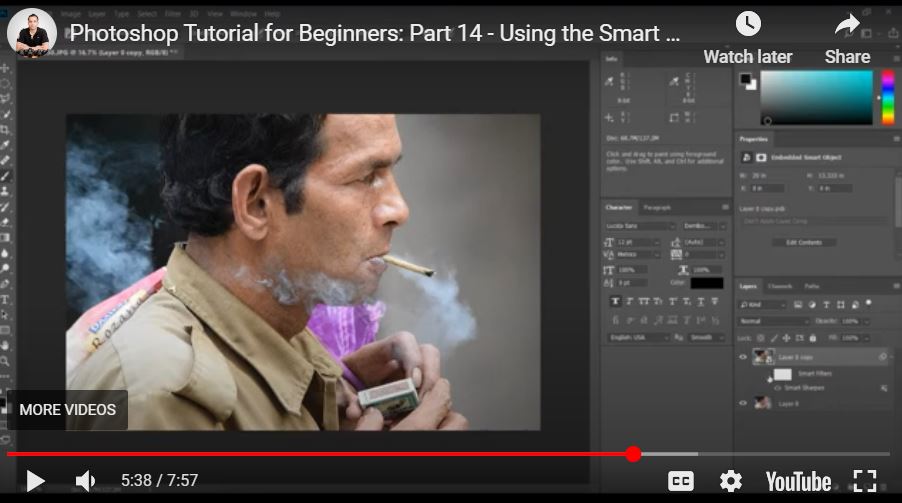
- 4:42 – The Icon: Identifying the small icon on the layer thumbnail that indicates a Smart Object.
- 5:15 – Smart Filters: Notice how “Smart Sharpen” appears as a sub-layer, allowing you to hide or unhide the effect.
- 6:23 – Adjusting Settings: The “magic” of Smart Objects—double-clicking the filter name to reopen the slider menu and change the sharpening intensity.
- 7:13 – Versatility: How this same logic applies to other tools, like the Gaussian Blur filter.