How to do Self Portrait Photography in a Studio
In this video we will be learning how to do self portrait photography in a studio by using the pre-focusing method and a remote shutter button. Here’s the video:
Video Summary
This video from Creative Pad Media explains the fundamental techniques for capturing professional self-portraits in a studio setting, focusing on overcoming the challenge of manual focusing when working alone.
Key Highlights:
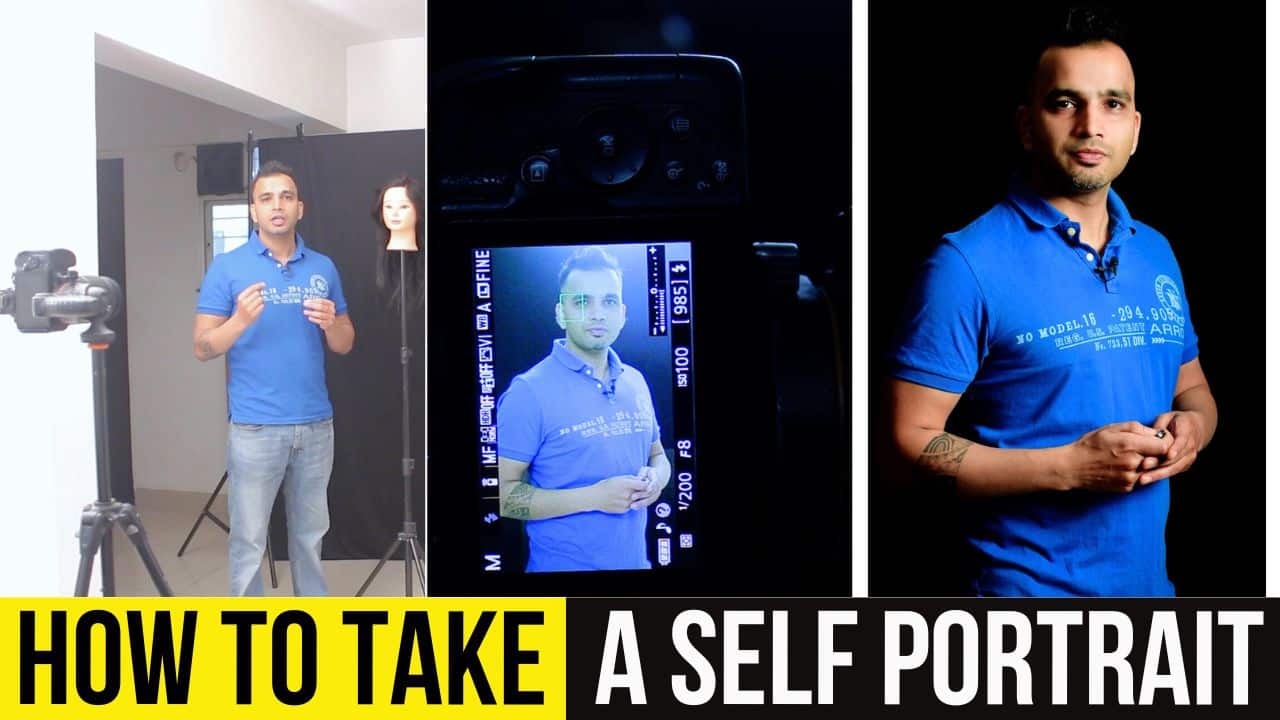
- Focusing with a Mannequin: To ensure the camera focuses correctly in your absence, place a mannequin where you intend to stand. Lock the focus on the mannequin’s face or eye using autofocus [00:39].
- Locking the Focus: Once the focus is set on the mannequin, switch the camera lens from autofocus (AF) to manual focus (MF). This prevents the camera from hunting for focus when you replace the mannequin with yourself [03:09].
- Modern Alternatives: Newer cameras with face and eye recognition make this process easier, as they can automatically track and focus on you once you enter the frame [03:21].
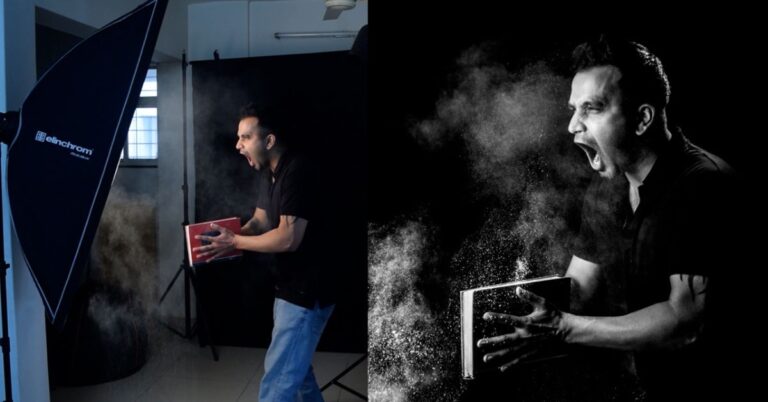
- Manual Camera Settings: For studio lighting, the creator uses a baseline setting of 1/200 shutter speed, f/8 aperture, and ISO 100 [02:01].
- Remote Triggering: Use a wireless remote or a smartphone app to fire the shutter from a distance [04:32].
- Hiding the Remote: To avoid the remote appearing in the photo, utilize a 2-second delay feature. This gives you time to hide the device in your pocket or drop it out of the frame before the shot is captured [05:43].
Important Links
This video is from our Studio Photography for Beginners Course, which has 31 videos and 4 hours of content. You can access the full course via Udemy, using the link below:
Studio Photography for Beginners Course