Extend Studio Backdrop in Photoshop Using AI – Generative Fill and Generative Expand
In this video we will be seeing how to extend a studio backdrop in Photoshop using two AI tools – Generative Fill and Generative Expand. We will also be taking the help of another AI tool, the Object Selection tool, to achieve the final result. Here’s the video:
Video Summary:
This tutorial demonstrates a hybrid workflow combining Generative Fill and manual correction to remove a shadow from a portrait while preserving the subject’s original feet. The process involves using Generative Fill on a selected area to create a realistic, shadow-free backdrop. However, this sometimes distorts fine details like toes. To fix this, the host manually copies the original feet onto a new layer and uses a layer mask to reveal only the distorted parts (the toes), seamlessly blending the original anatomy with the AI-generated background. The video also touches on professional ethics, noting that minor AI artifacts may be acceptable for social media images but should be corrected for large prints. It concludes by using Generative Expand to restore the original composition’s “dreamy negative space.”
Key Techniques & Timestamps:
0:11 – Makes a selection to isolate the shadow area for removal, using Select Subject (AI-powered) for the body and adding the backdrop with a rectangular marquee.
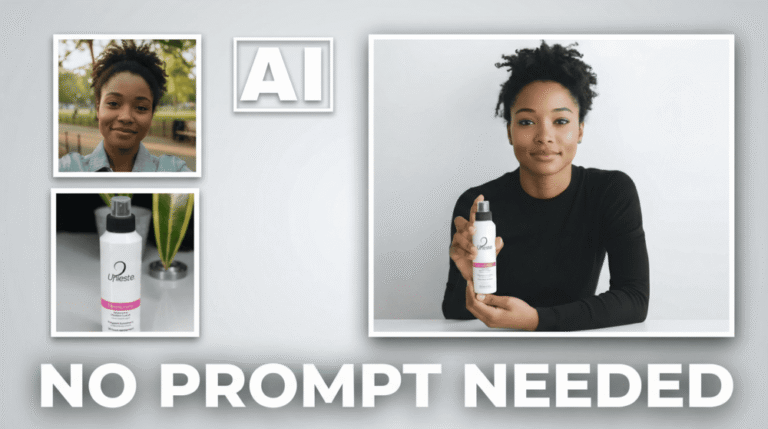
2:23 – Applies Generative Fill (with an empty prompt) to the selected area. It successfully removes the shadow, creates a realistic floor curve, and maintains lighting variation—something a simple Content-Aware Fill could not do.
3:59 – Uses the “Generate Similar” option (a new update) to create variations based on a preferred result.
4:31 – Identifies the problem: Generative Fill slightly distorts the subject’s feet (e.g., alters toes). For high-quality prints, this needs correction.
6:08 – Manual Correction Workflow:
* 6:54 – Uses the Object Selection Tool to isolate the original legs/feet.
* 7:48 – Copies and pastes the selection onto a new layer (“Legs”).
* 8:46 – Places the “Legs” layer above the Generative Fill layer, covering the distortions.
* 9:17 – Solves the “halo” issue: Adds a black layer mask to the “Legs” layer (concealing it) and paints white on the mask only over the distorted toe areas, perfectly blending the original feet with the new background.
12:45 – Final Checks: Verifies the noise/grain pattern is consistent in the filled area (it is, so no further fix needed).
14:22 – Uses Generative Expand (with an empty prompt) to restore the original wide composition and “dreamy negative space” that was cropped during the process. Notes the new ability to add prompts to Generative Expand.
Important Links
Link to download the image shown in the video:
Here is the link to our brand new course called Fix Studio Backdrops Using Photoshop AI, which has 30 videos and 4 hours of content. It is available via Udemy. You can use the link below:
Fix Studio Backdrops Using Photoshop AI