Depth Blur Neural Filter – Best Way to Blur Background in Photoshop (Video)
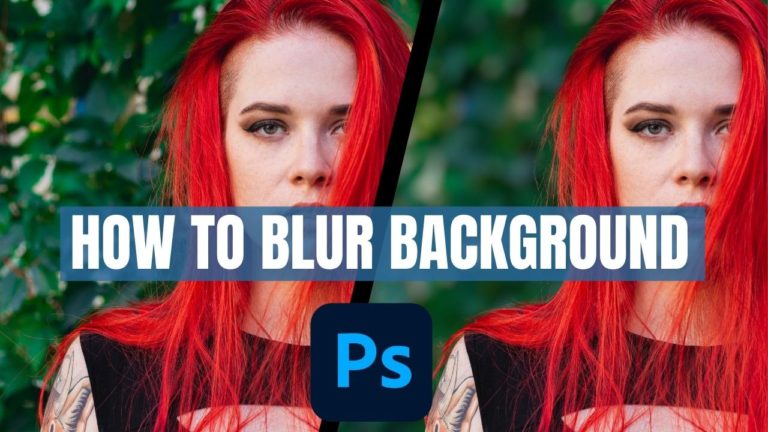
In this video we will be looking at how to use the all new depth blur neural filter in Photoshop, which makes it very easy to defocus the background in a photo and is definitely the best way to blur background in Photoshop.
This video is from our course Photoshop Generative AI Editing MasterClass, which is a 4.5 hours long course which teaches you how to use the power of the latest AI-based tools in Photoshop to take your editing to the next level.
You can use the link below to see the details of the full course (Available via Udemy):
Photoshop Generative AI MasterClass
Here is the video:
Video Summary
This video by Creative Pad Media demonstrates how to use the Depth Blur Neural Filter in Adobe Photoshop to create realistic background blur in post-processing.
Summary of Key Points
- Overview of Depth Blur: The filter is an AI-driven tool designed to simulate a shallow depth of field. It automatically analyzes the image to determine what should be in focus based on a calculated aperture [00:41].
- Manual Focal Point: Rather than letting the AI decide, users can uncheck “Focus Subject” and manually click on a specific area, like a subject’s eye, to set the focal point [02:46]. This ensures that the most critical part of the portrait remains sharp [03:10].
- Controlling Blur Strength: The Blur Strength slider allows you to enhance the background blur significantly, which is particularly useful for cleaning up “messy” backgrounds [03:41].
- Adjusting Focal Range: The Focal Range slider acts like a lens aperture control. Increasing it expands the plane of focus, allowing more of the subject (like their hands) to stay sharp while keeping the distant background blurred [05:08].
- Adding Realism with Grain: Since blurring can make the background look unnaturally smooth, the Grain slider is used to re-introduce noise. This helps the blurred area match the original texture of the image for a more authentic look [06:33].


