Double Exposure Effect in Photoshop Tutorial (VIDEO)
In this video we will be looking at how to create the the popular double exposure effect in Photoshop by blending three images.
Video Summary
This tutorial by Creative Pad Media explains how to create a double exposure effect in Photoshop by superimposing multiple images to create a artistic composition.
Summary of the Double Exposure Process
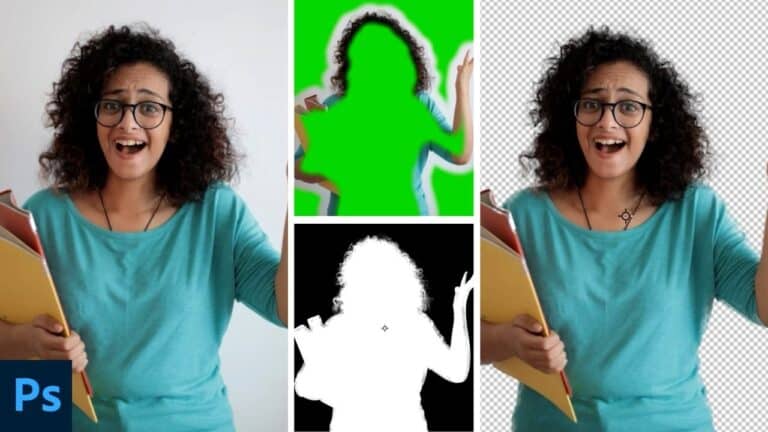
- Subject Isolation: The process begins by selecting the main subject (a person) using Select Subject [01:38]. The instructor uses the Refine Edge Brush and Decontaminate Color in the Select and Mask workspace to remove color fringing around the hair [03:25].
- Creating the Base: A solid color adjustment layer is added behind the subject to act as a clean background [04:17].
- Clipping Mask: The secondary image (trees/landscape) is placed above the subject. By right-clicking and selecting Create Clipping Mask, the landscape is restricted to only appear within the silhouette of the person [06:55].
- Blending Modes: To achieve the superimposed look, the Lighten blending mode is used on the landscape layer. This allows the landscape to show through only on the darker parts of the original portrait (like the hair) while preserving the lighter skin tones [08:51].
- Layer Masking for Detail: A Layer Mask is applied to the landscape layer to manually paint away the effect from the subject’s face using a soft black brush, keeping the features clear [10:11].
- Adding Digital Props (Birds): A third image of birds is added. To blend them, the instructor converts them to high-contrast black and white using Levels [18:23] and uses the Darken blending mode so only the black bird shapes remain visible against the sky [19:19].
- Final Color Grading: The composition is finished by adding a Vibrance layer to pop the colors [20:49], and the instructor notes that the entire process is non-destructive, allowing for easy adjustments to opacity or positioning at any time [21:19].


