How to Shoot Bracketed Photos for HDR Photography
In this video we’ll be seeing how to shoot bracketed photos in a high contrast situation, so that we can turn these shots into an HDR image later on in editing.
This bracketing technique makes sure you preserve the details by enhancing the dynamic range, thereby preventing loss of details in highlights and shadows.
Here is the video:
This video is from our Landscape Photography Course, which has 30 videos and 5 hours of content. You can access the full course on Udemy by using the link below:
Video Summary
This tutorial provides a comprehensive guide on shooting bracketed photos to capture high-contrast landscape scenes using HDR (High Dynamic Range) techniques.
Phase 1: Planning and Setup
- Composition: The scene features a sunset behind a hill with high contrast between the bright sky and dark foreground. A rock is placed in the foreground to act as a leading element [01:25].
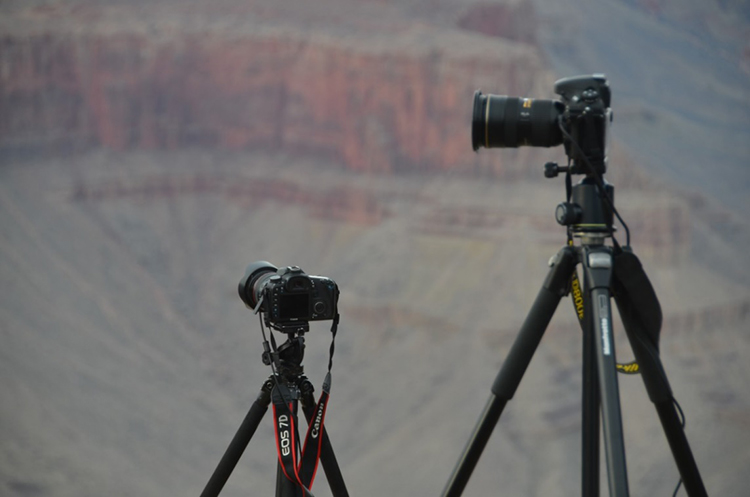
- Bracketing Settings: On a DSLR (like the Nikon D750), use the bracketing button to select the number of shots. For this high-contrast scene, five shots are recommended with a variation of two stops between them (-4, -2, 0, +2, +4) to capture the full dynamic range [03:00].
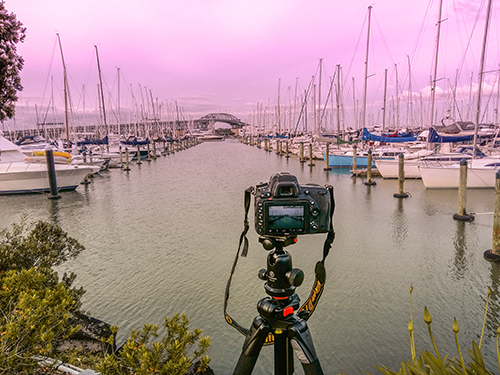
- Stability: Use a tripod and a remote shutter release (or a smartphone app) to prevent camera shake, which is critical when the camera takes multiple sequential shots with varying shutter speeds [09:05].
Phase 2: Execution and Techniques
- Focusing Strategy: * Focal Point: Focus directly on the main subject (e.g., a hut or structure) for the sharpest results [06:15].
- Focus Stacking: If the foreground rock is too close to be sharp alongside the background, take a separate set of bracketed shots with the focus point shifted to the rock [12:15].
- The Base Shot: Set the aperture to around f/11 to avoid diffraction while maintaining a deep depth of field. Adjust the shutter speed until the light meter is centered for the “base” (0 exposure) shot [04:59].
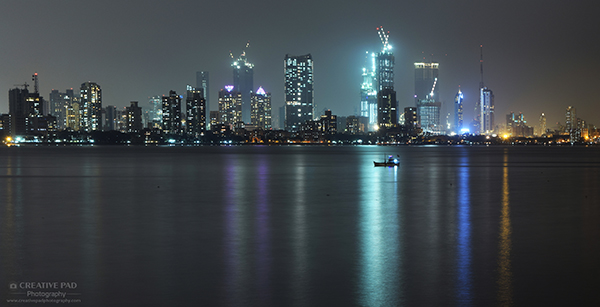
- Long Exposure (ND Filter): To blur moving clouds, use a 10-stop ND filter. If the clouds are moving slowly, increase the f-stop (e.g., to f/22) to force an even longer shutter speed (e.g., 2 minutes) [17:51].
Phase 3: Key Takeaway
- Highlight Recovery: It is significantly easier to recover details from dark shadows in editing than from “blown out” white highlights in the sky [10:47]. Bracketing ensures you have at least one underexposed shot where the sky’s colors and patterns are perfectly preserved [11:33].