How to Use the AI Sky Replacement Tool in Photoshop? – Beginners Tutorial
Want to transform your photos with stunning skies? In this beginner-friendly tutorial, I’ll show you how to use Photoshop’s powerful AI Sky Replacement tool. Whether you’re enhancing a dull landscape or adding drama to your shots, this tool makes it quick and easy. No advanced skills are needed – just a few clicks, and you’ll have professional results. Let’s dive in and learn how to bring your photos to life with vibrant skies!
This video is from our Photoshop Generative AI Editing MasterClass Course.
Video Summary
In this tutorial, the instructor demonstrates the AI Sky Replacement tool. This tool is designed to swap out dull or flat skies for more dramatic ones (like sunsets or clear blue skies) with just a few clicks. The key advantage of this AI feature is its ability to automatically mask complex subjects like tree branches and—crucially—adjust the color cast and lighting on the foreground so the new sky looks naturally integrated.
Time Stamps
- 0:00 – Introduction: How AI makes sky replacement a quick, multi-click process.
- 0:33 – Navigating to the Sky Replacement option in the Edit menu.
- 0:54 – Browsing the sky libraries: Blue skies, dramatic skies, and sunsets.
- 1:05 – Foreground Matching: Explaining how the AI automatically changes the lighting on the ground to match the sky.
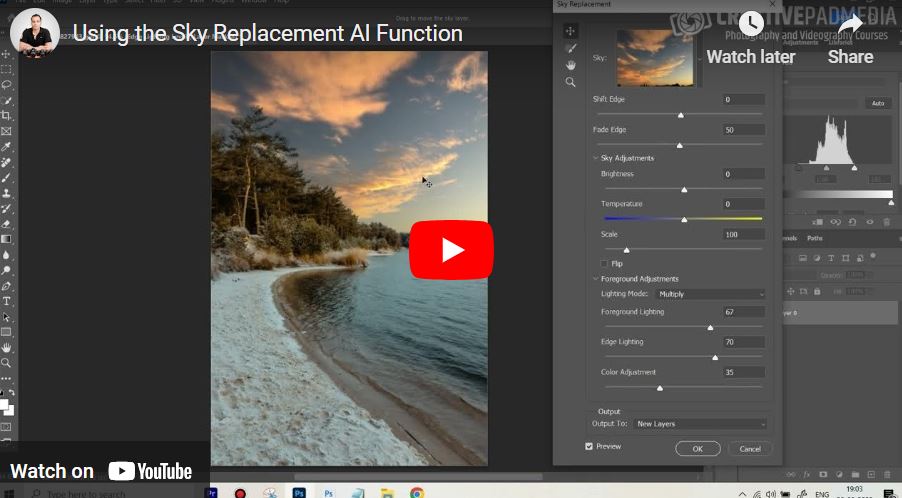
- 1:45 – Fine-Tuning Edges: Using the “Shift Edge” slider to fix color halos around trees and branches.
- 3:01 – Sky Adjustments: Modifying the brightness, temperature (warmth), and scale of the new clouds.
- 3:29 – Foreground Lighting Controls: Manually adjusting the middle-ground lighting to ensure the blend is realistic.
- 4:06 – Output to Layers: How the tool organizes the complex masks and adjustments into a single group for easy management.
- 4:28 – Before and After: A final look at the transformation.