Compositing in Photoshop – Beginners Tutorial
In this video tutorial, we will be learning about the art of compositing in Adobe Photoshop.
Here are the different sections in this tutorial:
- 0:00 Choosing Images with a Similar Horizon and Vanishing Point
- 10:24 The Importance of Quality and Direction of Light in Both the Images
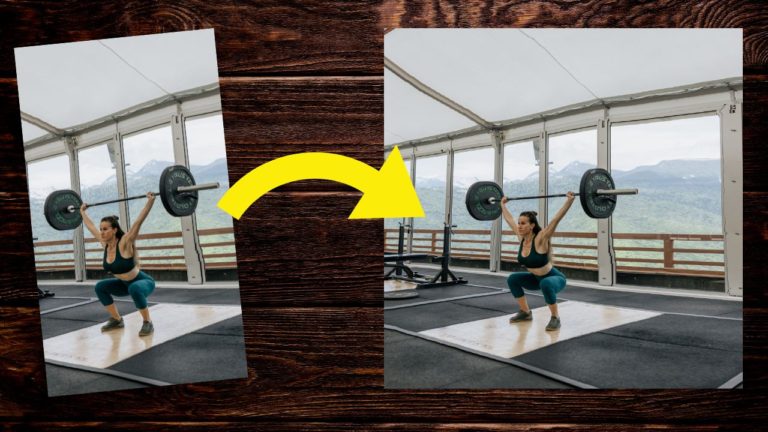
- 22:07 Matching the Horizon and Placing the Subject on to the Background Image
- 27:08 Creating a Shadow for the Body
- 37:23 Creating a Shadow for the Parts Making Contact With the Ground
- 44:54 Matching the Luminance Levels in the Subject and the Background
Here is the video:
Link to the images used in the video:
This video is from our Compositing in Photoshop course, which has 27 videos and 4 hours of content. You can access the full course on Udemy by using the link below:
Compositing in Adobe Photoshop for Beginners Course
Video Summary
This comprehensive Photoshop tutorial for beginners covers the essential steps for creating a realistic image composite.
Phase 1: Selecting Compatible Images
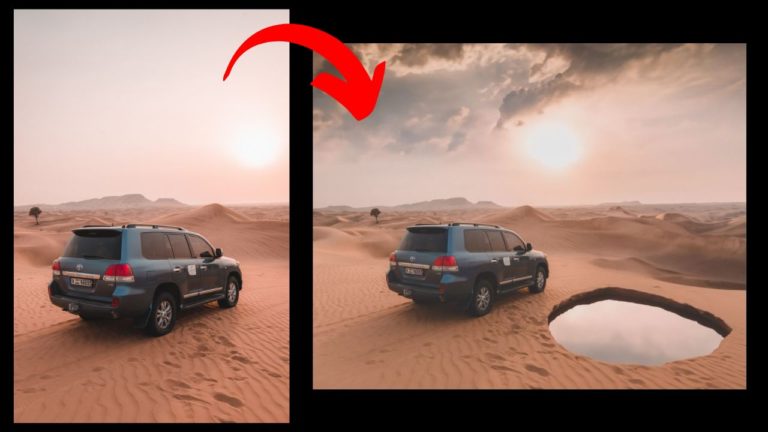
- The Horizon & Vanishing Point: To ensure matching perspectives, the horizon level of the subject should match the background [01:46]. If the horizon isn’t visible, you can find it by tracing “leading lines” (parallel lines that converge at a vanishing point) [04:37].
- Lighting Quality: The subject and background must have the same light quality. For example, a subject shot on an overcast day (soft light) will not look real against a sunny tropical background (harsh light) [11:59].
- Scale: You must scale the subject so they look proportionate to nearby objects (like trees or chairs) [15:05]. A useful trick is to move the Transform Reference Point to the horizon line so the subject scales relative to the vanishing point [16:19].
Phase 2: Creating Realism
- Adding Shadows: * Create a shadow by duplicating the subject’s selection, filling it with a dark color, and using the Distort tool to angle it according to the light source [28:09].
- Matching Luminance: Use a Black and White adjustment layer to check if the subject’s brightness matches the background’s [45:38]. Use a Curves layer (with a clipping mask) to turn down highlights or raise shadows on the subject until they blend naturally [47:31].
The tutorial emphasizes that compositing is a trial-and-error process, where technical adjustments like luminance and shadows are key to moving from a “cut-out” look to a professional result [17:34].