How to Remove Background in Photoshop Using Select and Mask
In this video we will be learning how to remove the background in Adobe Photoshop using the Select and Mask interface.
We will also be seeing a neat little trick to correct some imperfect areas in the final result. Here is the video:
This video is from our Master Selections in Photoshop course, which has 36 videos and 6 hours of content. You can see the details of the full course by using the link below:
Master Selections in Photoshop course
Video Summary
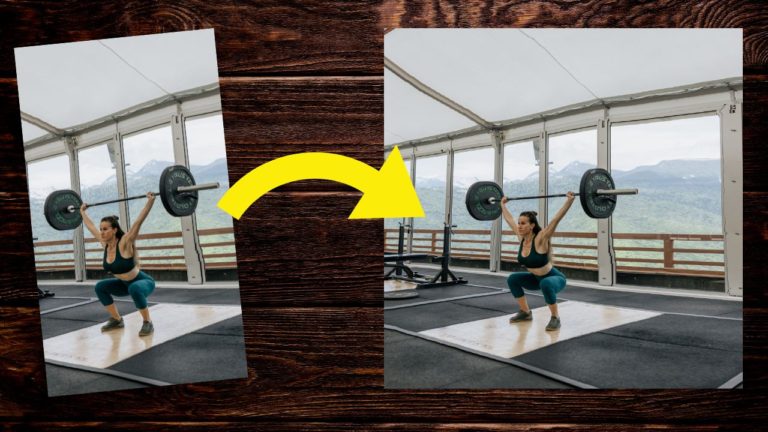
This tutorial demonstrates an efficient workflow for removing backgrounds in Photoshop using the Select and Mask workspace, specifically focusing on images with good contrast.
Key Techniques & Workflow:
- Initial Selection: The process starts with a quick crop for focus [00:09] followed by a basic subject selection to provide a starting point for the mask [00:14].
- Select and Mask Workspace: Use a high-contrast color overlay, such as green, to clearly see the edges [00:34]. The Smart Radius feature is essential for automatically detecting soft edges like hair strands [01:38].
- Cleaning Edge Halos: To remove “fringing” or background color bleed, adjust the Shift Edge slider inward and enable Decontaminate Colors [02:10].
- The “Overlay Brush” Trick: A powerful tip for restoring parts of the subject that were accidentally “eaten away” is using a White Brush set to Overlay mode on the layer mask [05:07]. This allows you to paint over grayish, semi-transparent areas to make them 100% opaque without affecting the transparent background [05:36].
- Manual Refinement: For more challenging sections, the Refine Edge Brush tool can be used to manually tell Photoshop which areas contain fine detail [07:18].
- Non-Destructive Output: Exporting the result as a “New Layer with Layer Mask” ensures you can continue to tweak the edges later if needed [03:01].