Face Text (Typography Effect) Tutorial in Picsart Using Blending Modes
In this video we will be learning how to achieve the face text effect (Typography effect) in Picsart using Blending Modes and layers. Here’s the video:
Video Summary
This video from Creative Pad Media is a tutorial on creating a Face Text (Typography Effect) using the Picsart app, where words appear painted onto a subject’s skin.
Key Highlights:
- Preparation: Start with a dramatic portrait—one with highlights and shadows works best for depth [16:41]. Convert the image to black and white by lowering the saturation to zero for a more dramatic look [02:13].
- Background Setup: Use the Cutout tool to select the subject and replace the background with a solid black layer. This is crucial for the blending step to work correctly [03:52].
- Superimposing the Word Cloud: Add your word cloud image (white text on a black background) as a new photo layer [06:13].
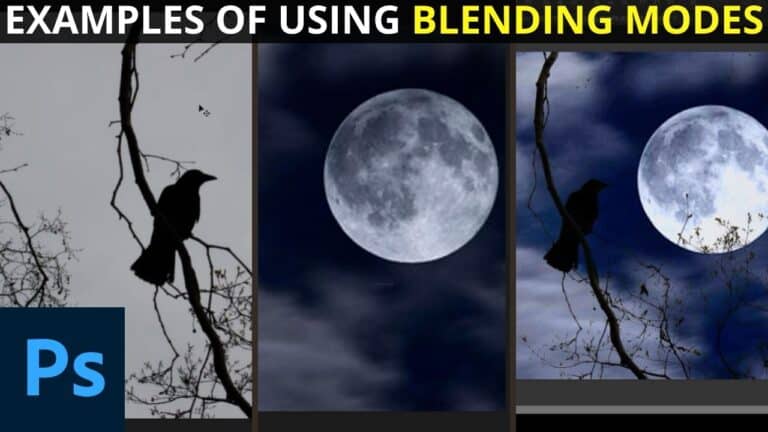
- Blending Modes: Set the word cloud layer to Darken or Multiply blending mode. This makes the white text appear on the skin while the black background of the text layer merges with the black background of the portrait [07:27].
- Refining with Opacity & Layers: To make the effect more subtle, duplicate the word cloud layer and adjust the opacity [09:16].
- Selective Application: Use the Eraser tool (with a soft-edge brush) to remove the text from areas where it shouldn’t be, such as the eyes, hair, and clothing, to make the “paint” look realistic on the skin [11:01].
- Final Touches: Use tools like Contrast or external filters to further refine the mood and finish of the typography effect [15:43].
Important Links
Link to download the images used in the video:
This video is from our Picsart Editing Course, which has 25 videos and 3.5 hours of content. You can access the full course on Udemy using the link below: