Basic Tips to Get Better Portraits for Beginners
Portrait photography refers to shooting people, both individually and in groups.
In this article, we’ll mainly be talking about how you can make use of the settings that your camera and lens offer to get the best looking portrait images. We’ll also be looking how to get better shots by understanding how to avoid hard unflattering light.
So let’s get started.
Settings
Most of the times, portraits are shot using a low f-stop number to blur the background.
The shutter speed will depend upon whether your subject is moving or not.
Depending upon the aperture, shutter speed and the ambient light, the ISO is chosen. Also, you can just use Auto-ISO so as to speed up things.
Now let’s go onto some important rules and principles:
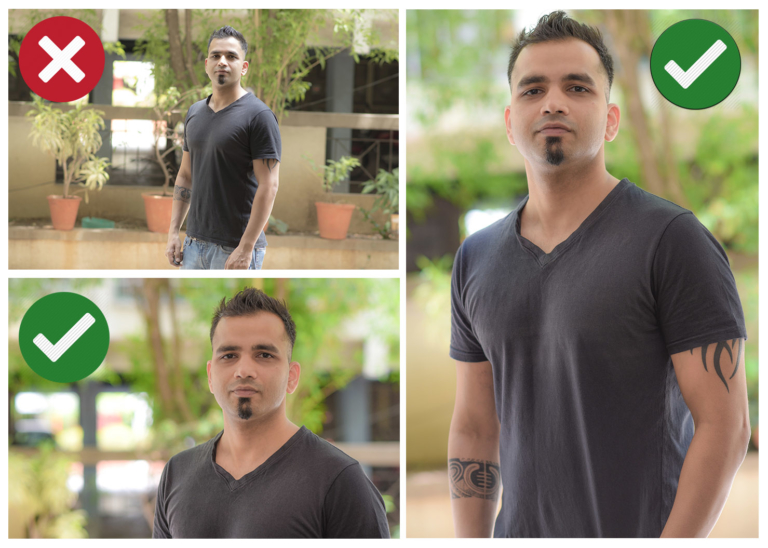
Focus on the Eye
In portrait photography, it’s a must that you focus on the eye of the subject. The eye has to be the sharpest part of your shot.
Now that you know of the focus and recompose technique that you learned in the chapter on rule of thirds, here’s how you can use it to make sure you are focusing on the eye.
First, start off shooting with the person in the frame in such a way that the focus point is on their eye, like shown in the image below:

Half press the shutter button to lock focus and then while keeping the shutter button half-pressed, move the camera to your desired composition, like the image below:

And then take the shot.
Of course, you can also move the focus point using the keypad, but it’s a slower process.
Avoid Hard Light
Another important thing you have to remember is to avoid hard light when shooting portraits. Look at the image below:

You can see that the shadows on the subject’s face are very prominent and the visible contrast between the bright and the dark areas makes the picture look very poor.
This is because it’s been shot during afternoon, when the intensity of sunlight is high. As we learned in landscape photography, this type of light is called as hard light.
You can see that this hard light has rendered the part on which it is falling very bright and the opposite side in dark shadows. Even her hair strands are casting shadows on her right cheek and the left one seems underexposed. Even her head is casting a shadow on her left arm.
Now, see an image that has been shot during the golden hours when the light is soft:

You can see that this image looks way better than the first one. The only difference in both the images is the quality of light. This image has been shot during the golden hours and hence the light is soft.
As learned before, soft light makes the contrast between highlights and shadows lesser and hence everything looks smooth.
But let’s say you cannot shoot your subject during the golden hours due to time constraints and you are forced to shoot during times when the light is harsh. Then what do you do?
One way out of hard light is to find some shade and shoot the subject. Look at the shot below:

You can see that in this case the subject is in direct sunlight and the image does not look good.
Just a few steps ahead of her was a shady area, so I just asked her to take a few steps forward. Let’s see how this changes the shot:

You can see that just by taking a few steps forward and getting her into shade, we have eliminated the problems that hard light brings. Here is another shot where I was shooting at afternoon but managed to solve the problem by finding shade:

One problem with using shade is that you have might have to settle for a less than satisfactory composition. Like in the shot above, I have been able to blur the background effectively because we were lucky to find a spot that was in shade and where the background was far away as well. It’s not always easy to find spots where both these criteria will be fulfilled. For instance, in the full body shot below, we were unable to find a spot where there were less distractions in the background:

You can see there are a lot of things in the background which makes the shot less appealing. So even though the location had plenty of spots where we could have had better results, we could not use them because the sunlight was falling onto those areas.
Overcast days solve this problem as they guarantee shade everywhere.
Another way out is to shoot against the sun so that the harsh light of the sun does not fall directly on the face of the subject. So the photographer will be facing the sun.
This eliminates the problem of harsh sunlight falling on the subject’s face, like in the shot below:

You can see the sun hitting her hair, neck and shoulders from behind. But at least it does not fall on the face which is the main part of the portrait.
These type of shots are referred to as backlit shots.
They can sometimes cause the subject’s face to become a bit dark as the light is coming from behind.
We’ll see how you can solve that problem in the next section where we discuss backlit portrait photography.
Backlit Portraits
One of the best ways to avoid hard light is to shoot during golden hours.
And one of the most famous golden hours shot is when you let the setting sun is behind your subject, so the light produces a very pleasing looking golden glow on the subject’s hair, like in the shot below:

I’ve taken this shot with the setting sun behind the model. The rays can be seen penetrating her hair and producing a nice looking glow and a rim around her hair and body.
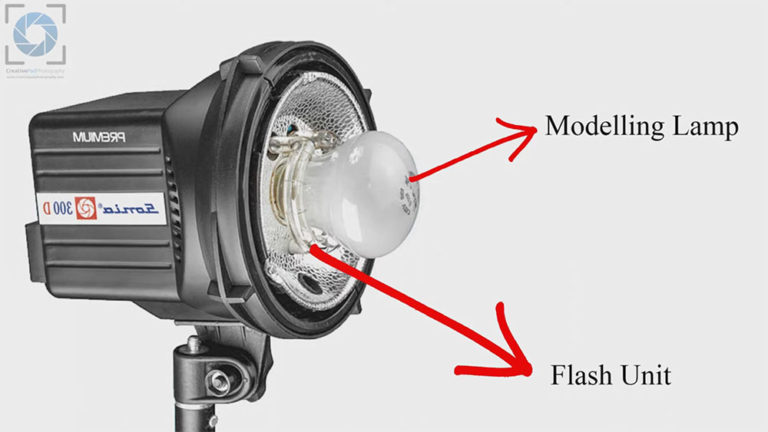
Here is another shot that uses the same backlit technique but this time I have used an external flash by placing it behind the model:

This time the glow is even stronger on the hair as the flash was very close to her. External flashes make it possible for you to change the direction of light as you can place them anywhere off the camera. Hence they are always preferred over on-camera flashes. But we won’t go too much into it since external flash photography it is out of this artciles scope.
Now as mentioned before, one problem you can face with back-lit shots is that the subject may come out slightly darker because the light is behind the subject.
This problem arises in side-lit portraits too since one side of the subject becomes darker than the other.
To correct this problem, you can use a reflector. This is how a reflector looks:

Just hold the reflector in the direction of the light and find the angle where it reflects back from the surface of the reflector onto the subject’s face, like shown in the image below:

You’ll see the glow of the reflection on the face. The light that reflects back from the reflector fills the shadows and you’ll get a nice looking shot.
Below is a comparison between two shots, where the subject was shot against a bright background that rendered her in shadows.

In the shot on the left, a reflector wasn’t used and hence the shadows could not be filled in. In the shot to the right, a reflector was used and it has sufficiently filled in the shadows. You can even see the reflection (called catchlight) of the reflector in her eyes which is another advantage of using a reflector.
Another thing you can do is to use the flash to fill in the shadows. Though you can use the on-camera flash for this purpose, an external flash is recommended because an external flash can be moved around and fired even when it’s not attached to the camera, from whichever angle and distance the photographer wants. However, assuming that you don’t have an external flash, use the on-camera flash and if you feel it’s too strong on the subjects face, you can always use the flash compensation function that your camera offers to reduce its power.