Creative Trick Photography Ideas and Setups
Trick Photography is a genre that often doesn’t get as much attention as other Photography genres.
When done rightly, creative trick photography shots have the capability to take your photography work to the next level because your portfolio will consist of images which seem surreal.
If you are into professional photography, adding trick photography shots can also allow you to charge more to your clients because people love getting shot with the crazy trick photography ideas you will see below.
Before we get started, I wanted to let you know that I have a 5 hour long Trick Photography Course where I show in you the entire process of shooting and editing the different types of trick photography shots you will be seeing in this article.
So first of all, what is Trick Photography?
Trick Photography is a genre of photography where you give the illusion of something surreal happening in the shot. This surrealism is brought about in the shot either by using clever set-ups or simply playing around with perspective. More often that not, the use of manipulative editing in Photoshop is needed to get the final result.
Let’s look at a few trick photography ideas and their set-ups to understand how they are created:
1. Levitation Photography
Levitation Photography is perhaps the most popular type of Trick Photography shot.
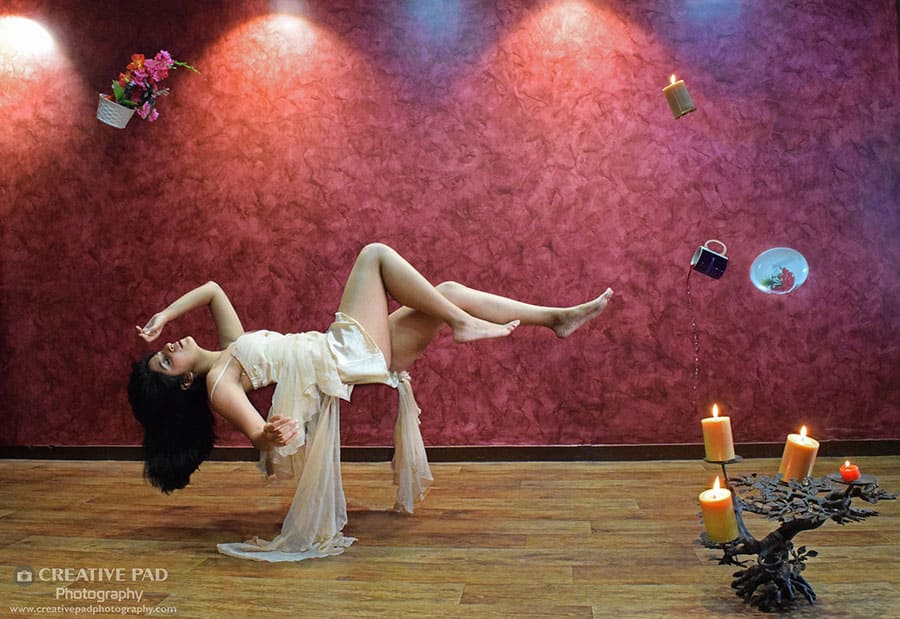
It is achieved by placing the subject on a set-up (like a chair or some piece of furniture) and then taking a shot with the set-up and the subject and one without it. These two shots are then super-imposed in Photoshop and the set-up is carefully removed.
Let’s look at another levitation shot and its set-up to understand this.

To see how I did this entire shoot and also the editing part, see the video below:
With smaller objects, you don’t even need a set-up. You can simple use both your hands to hold the object, one hand at a time, take these two shots and then merge these two shots in Photoshop to keep the empty sides of each shot, like shown below:

In my Trick Photography Course, I show you how to take both these levitation shots in a very detailed and in-depth manner and then I also show you how to edit them in Photoshop.
2. Miniature Photography
Miniature Photography is lot of fun because you give the illusion that a normal sized subject has been shrunk and is now interacting with small objects, like the shot shown below:
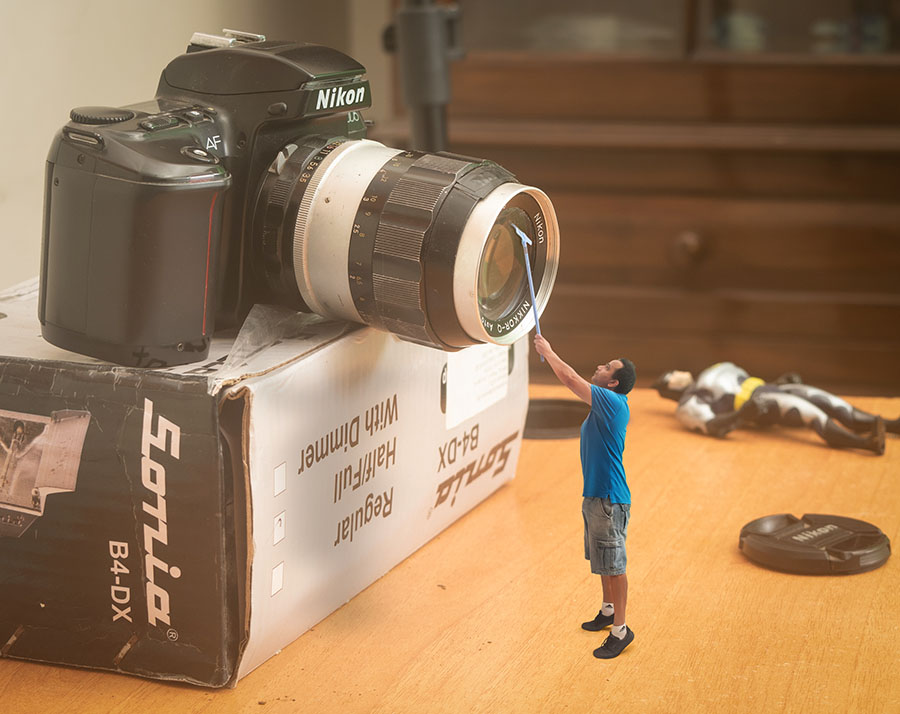
This type of shot obviously involves a bit of advanced editing in Photoshop since you need to be good with making selections and using blending modes. But at the same time what is equally important is that the two shots that are taken for the set-up are shot under similar lighting and perspective to make the editing job easier and more importantly, to add realism to the miniature shot.
Though you can get this type of a shot using most lenses, the most believable miniature shots are achieved using a wide macro lens.
Here are the two shots that resulted in the shot above. I show you the entire process of creating and editing this shot in the Trick Photography Course.

3. Clone Trick Photography
Clone Photography is a type of trick shot where you replicate the subject and create clones in a single frame, like shown in the shot below:

This is of course achieved by taking multiple shots where the subject is placed at the different parts of the frame and the camera stays still on the tripod.
Then all these shots are merged together inside Photoshop where the use of Layer Masking results in the final shot.
Here are the different shots that formed the final shot above:

4. Mirror Reflection Trick Photography

Mirror Trick Photography is a popular type of shot in which you a present the illusion of a see-through mirror which makes it feel like the body of the subject is hollow.
This is similar to the levitation shot because we take two shots, one with the subject holding the mirror and the second one being with everything removed.
Then the two shots are super-imposed in Photoshop and the mirror surface is removed to reveal the background behind.
I show you how to edit this exact image in Photoshop in my Free Photoshop for Beginners Course. Yes, it really is free.
Here are the two shots were used:

5. Forced Perspective Trick Photography
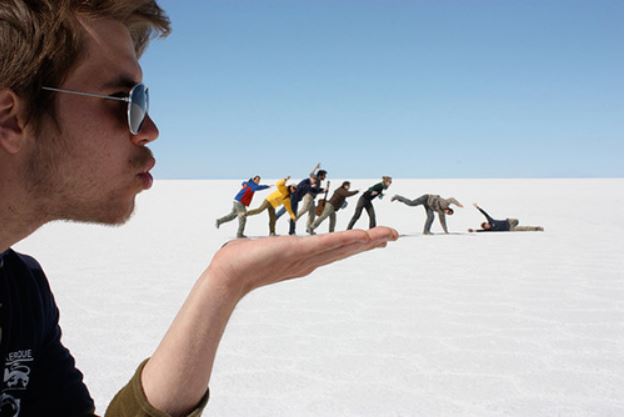

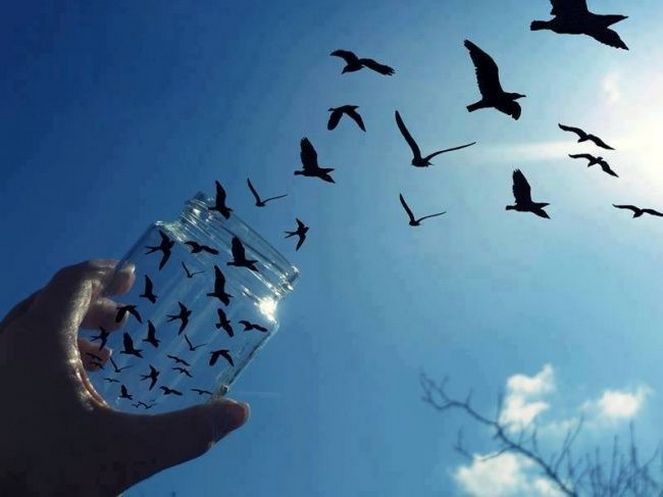

Forced Perspective shots make use of the difference in scale and perspective when different subjects are at different distance from the camera.
They may involve the use of set-ups or may not.
Let’s look at the set-up of a shot I created to give the illusion that the small figure of Batman is a life-size figure:

In this case, Blending modes were used inside Photoshop to get rid of the white foam-board with just one click.
6. Composite Trick Photography
Composite Photography refers to a type of editing technique where two shots are combined into one by keeping the desirable parts of each shot.
Technically speaking, most of the trick shots that were discussed above come under Composite Photography since most of them required the merging of different shots into one.
But sometimes the two shots can be taken in two completely different environments and then merged together to form an interesting shot like the one below:

Here are the three shots that were used to create this:

Conclusion
So there you have it. That’s how some of the most popular trick photography shots are created.
Sky is limit when it comes to your imagination.
And a bit of Photoshop completes the recipe.
One of best parts about learning trick photography is that it makes you an intelligent photographer since you start to develop the art of thinking and planning a shot from the point of view of how it will be edited later on.
If you are interested in mastering the art of Trick Photography, then do check out my 5 hour long course called Trick Photography for Beginners which is available via Udemy.com. It has 35 videos where I show you the entire process of creating most of the shots you saw in this article. You can watch the promo video below to understand what all is inside this course:




Wonderful course
Thank you Saba 🙂