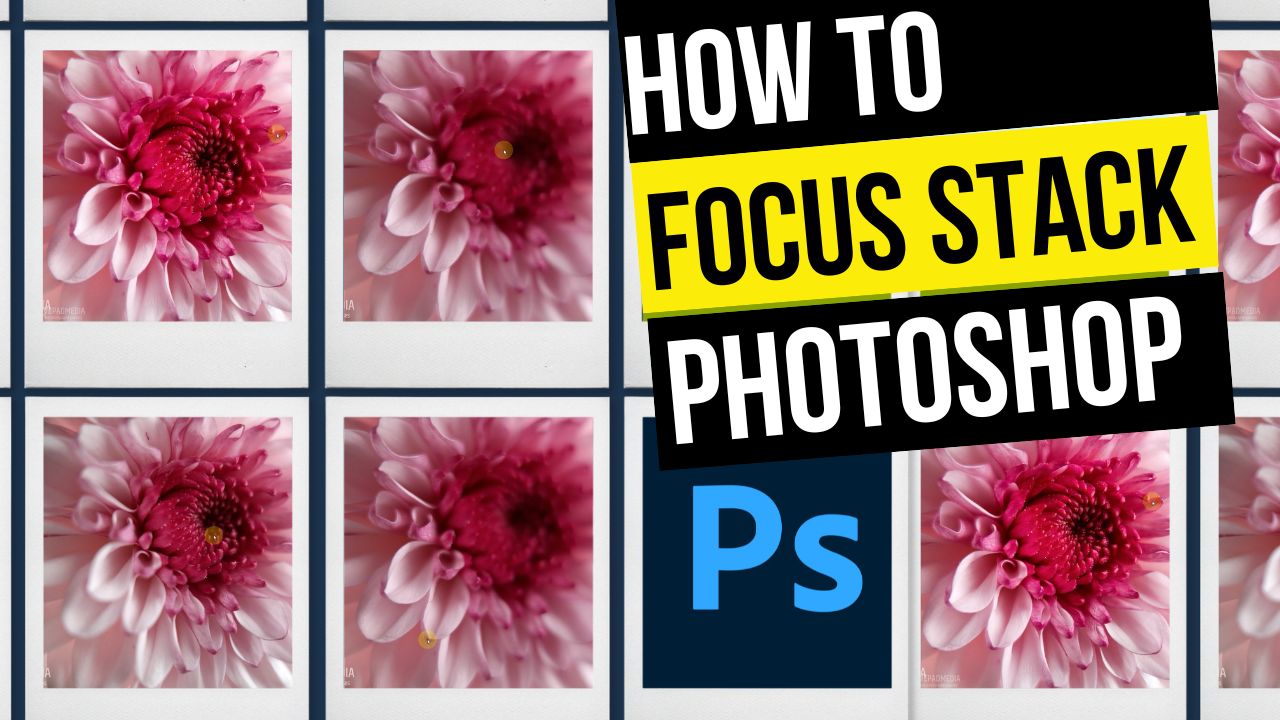
How to Focus Stack in Photoshop
In this video tutorial, we will be learning how to focus stack in Photoshop, by taking a couple of macro photos of a flower and stacking them together, and then merging the sharpest parts of each image with a single click. Here is the video:
This video is from our Mobile Photography Course, which has 40 videos and 6 hours of content. Use the link below to access the full course on Udemy:
Video Summary
This video provides a step-by-step tutorial on how to perform focus stacking in Adobe Photoshop to create a macro image that is sharp from edge to edge.
The Focus Stacking Process
- Loading Images: Start by going to File > Scripts > Load Files into Stack. Select the multiple shots taken at different focus points (e.g., left, center, right) to automatically layer them in a single document [01:30].
- Auto-Aligning: Because of “focus breathing” or slight camera movements, layers may not be perfectly aligned. Select all layers and go to Edit > Auto-Align Layers [03:08]. This ensures the subject remains in the same position across all frames, though it may require some cropping later [03:36].
- Auto-Blending: With all layers still selected, go to Edit > Auto-Blend Layers and choose “Stack Images” [04:11]. Photoshop’s algorithm identifies the sharpest areas of each layer and uses layer masks to hide the blurry parts [04:30].
- Final Refinements: After the stack is complete, you will likely need to Crop the image to remove empty or misaligned edges [07:10]. You can then perform final color and detail edits in software like Snapseed [08:54].
Why Use Focus Stacking?
- Edge-to-Edge Sharpness: Standard macro photography often has a very shallow depth of field, leaving edges blurry. Stacking ensures the entire subject is in focus [09:49].
- Higher Quality: By using the main high-resolution camera (e.g., 64MP) with a clip-on lens instead of a phone’s dedicated low-res macro lens (e.g., 5MP), you achieve much better detail and printing capability [10:34].


