What is a ND (Neutral Density) Filter in Photography? How to Use It?
Welcome to our series on Neutral Density (ND) Filters in Photography! In these videos, we’ll explore the world of ND filters, starting with the basics: what they are, how they reduce light entering your lens, and the different types available. You’ll then learn how to properly attach and use ND filters on your camera. Next, we’ll delve into creative applications, such as capturing long exposures, achieving smoother water effects, and creating cinematic depth of field. We’ll also be seeing how to use ND filters along with exposure calculating mobile apps.
These videos are from our Landscape Photography Course.
Part 1
This video explains Neutral Density (ND) filters, which act like sunglasses for a camera by reducing incoming light. This allows for slower shutter speeds, enabling effects like smooth, blurred water or moving clouds in landscape photography. The core concept is understanding “stops of light.” A “stop” means doubling or halving the light entering the camera, which can be done by adjusting ISO, shutter speed, or aperture. For example, going from ISO 1000 to 500 cuts light by one stop. The strength of an ND filter is measured in stops (e.g., a 6-stop filter). To compensate, you must increase the exposure by the same number of stops, typically by slowing the shutter speed. The video promises to demonstrate this with a mobile app for easier calculation in the next part.
Part 2
This video focuses on using a mobile “Exposure Calculator” app to properly set exposures when using Neutral Density (ND) filters for long-exposure photography.
It clarifies that ND filter names like “ND8” don’t indicate stops; an ND8 is actually a 3-stop filter. For serious long exposures, a 10-stop (often called ND1000) filter is most popular.
The key workflow is:
- Take a correctly exposed shot without the ND filter and note the settings (e.g., ISO 100, f/13, 1/40s).
- Mount the ND filter (e.g., 10-stop).
- Enter the original settings and the ND filter strength into the app.
- The app calculates the new, much slower shutter speed (e.g., 26 seconds) needed for an equivalent exposure with the filter on.
The video promises a full field exercise to demonstrate this process practically.
Part 3
This video is a field demonstration at a beach in Goa, showing how to use a strong 10-stop Neutral Density (ND) filter to take long-exposure shots in bright daylight.
The process is:
- Set up the composition (rocks and waves).
- Take a “base shot” with correct exposure without the filter (e.g., 1/25s, f/22, ISO 100).
- Mount the square ND filter using an adapter ring and filter holder.
- Use a mobile app (Exposure Calculator) to determine the new shutter speed. Entering the base settings and the 10-stop filter strength calculates the required exposure time (e.g., 41 seconds).
- Switch the camera to Bulb or Time mode.
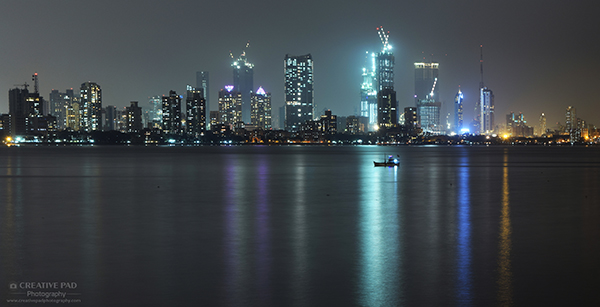
- Use the calculated time (e.g., 41 seconds) as the shutter speed to take the final shot. This long exposure blurs the moving water, creating a smooth, dramatic effect even in bright noon light.
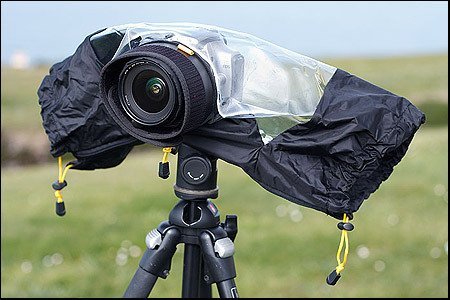
The video emphasizes the necessity of a sturdy tripod to prevent camera shake during the long exposure. It concludes by comparing the sharp base shot with the dreamy, blurred final image.
Part 4
This video covers important points about using Neutral Density (ND) filters. Cheap filters can cause bad color casts. “Stacking” multiple filters adds their stop values (e.g., a 6-stop + 5-stop = 11 stops), but stacking circular filters often causes vignetting. Square filters are generally better and cause less vignetting.
A polarizing filter also cuts light (usually 1-3 stops), which must be added to your ND filter’s strength when calculating exposure.
ND filters aren’t always necessary. They are crucial in bright light for long exposures (e.g., 30+ seconds to blur water or clouds), but in low light (like late golden hour), you can often achieve the desired blur without one.
The presenter emphasizes that ND filters are an essential, favorite tool for landscape photography despite the learning curve and occasional practical challenges like imperfect framing or exposure calculation.